
 Selfies and drones are two of the ways we capture and share important moments in our lives. While each provides a unique view of what’s happening, both have their limitations. In selfies, the distance in which you hold your camera determines how many people you can comfortably fit in your picture. With drones, your limitation is space and portability. The Airselfie AirPix Drone seeks to fill this gap by creating a selfie focused personal drone. In today’s blog post, we’ll be reviewing the AirPix selfie drone. My testing for the AirPix was done with an Android phone using the latest Android 11 update.
Portability
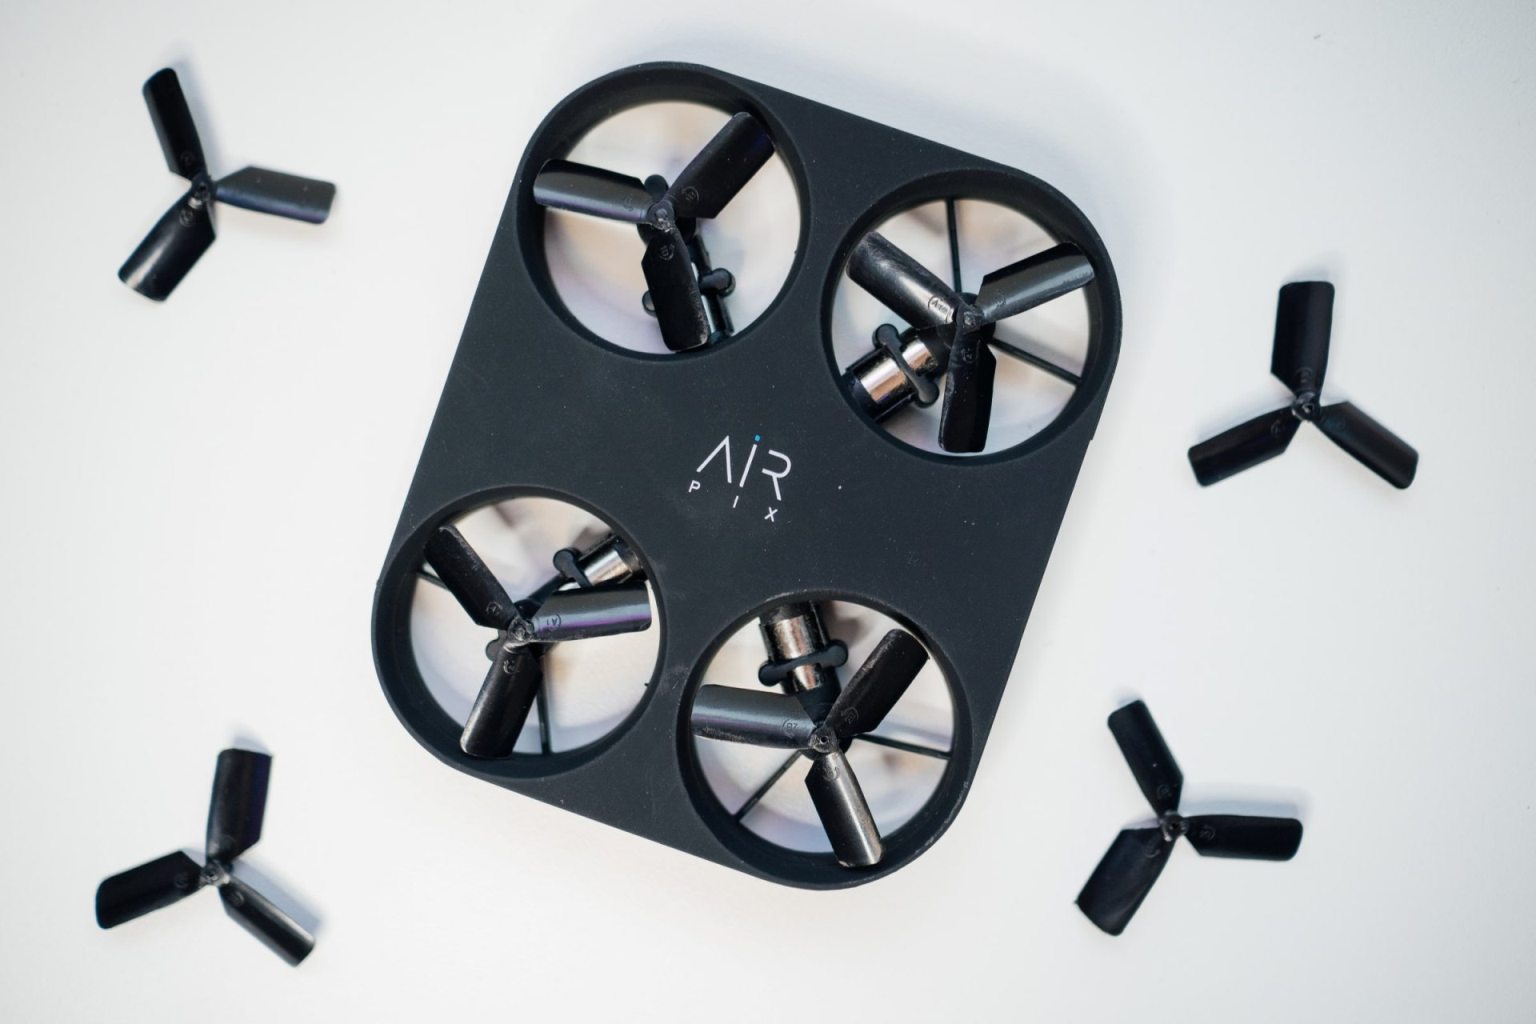
I’m surprised at just how small the AirPix is. It’s almost the size of your hand and weighs just over 50 grams. At this size, the drone can be easily transported in your pocket or bag. The body of the AirPix is composed entirely of plastic, which keeps the drone lightweight and durable during accidental bumps and falls. The plastic body has a soft touch rubber coating, giving you more grip when holding onto the drone. I found this helpful when preparing the drone for launch and when catching the drone as it flew back to me.
AirPix setup
Unboxing the AirPix is straightforward and simple. Upon opening the box, you have the drone, charging cables, carrying case, and spare propellers. After unboxing, the instructions guide you towards downloading the Airselfie App. I recommend that you follow this step as the app updates the drone’s firmware and calibrates it for flight. Once this is done, you’re pretty much ready to fly the drone and take selfies.
Airselfie App
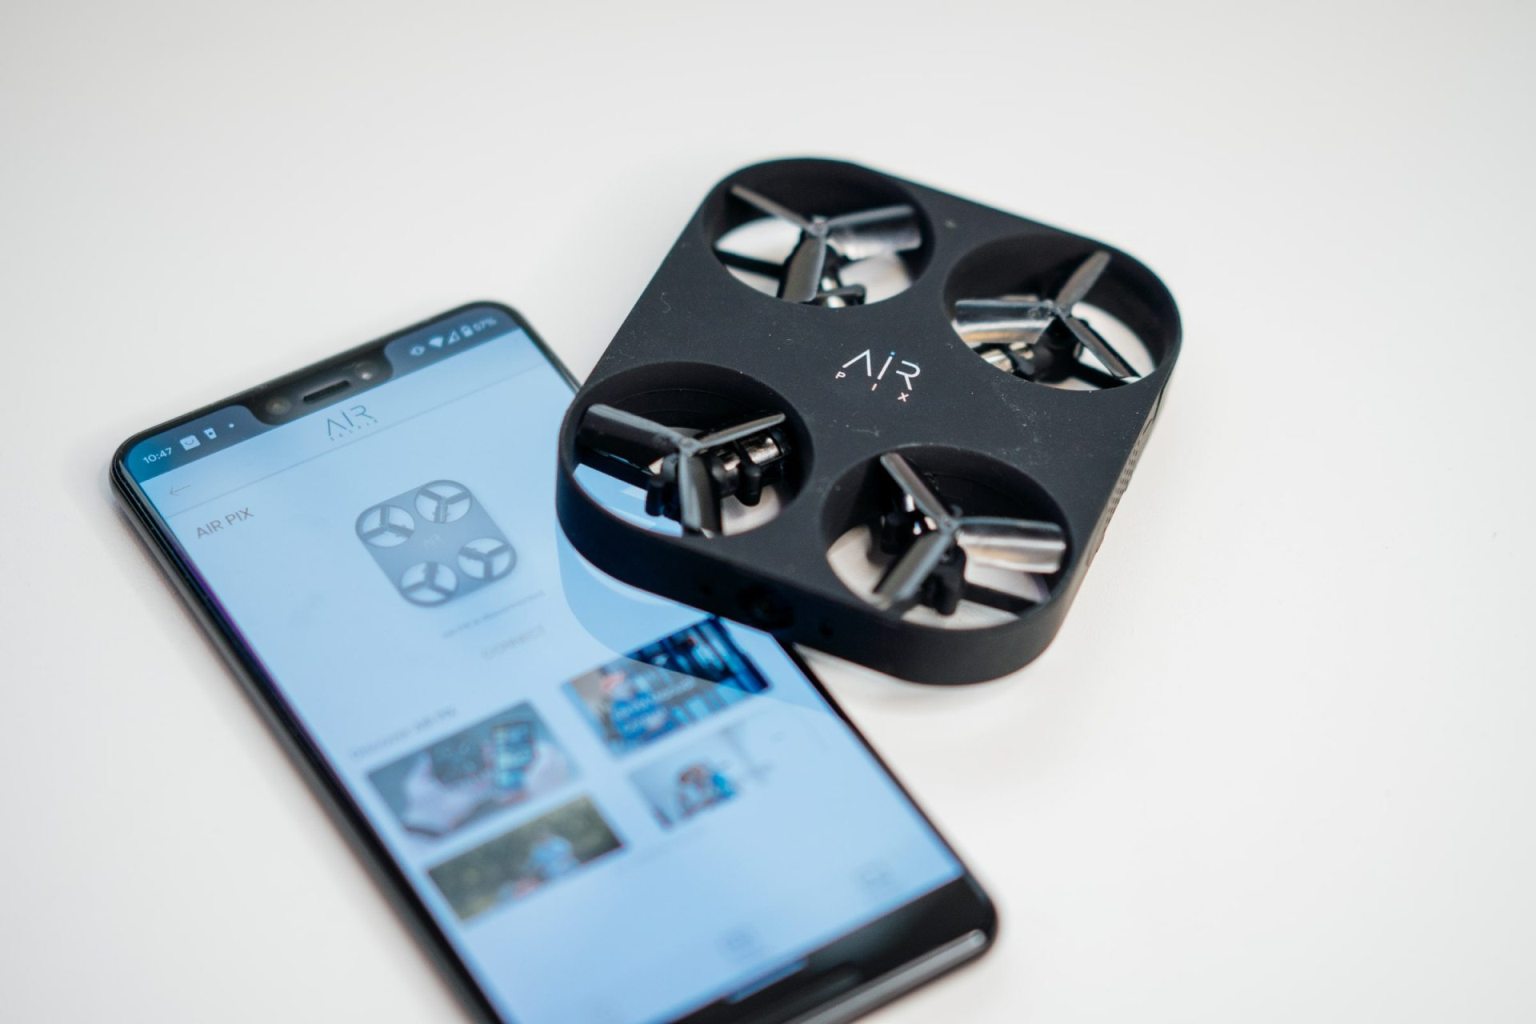
The Airselfie App is simple to use and navigate. While companion apps for other devices usually turn out to be nice-to-haves, the Airselfie App is essential. Inside the app you will find tutorials, photo editing features, and drone operation.
Tutorials
The Airselfie App provides several tutorial videos that cover a range of topics including manual control, auto flying, and gestures. The videos are brief and to the point; most are between 2-3 minutes, with the longest being 5 minutes. This makes them easy to consume and immediately test on the drone. One challenge I had on my Android phone was that the app periodically crashed while watching the videos. I was able to get around this issue by visiting the Airselfie YouTube channel.
Photo editing

One of my favourite inclusions in the Airselfie App is the ability to edit. Pictures and video are automatically transferred to your phone when using the app in manual or auto-fly mode. If you use the AirPix in auto-fly without app mode, you will need to use the app to connect to the drone first to download media to your phone. It’s worthwhile to note that on my Android phone I was only able to edit photos. Nevertheless, I enjoyed the Airselfie’s implementation of picture editing software. In addition to the basic editing features, the app includes some fun stickers and text designs. After you edit the image, a copy of the image is saved to your device and is ready to be shared with your friends.
Airselfie operation
The AirPix can be operated in different modes, each with their own advantages and challenges. Operation of the selfie drone can be done in three ways: manual, AutoFly with app, and AutoFly without app.
AutoFly with app
My first few flights with the AirPix were done using the AutoFly with app mode. In this mode, you simply need to tell the drone if you are indoor/outdoor and if you’d like to take a picture or video. To launch the drone, you gently toss it in front of you. LED indicators on the front of the AirPix will let you know when the photo or video recording has started. My favourite part of this mode is seeing the drone fly back to you once the job has been completed. I found this mode to be the most fun and reliable for taking selfies.
Manual mode
This mode feels most like flying a drone, and as the operator you have the most control. Operating the drone in this mode, you have full control over the AirPix’s flight from liftoff to landing. In this mode, you will also need to manually select when to start/stop video and pictures. Using the app, you are only able to turn the AirPix left or right. If you want the AirPix to hover towards the left or right, you will need both of your hands to signal gestures. This can be complicated as you need your hands on your phone to manually control the AirPix while at the same time using gestures.
AutoFly without app
The AutoFly without app mode is the fastest for taking a selfie, but it also requires the most experience. The reason for this is that you need to have a good knowledge of gestures to control the AirPix’s flight and to start/stop videos and pictures. You also need to be familiar with the different blue and red LED patterns on the front of the drone. Because you are not using the app to control the drone, the LEDs on the AirPix are your visual cues as to when a picture or video is being taken. Mastery of this mode is satisfying and can help you make the most use out of the AirPix’s flight time.
Airselfie battery life
 Battery life on the AirPix is good for the battery size. Official marketing states that you can achieve 6+ minutes of flight. On a drone this size, the battery will naturally be small, resulting in shorter flight times. If you fly the AirPix outside, battery life will be even shorter as more power is required to keep the drone stable. In my tests, I found the flight time to be between 2-6 minutes. There were occasions when the AirPix reported a low battery after one short indoor flight. Other times, I was able to get 2-4 flights while flying outdoors. To ensure your AirPix is ready for your next picture taking adventure, I suggest charging the drone as soon as you’ve finished using it. Charging the AirPix is done through a USB-C port located on the rear and can take up to 1 hour to charge the drone from 0% – 100% battery.
AirPix selfie drone camera
 Like everything else on the AirPix, the camera is small. However, for such a small camera, the AirPix is still able to deliver 12mp pictures and 1080p, 30fps video. I found the pictures and video to be fairly good for a camera of this size. To get the most out of the AirPix camera, be sure to use it in well-lit environments. Images and video taken in dimly lit environments can lead to blurry or overly dark images. Because the AirPix does not have any camera stabilization, you may see stutters or jittering while recording video. This is particularly noticeable when the drone makes sudden movements such as when there are gusts of wind.
It’s noteworthy that the AirPix cannot be connected to your PC. Because of this, you are unable to download media directly to your computer. If you would like to save your media, you will need to remove the memory card from the AirPix or use your phone and back up media to the cloud.
Final thoughts on the AirPix Airselfie drone
The Airselfie AirPix provides an interesting and fun solution to taking selfies. The different modes of operation give users the ability to grow with the drone and use each mode to achieve different results. The biggest challenges that users will experience are the short battery life and long charging times. That being said, the AirPix drone provides great entertainment and is sure to leave a lasting impression.


I’d use autofly with the app
AutoFly with app since a crashed drone is no fun.
I would use AutoFly with the app.
I would try the Autofly with the app.
Comments are closed.