
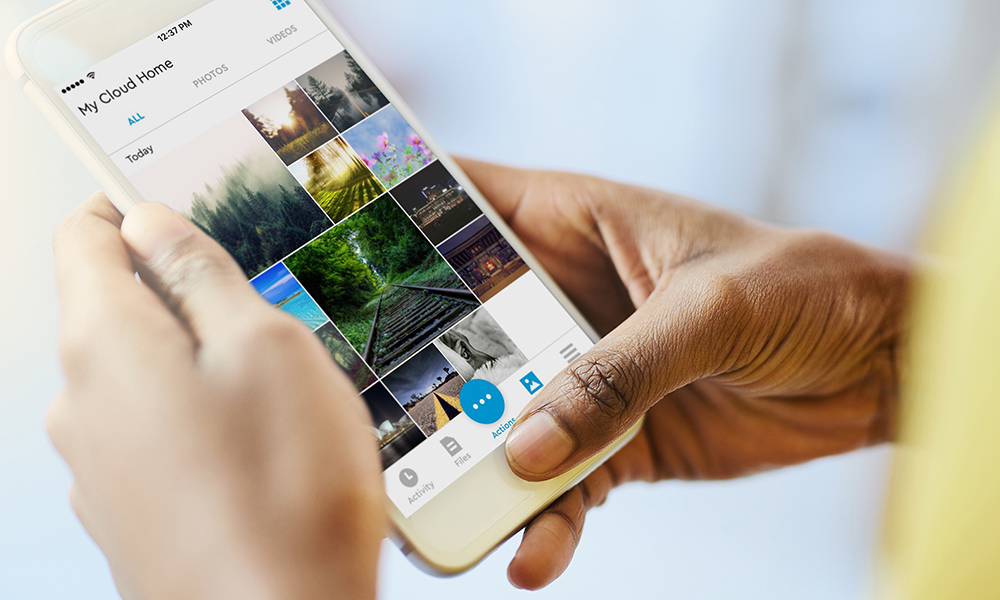
Your smartphone makes it easy to shoot photos and video, and then share them with anyone, but it’s also important to protect them with regular backups. Photos are priceless in so many ways, especially for the mementos they tend to be, so why risk losing them all? No matter if you have an iPhone or an Android phone, this article will discuss some easy steps to help you protect your photos.
See all smartphones available right now at Best Buy.
That’s what can happen if you lose your phone or damage it somehow. If you never backed up all those images, they could be gone forever. There’s no need to take that risk when you have different avenues available to keep them safe. Whether it’s the cloud, or hardware-based options, it’s not terribly hard to make this work for you.
Back up with your iPhone
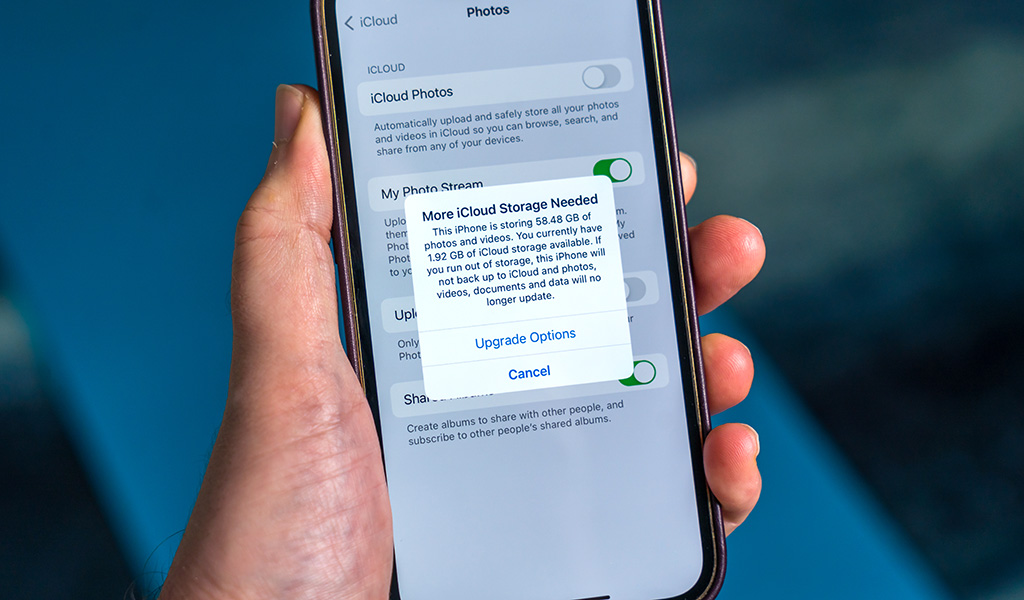
Cloud-based storage is far more available and affordable now than it once was. Chances are, you may already be using one without knowing it. If you use an iPhone, you get 5GB of iCloud storage for free, with paid tiers giving you 50GB, 200GB or 1TB. iCloud Photos can automatically back up all images you capture, though you will want to make sure you have enough cloud storage to make it work.
To set it up on your iPhone or iPad, go to Settings > (Tap your name) > Photos > iCloud Photos on. The process is slightly different on a Mac. There, you go to the Apple Menu (the Apple icon on the top left) > (Your Apple ID) > iCloud > Photos.
Once that’s done, you can always access your images from your iOS device through the Photos app. On a computer, you can go to iCloud.com, sign in to your Apple ID, and then view or download photos or video you want from there. Since those images are available from your iCloud account, you can also see them on an Apple TV, or even a Windows PC.
By default, the automatic backups only occur when your iPhone connects to a Wi-Fi network to save you from using too much cellular data uploading photos and video. Other backup solutions don’t restrict you on that, which I’ll get to further down.
Back up with your Android phone
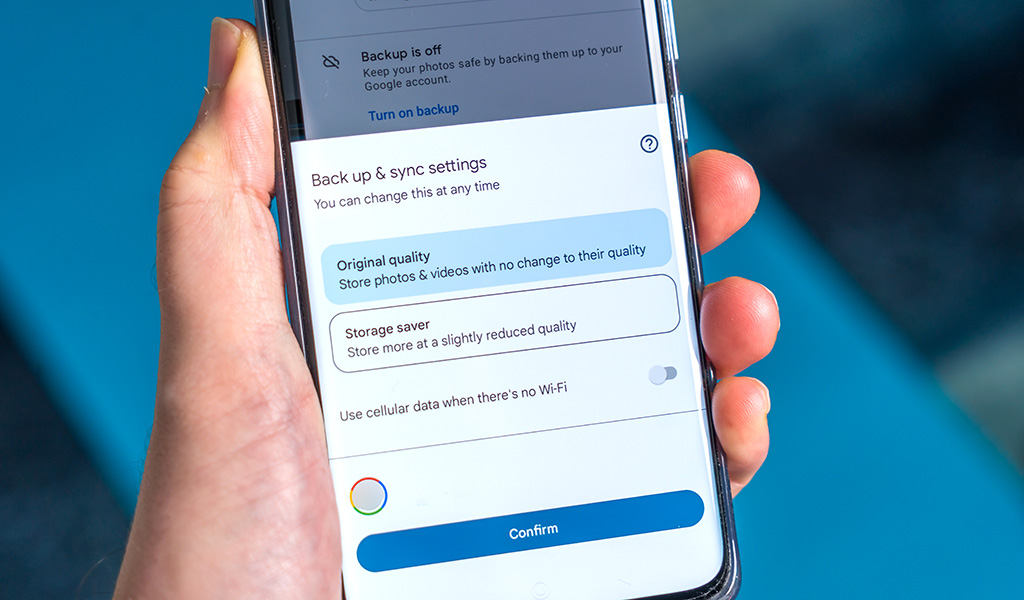
Being a Google product, Android usually comes with Google’s suite of apps preinstalled. One of those is Google Photos. If you have a Google account (just having Gmail is enough for that), then you are already one step in to backing up your photos and video. When you first open the Google Photos app on your Android device, it will ask for access to its photos and media, and then whether or not you want to back up what you shoot on that phone.
From there, you have a couple of selections to make. You can opt to save all images in their original quality, which takes up more storage space. If you choose Storage Saver, it saves a reduced quality version of each photo and video. You also have the option to upload images to the Photos via both Wi-Fi and cellular data.
Bear in mind that either option counts against the 15GB free storage cap Google gives you. That storage applies to all of Google’s apps, including Gmail. Google made this change, effective June 1, 2021, though it only affects images you captured after that date. The only exemptions so far are for the Google Pixel 1-5 phones, though not the Pixel 6 and 6 Pro.
If you want more, you can purchase it at 100GB, 200GB, 2TB or 5TB. That’s pretty much it. Once that’s set up, you are good to go and have a cloud backup set up on your Android phone.
You are perfectly able to use Google Photos on your iPhone as well. Download the app from the App Store and set up a cloud backup on your phone.
Third-party cloud backup choices
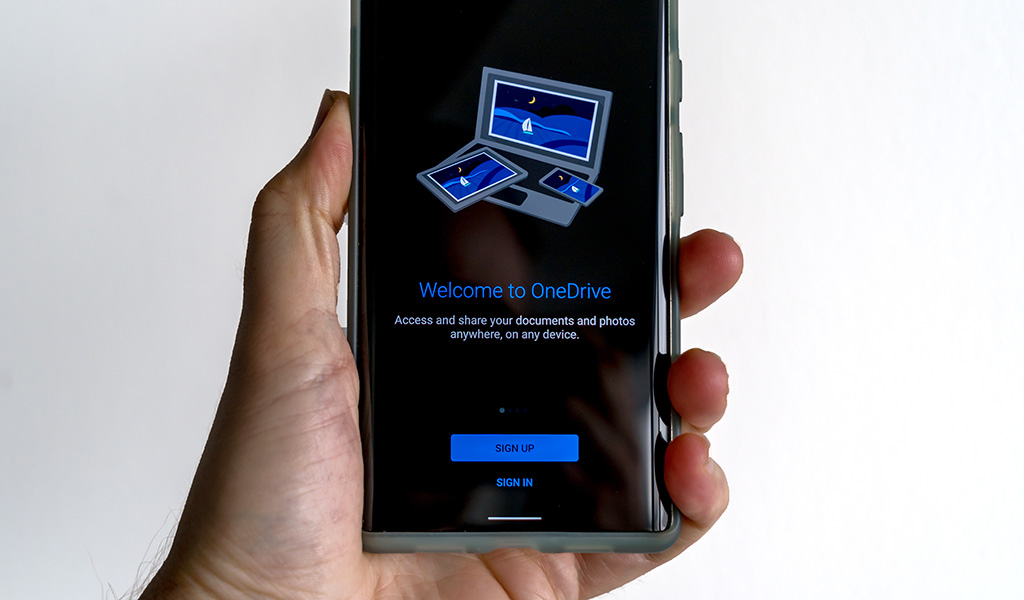
You may already have another option by way of other providers who also do cloud storage. For example, if you subscribe to Microsoft Office 365, Microsoft’s OneDrive can back up and save your photos in full resolution. A Personal account gives you 1TB of space, or you can subscribe to OneDrive alone and get 100GB of space for a lower cost per month.
Dropbox is another one to consider, but you will have to pay to make it worth your while. It only gives you a measly 2GB in its free tier. You can get 2TB or 3TB for a monthly or annual fee, letting you upload all your photos that way. Like with iCloud, Photos and OneDrive, you can share photo albums with others.
Photobucket offers cloud storage options starting at 25GB and going up to unlimited. SmugMug goes even further by letting you not only back up photos, but also create a personalized website to showcase the ones you choose to display. Flickr also requires that you pay to go beyond 1,000 photos, which won’t take long if you’re an avid shooter. There are others out there, so do a thorough search to see what comes up.
I never recommend using social media platforms as a way to backup photos. Don’t throw everything onto Facebook, even if you don’t make it visible to friends. Facebook will see those photos and try to monetize them somehow.
Back up to a computer

It may feel like doing things the old-fashioned way, but backing up to a computer is never a bad idea. The main reason why is because you effectively create a secondary backup you can access and rely on when you need it.
This could be as simple as just creating a folder on your PC or Mac, connecting your phone to it and dragging and dropping images in. Mind you, it’s not as simple as just plugging in and seeing everything in your phone. You need the right software to do that.
On a Mac, you can do a full backup of your iPhone through the Finder if you are on MacOS 10.15 Catalina or later. If you are on a version prior to that, do it through iTunes. Finder will also let you sync content from your iPhone. If you want something even more robust, you can try an app like AnyTrans, which comes at a reasonable cost.
On a PC, iTunes is still running, so you can do backup and syncs that way. For Android users, Android File Transfer is free software that lets you manually drag and drop photos over to a Mac or PC. Microsoft’s Your Phone app works well with Samsung Galaxy phones. There are plenty of apps that do similar things, like AirDroid, SyncMate and more.
Back up to a storage drive
I have always been fond of this as a secondary backup because it adds peace of mind. I know I have all my photos and video, and can view them however I want, meaning I put in some time to create different folders to organize them. They could be based on which phone shot them, or for a particular year or event.
Putting those images on an external drive or USB stick is basically the same as doing it on a computer. You plug in and use the same tools to copy them over to the drive. It is a continuous process because it’s not as easy to sync them over, so you may need to do it manually on a regular basis. Try it weekly to start and go from there.
I also like using network attached storage as an option because it is a mix of both. It is physical storage, but may also have a cloud component to it. For instance, you can copy images over to it from a computer, while then accessing them on your phone wherever you are. You can also do the reverse, which is to copy photos you took on your phone and send them up to your network drive, while later copying the ones you want over to your computer.
Stay organized with your backups
When you back up, you not only protect your images, but also potentially save much needed space on your phone. While storage continues to increase on phones these days, you may find the extra breathing room worth it to take more shots. The initial setup is usually the more time consuming, but it becomes old hat after that.
If you have kids, you may also appreciate arranging photos to keep them organized as they get older. Definitely may come in handy later on when you need to access them for prints or to share with family and friends.
Learn more about what you can do with your photography and check out the latest smartphones available.


