 Welcome to the second part of the “Setting up a Smart Home” series. Last time out, we looked at assessing your personal needs in finding smarthome products. In this edition, we’re going to assume you’ve picked everything out and I’m going to talk about the final steps of the preparation stage as well as offering up some advice for a post-installation backup plan.
Let’s start first with making sure you have the most important part of your smart home ready. You may be surprised to know that it has nothing to do with an actual smarthome product itself.
Strengthen your internet connection
The most important part of having a functional smarthome isn’t actually a product itself. The foundation to any good smarthome is actually the strength and reliability of your internet connection. Without something powerful enough to span coverage across your home, your smarter home is dead in the water.
You should think about the strength of your current signal and any dead zones in your home you may have. You may need to upgrade your modem or even look to the strength of a range extender to boost connection in those tough spots.
Be sure that you establish how you’d like the devices to be handled on your network as well. If you have a single band network, you may want to consider dual band. If you already have a functioning dual band network and want to dedicate something else to your smart home, look at a tri-band router. I was convinced enough by my colleague Brad Moon’s review of the Netgear Nighthawk X6 AC3200 Tri-Band router that I went out and got one to dedicate one band to just smarthome devices. It’s worked perfectly.
One thing to be a bit wary of is that if you purchase some early smarthome technology like Belkin’s early WeMo devices, you may encounter trouble with connecting them to a 5G Network. A couple of the devices in my house just won’t cooperate with anything but the standard 2.4 GHz band, but I’ve moved enough of our other devices over to the other networks that I’m not worried about conflicts any longer. If you can plot out which devices go where, you shouldn’t have any trouble with this either.
Identify challenges, opportunities and trouble spots
 In part 1, I encouraged you to walk around your home and figure out what went where. Now that you’ve done this, try to figure out where where your trouble spots (or good opportunities) may be. If you’re going to be doing a lot of hard mounting to walls, you might want to get out a stud finder to see where all of your studs are in case you want to mount directly there instead of on drywall.
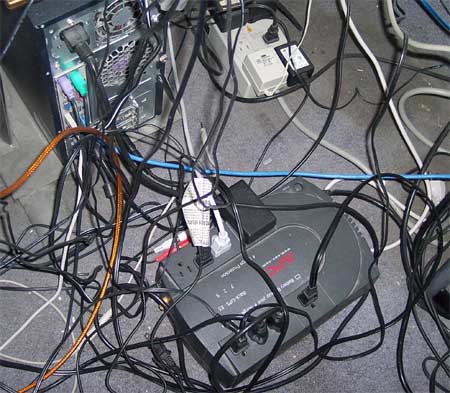
Something you may want to consider here as well are hazards you may create yourself. If you’re going to be running a lot of new wiring across the floor, think about concealment options for them. One of the other issues you may also run into is that you may have trouble spots you won’t even know about unless you snoop around. For example, smart light switches (like Belkin’s WeMo switch, for example) need to sit in a fairly large box due to their size and the components within. This may pose problems if you have older light switches or thinner boxes. Unfortunately, you won’t really know if you’re in this predicament unless you take the faceplate off and look inside. Even then, if you don’t know what you’re doing, it might be time to call a handyman or electrician to do the work for you. Just remember that when you’re working with live electricity, it’s best to flip the circuit breaker powering it so that you don’t zap yourself. You may also want to consult an electrician if you have an older home and running a 60 amp service to be sure that more continuous load on the circuits will not be overly hazardous.
One small thing to consider is moving and rearranging furniture too, depending on what you’re installing. For example, if you’ve purchased smart appliances, clear space for installation. If your smarter home involves the use of smaller electronic appliances (like robotic vacuums,) you’ll have to make sure they have a good path around cleaning rooms. If you’re going to installing an IP Camera or two, you may have to rearrange things so that you can capture good angles and line of sight. There’s no sense in spending the money on something like that and only having a partial vantage point.
Finally, be sure you have enough available space on your surge protectors to be able run (or charge) everything properly.
 Creating a backup plan
After you’ve got everything installed and your smart home is a reality, I’ve got one more recommendation before you sit down and enjoy everything around you. Be sure to keep track of how you synchronized all of your hardware and software and did that installation. Keep all of the manuals for all of the products you bought together and above all, save any passwords you’ve created alongside all of the paperwork. The trouble is, you may have to go around your house resetting and re-syncing everything again one day if you have a major power outage. When BC’s Lower Mainland had its major power outage back in August 2015, I lost sync with everything except my smart locks (which are all battery powered, so they were unaffected.) I had to reset literally everything else, from the garage door opener to the thermostat and everything in between. I even needed to crawl into the smaller spaces to check on whether my water sensors were still synced to their hub.
I was unprepared since it was such an anomaly. I’ve got a better plan now and won’t make this mistake again.
What if I can’t install certain things?
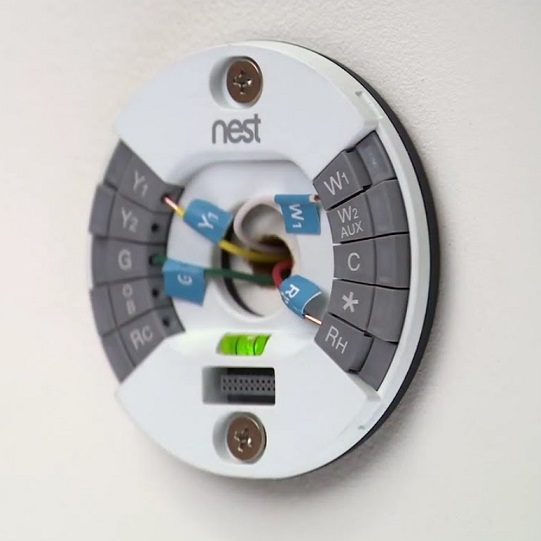
 While some smarthome gadgets out there require little more than plugging in and synchronizing to an app, you may find some of the more involved things (like security systems, thermostats and light switches) might not be something you feel comfortable doing. I personally don’t touch anything that involves electricity and leave it to a professional.
If you’ve got fairly ambitious plans for your smart home and need a helping hand, why not give Geek Squad a shout? Not only can they help you with the installation end of things, but they can even help with the walkthrough aspect and help you find all of those danger points. As part of their free smart home inspection and assessment, they can even help test your internet connection and make sure that you’ve got everything you need to keep running things efficiently.
Do you know why I’ve been mentioning time and again why a steady internet connection is so important to the whole operation? It’s because I’ve had my internet connection drop at 2 AM in December while I was standing outside trying to get into my garage with my smartphone. Don’t be me. I haven’t had the problem since I upgraded my modem and router but it took nearly freezing where I was standing to learn this valuable lesson.
That is the end of this installment of “Setting up a Smart Home.” In the upcoming Part 3, we’re going to focus in on about smart locks. I’ve got smart locks on all of my entry doors and I’ll discuss the benefits and downfalls of ownership.


