 We’ve had some glorious weather these last few days, the kind of warming sunshine that makes you look at the world anew and gives everything a magical luster. Everywhere you look people are taking advantage of this upswing in meteorological fortunes; dusting off their bikes and fishing out their picnic blankets. The more adventurous are grabbing their paddleboards and hitting the water.
Imagine you were a paddleboarder, and you hauled your board down to the beach only to find the tide was out, like way way out. You are, as they say, high and dry. Which pretty much puts the kibosh on your plans because without water, there is no paddleboarding, regardless of the equipment you happen to be lugging around.
The same is true of light and photography; without light there is no photography, no matter how awesome your camera is. In the creation of a photograph, light is the number 1, single most important factor.
Be A Student Of Light
In my , I wrote that as a photographer, you need to be a student of light. You need to observe how light acts and reacts, how it shines and reflects, how it sets tone and mood. And this, by the way, is a course that will last a lifetime; there is always something new to learn, and light will continually surprise you. (The course is free however, so no student loan required).
There’s obviously a lot of science involved in describing how light works, and having some understanding of that can be helpful, but it is way beyond the scope of this article. The most technical field of photography, in terms of lighting, is product photography, and you really need to have a good understanding of the technical side of lighting to shoot products well. I am unapologetically a photographer of people though, and I think that the majority of people buy a camera in order to photograph people; usually friends and loved ones. So that’s where I’m pitching this article. If you have another area of interest and would like some tips pertaining to that, feel free to leave a comment below and I’ll tell you what I know.
If you want to learn more about lighting basics, read this post. For the most part, the post deals with natural light, which I feel is the area that all photographers should get to grips with first and foremost. Shooting in natural light requires no additional equipment, which makes it a somewhat simpler endeavour. If you’re shooting in a darkened space you will likely need to generate your own light using studio strobes or speedlights.
Artificial Lighting
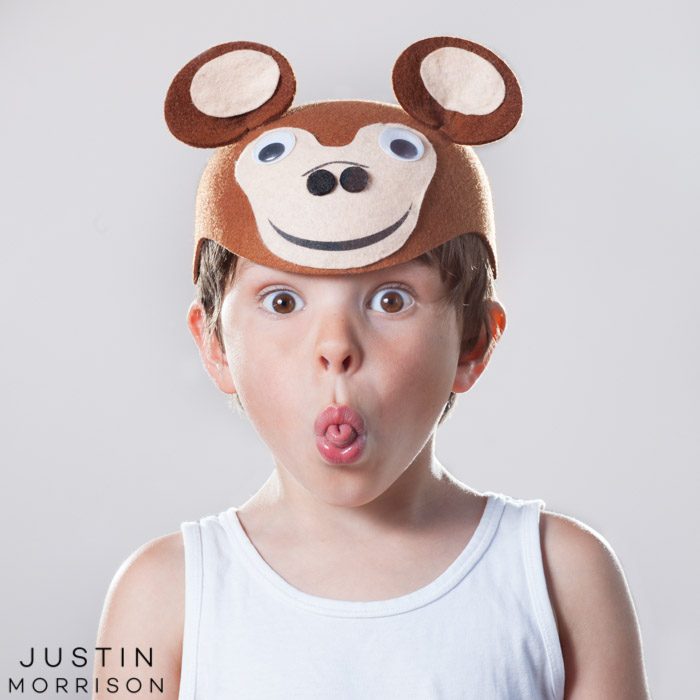
Event photography almost invariable requires the use of artificial lighting, like the wedding I shot in February on one of the wettest days of the year, when we were forced to spend most of the day indoors. You may also, for aesthetic reasons, choose to shoot with artificial light, as I often do when creating business headshots. It allows me to create a setup where I know exactly what I’ll get; soft, even light and a white background.
In order to execute the techniques I’m going to recommend, you’re going to need a camera with a hotshoe, and at least one speedlight (a.k.a. flash). If your camera has a pop-up flash, it probably doesn’t have a hotshoe too, so be sure to check before you invest in a speedlight.
 Dragging The Shutter
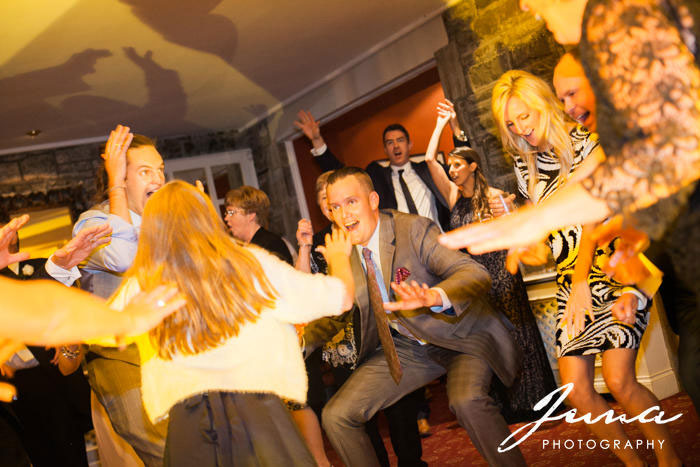
The basic way to use a speedlight is to mount it on your camera, point it straight at your subject and shoot. I’m not a big fan of direct flash however, it’s pretty unflattering and tends to steal all mood and nuance from a photograph. That said I do occasionally use it, coupled with a technique called ‘dragging the shutter’. This means you shoot with a slower than normal shutter speed, a shutter speed that would usually result in blurry photos. When you pop a flash during the exposure however, that split second is frozen, and the blur created can create a very cool effect. Drag the shutter on a dance floor and you’ll really capture the energy of the moment.
Bounce Your Flash
A really simple technique to improve the look of on-camera flash is to ‘bounce’ the flash off a nearby wall, or the ceiling above. In this case the wall or ceiling becomes your light source. In general terms, bigger light sources are better than smaller ones. They create a more flattering quality of light. When you bounce your flash, you’re effectively making your light source a lot bigger. Pay attention to the direction of the light though. Light coming from a wall, slightly above eye-level, will yield better results than light coming from a ceiling directly overhead.
Go Off-Camera
My preferred speedlight technique is to get off-camera. I find the opportunities far more interesting, as well as the results. The simplest way to go off-camera is to get a TTL cord, like this one, that connects your flash to your camera, but allows you to alter the direction from which the light is coming. I noticed the legendary Bill Cunningham using this technique in the documentary ‘Bill Cunningham New York’ (absolutely essential viewing for anyone interested in photography).
The next step in the off-camera journey is to get a light-stand so that you can mount your flash and position it well away from your camera. You can use this technique to create portraits but it does also work for events. In this instance your camera is not physically connected to your camera so you’ll need to invest in remote flash triggers. You can either get a transmitter-receiver pair, where the transmitter sits on your camera and the receiver is connected to the flash, or you can get transceivers, which are interchangeable. I also recommend investing in a softbox or an umbrella, which will modify the hard light coming from your flash and make it softer and more flattering.
Click here to see the Strobe & Lighting Accessories available at BestBuy.ca
So there’s a brief introduction to advanced lighting techniques. The next level is multiple light setups which hopefully I’ll get a chance to discuss in the future. I hope you learned something new – please feel free to post your comments below!


Thoughts…
Thanks @xl! Those are all great points.
Comments are closed.