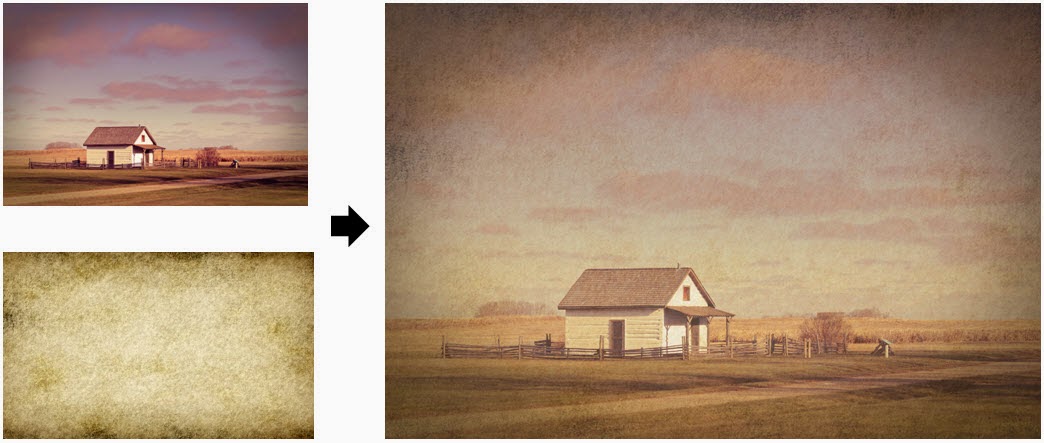
In CyberLink’s PhotoDirector 6, the new Photo Composer tool added an Opacity slider that allows you to add a textured look to your photos and create an artistic flare. Even though there are lots of texture templates online, you can also create one your own. Look for interesting patterns such as laminated countertop, leaves, trees, and even a rug or old paper bag would do.
In this tutorial, I will be using the picture of the house we have edited in How to Create a Lomo Effect tutorial and a textured image.
Step 1. Select the main image, in this tutorial, it is the image of the house. Make sure you select a photo with proper exposure, good detail and sharpness.
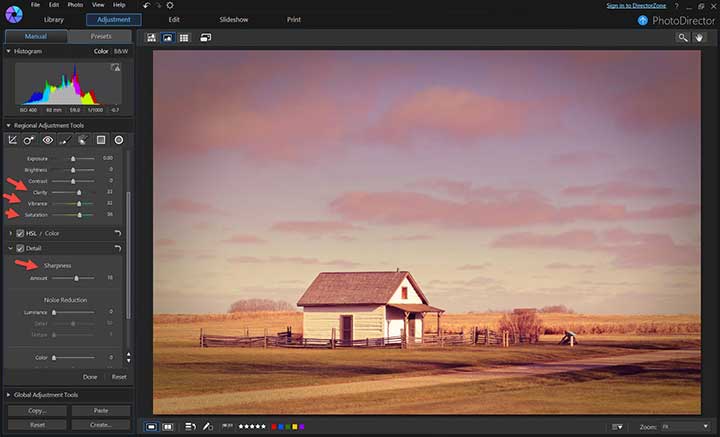
Add some sharpness, vibrant and saturation to the main image.
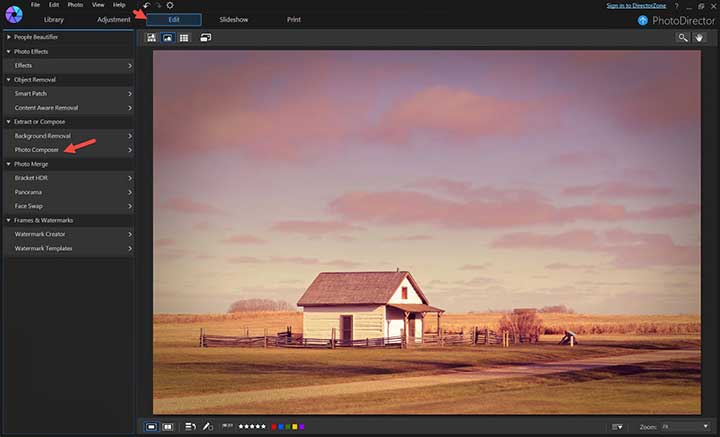
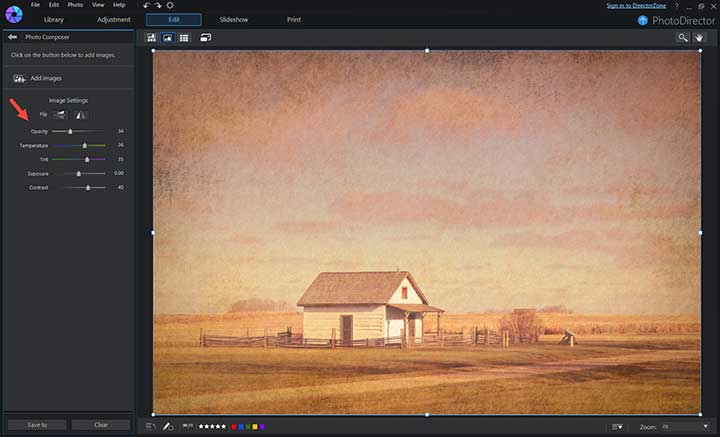
Step 2. Then, go to the “Edit” module and select “Photo Composer”.
Click on “Add image” and select the texture image to overlay. The sizes of both images may not be the same, so resize the texture image until it covers the main photo completely.
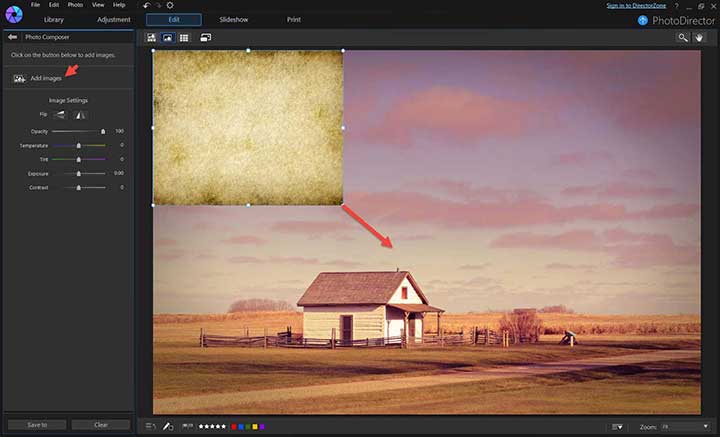
Step 3. Now adjust the Opacity, Temperature, Exposure, Contrast sliders until you get a result you like. There are no rules how much to choose for each slider, it all depends on the main photography, the texture image and the look and feel you want to create.
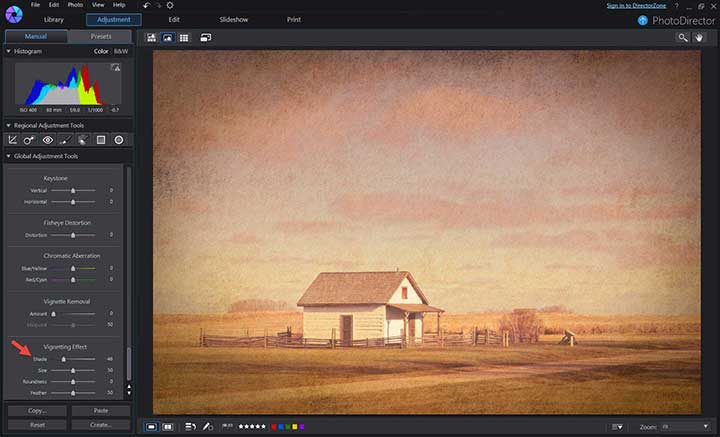
Step 4. Save the image and go to the Adjustment Module. Add a light vignette to finish up that vintage look.
Here are more examples of photos with blended texture.
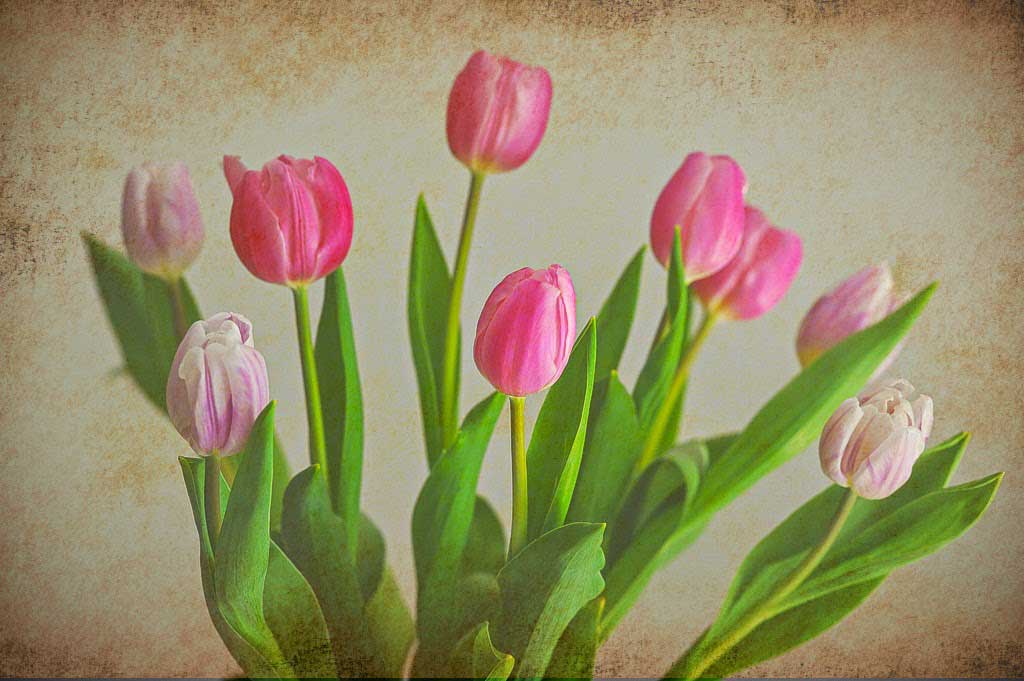
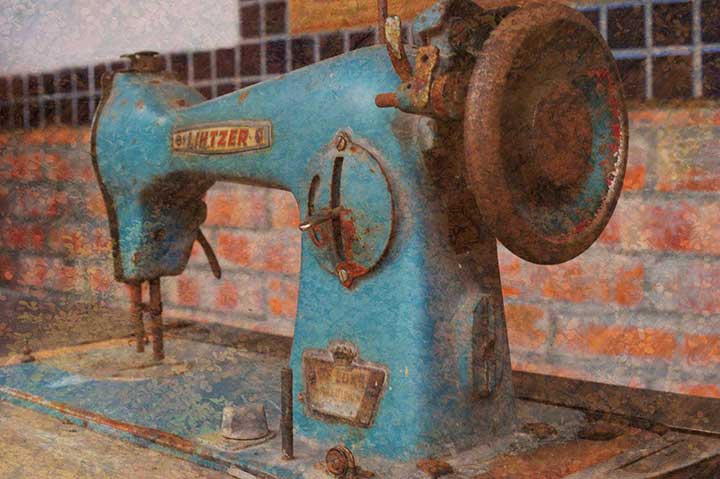
Now try to create your own textured look from your photos with PhotoDirector.
If you are new to PhotoDirector, you can download a 30-day trial here.
For more PhotoDirector tutorials visit CyberLink’s Create & Play Blog by clicking here.
You can also order PhotoDirector 6 online at Best Buy.


