
Have you ever wanted to create perfect, beachy surfer waves at home? The Mermade PRO Waver is your one-stop shop to boho hair perfection. For all of us who weren’t blessed with wavy hair, this’ll get you sorted with ease.
Plus, this hair waver comes in the perfect, iconic pink. How cute is that?
What’s in the box of the Mermade PRO Waver?
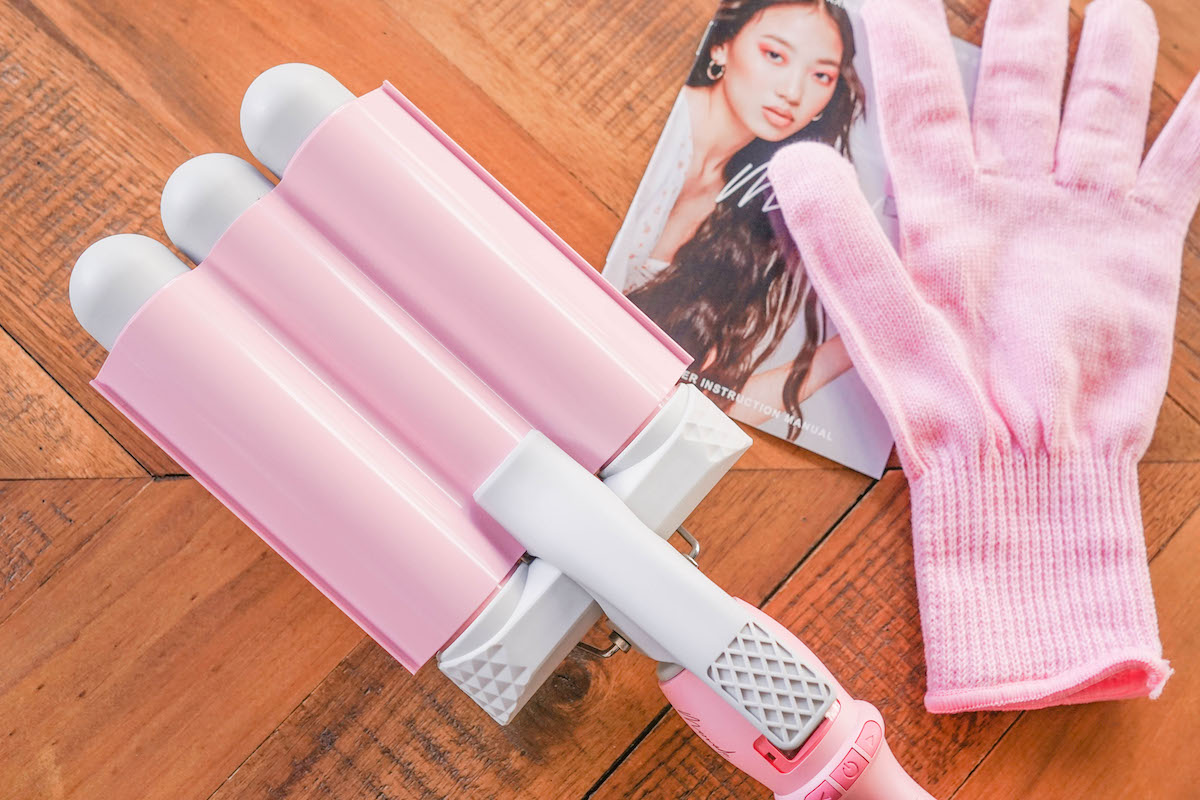
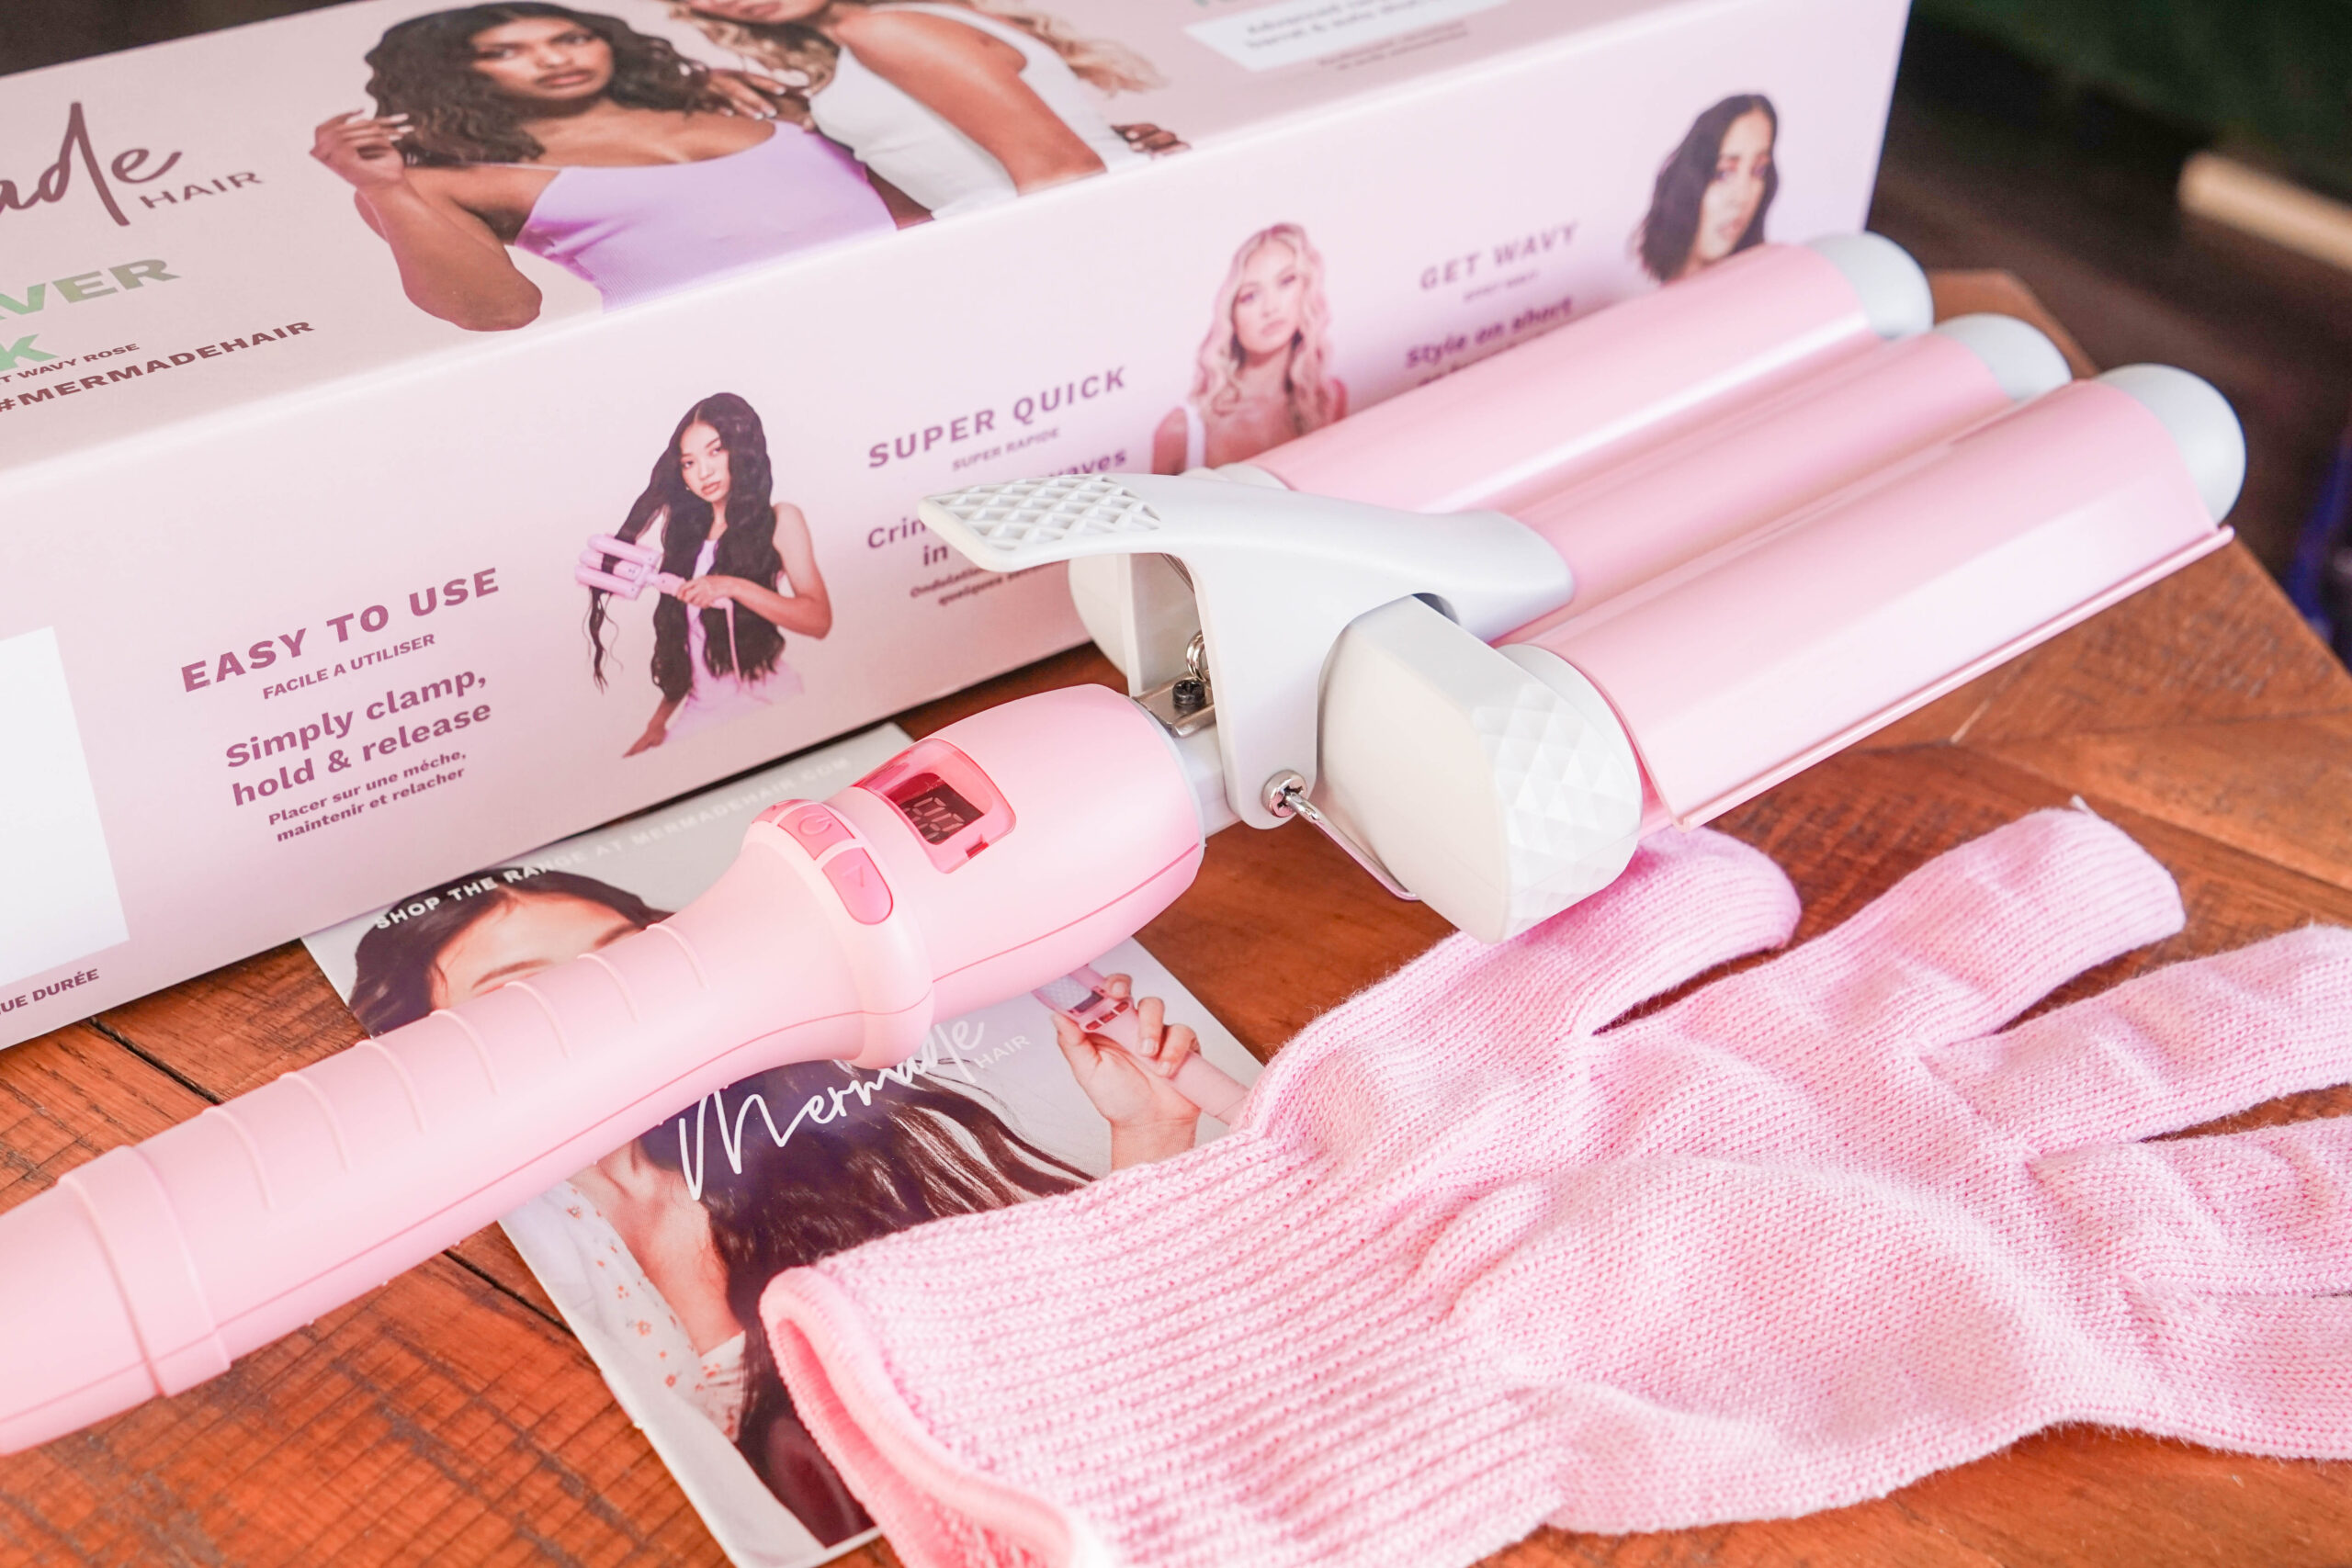
In the box of the Mermade PRO Waver, you’ll find the brand’s original pink 32 mm hair waver, an instruction manual, and a woven pink heat-protectant glove.
How is the Mermade PRO Waver designed?
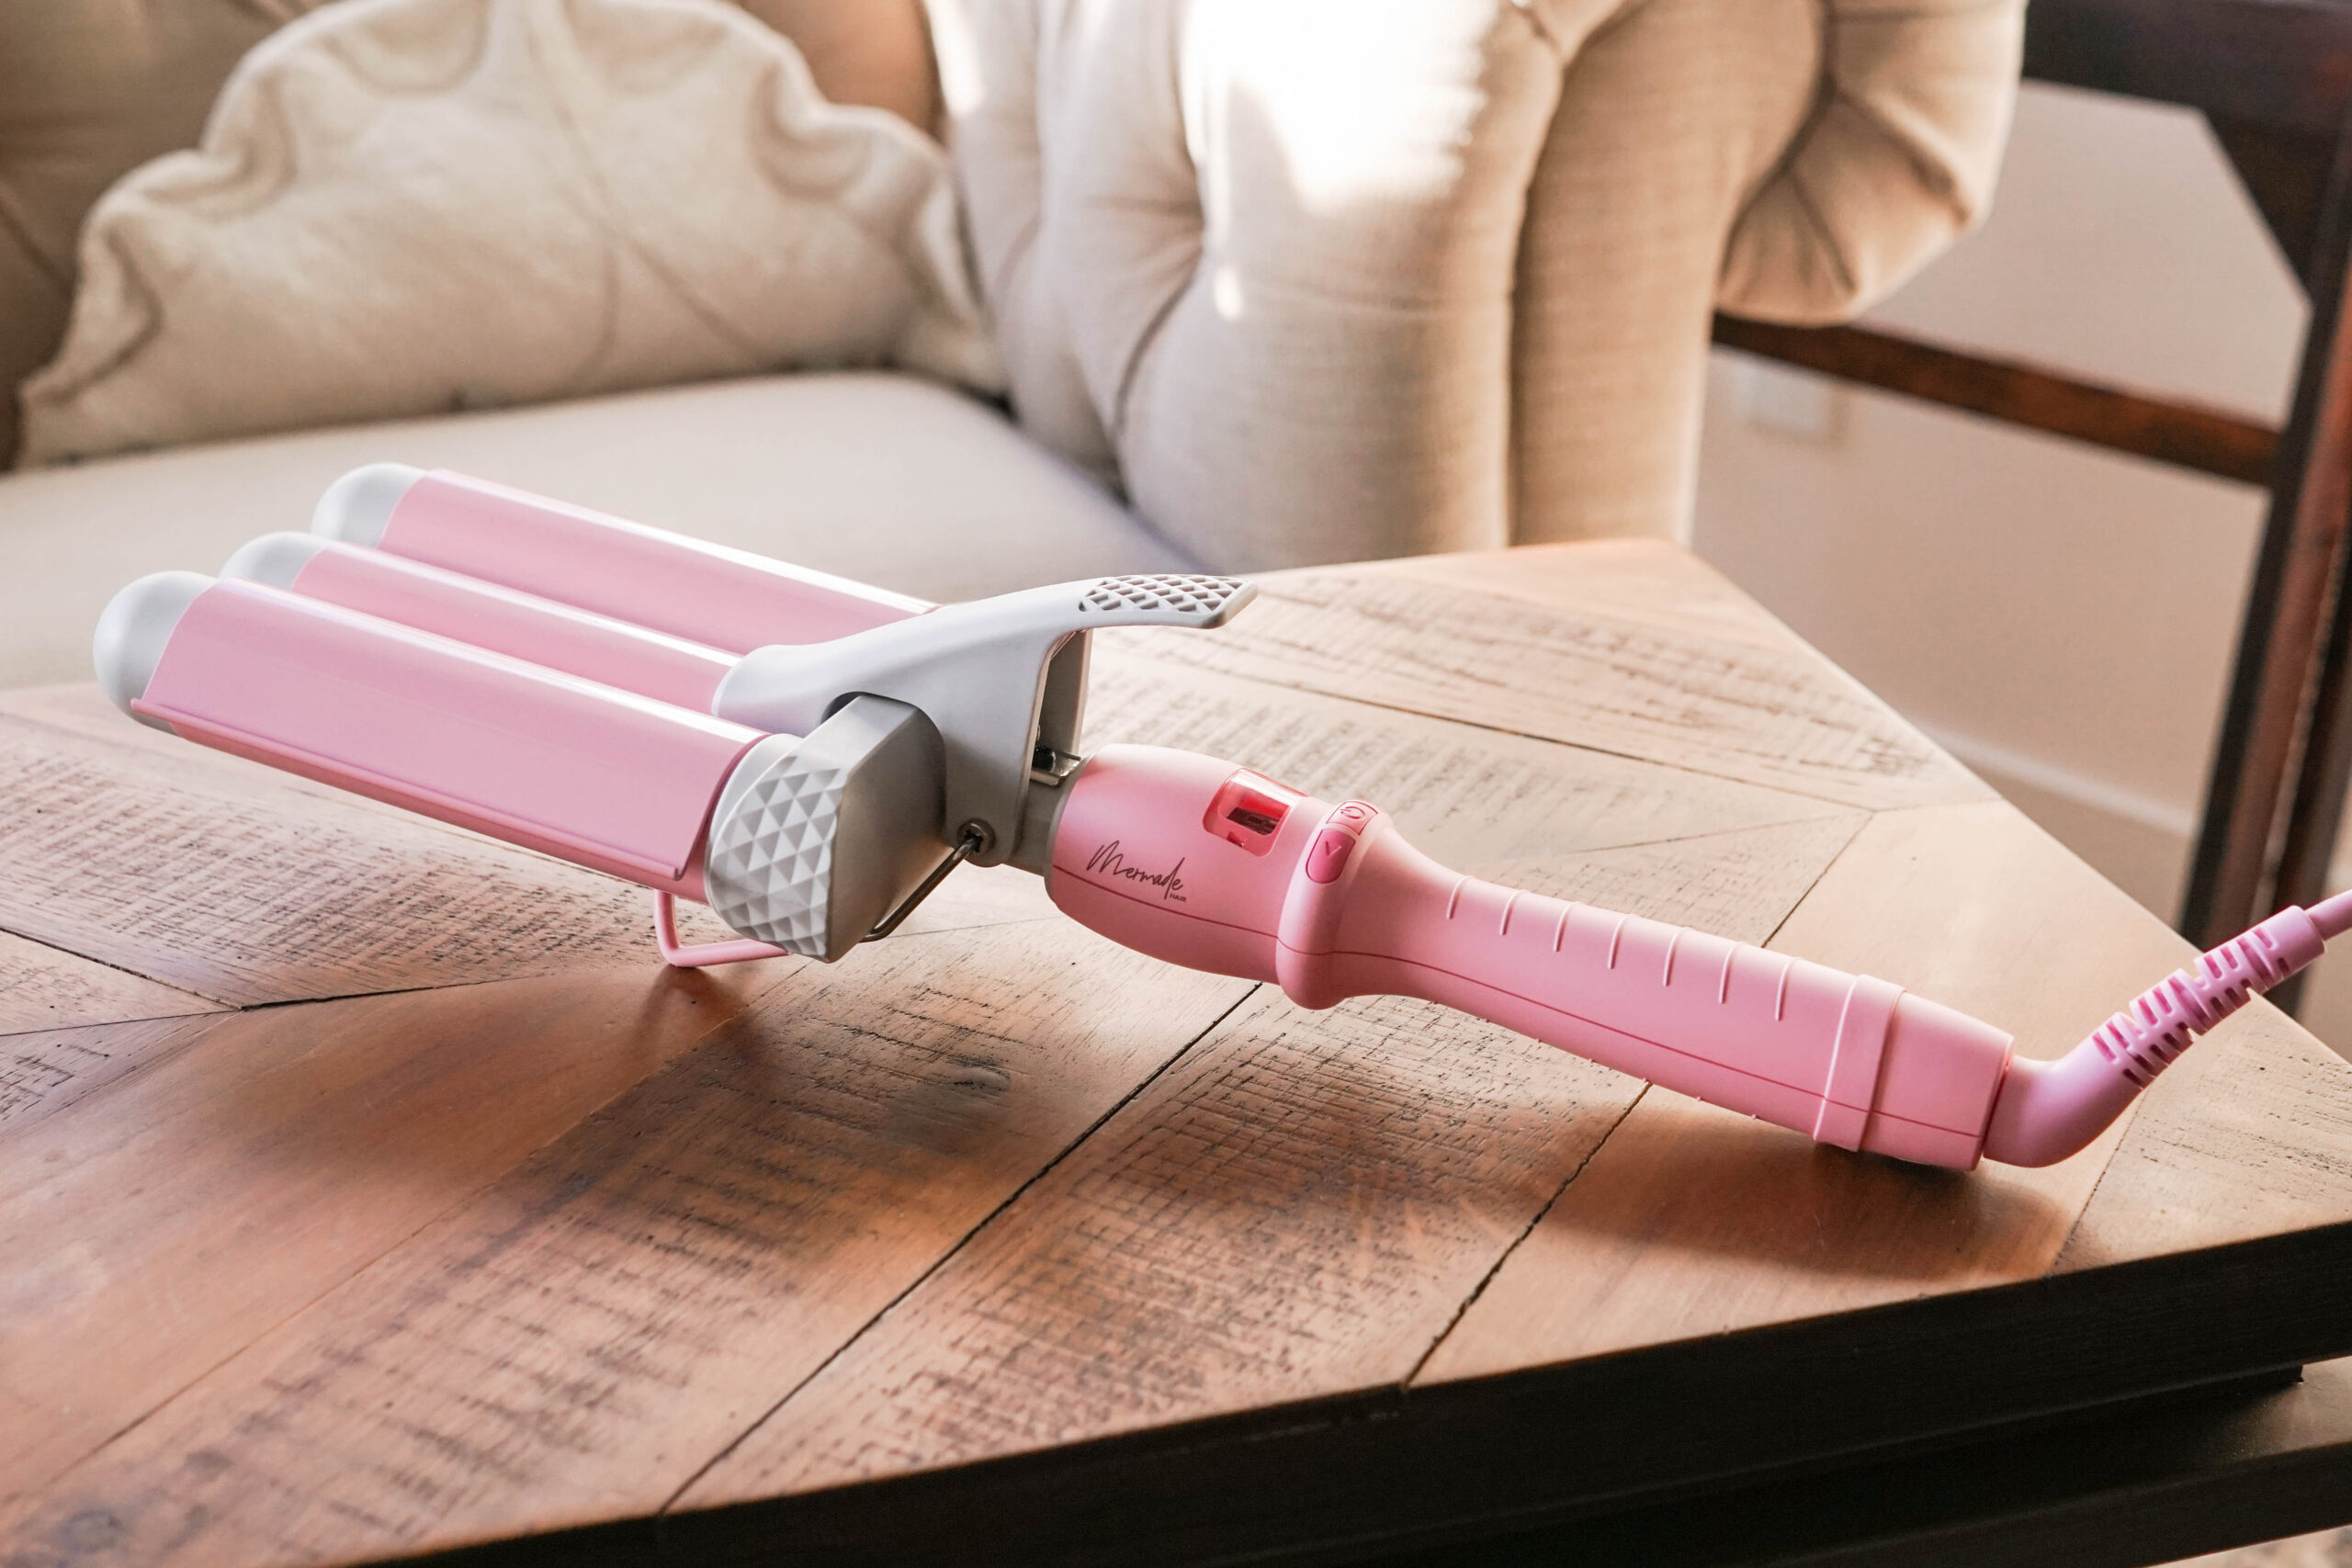
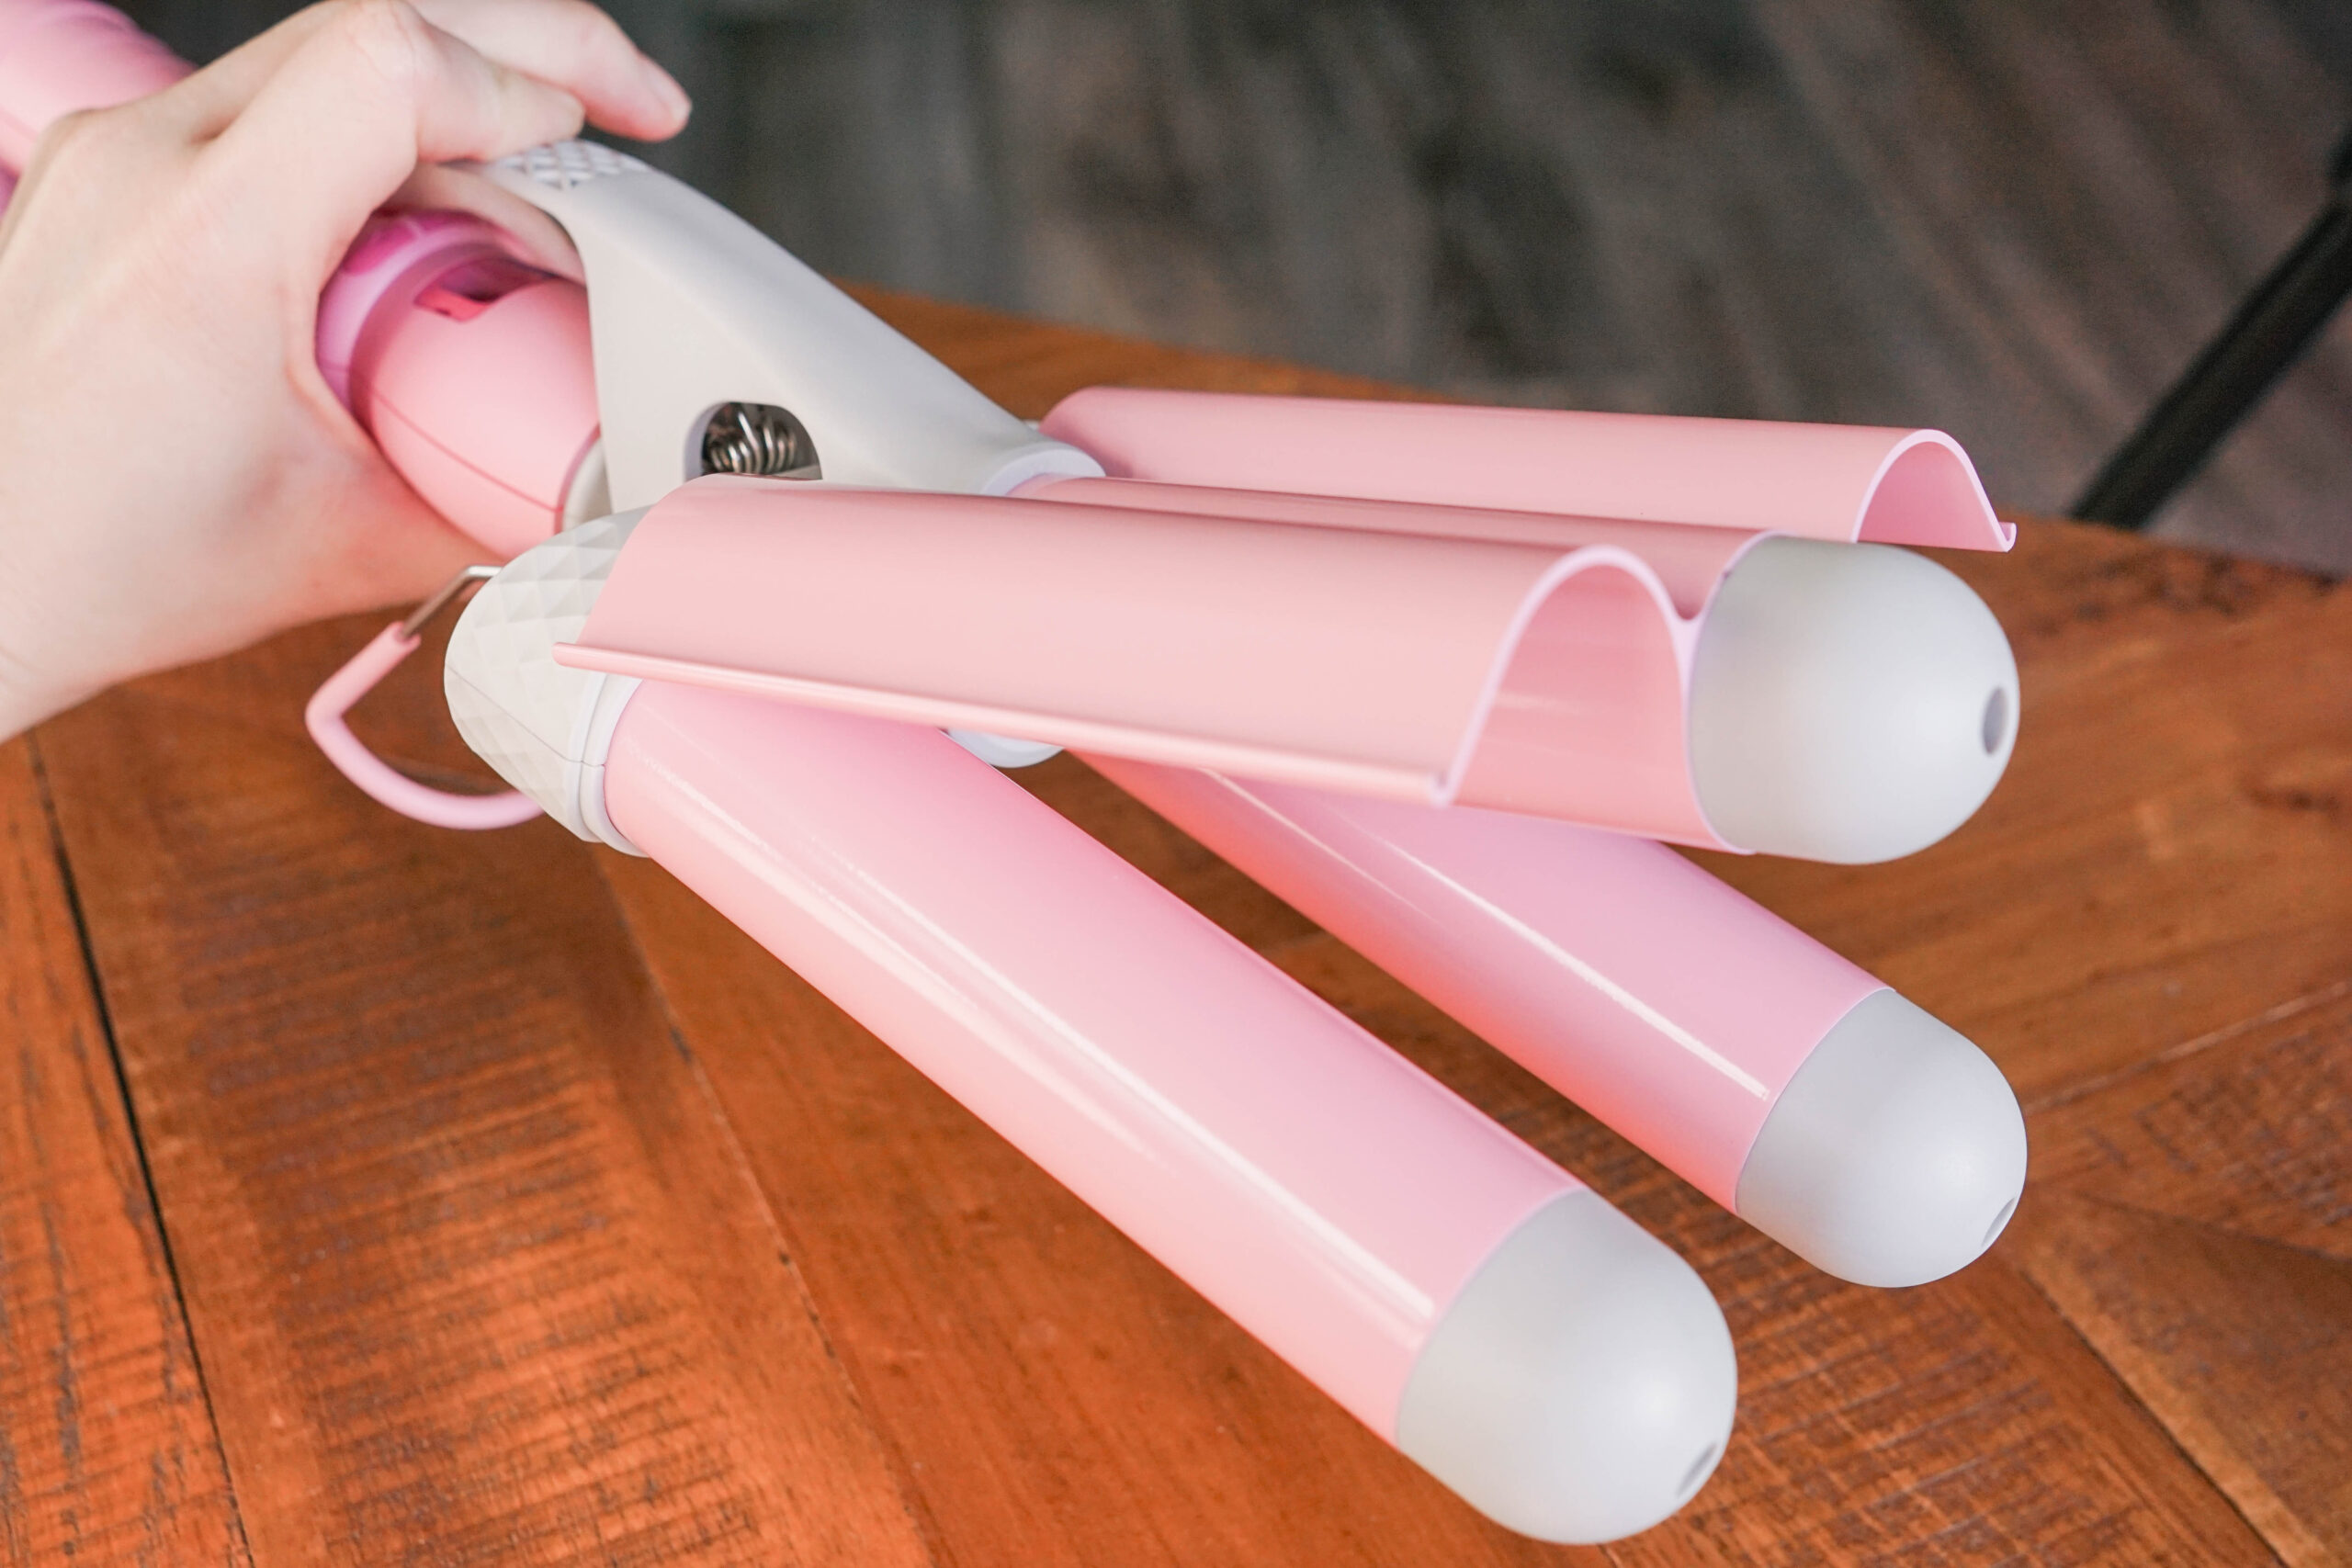
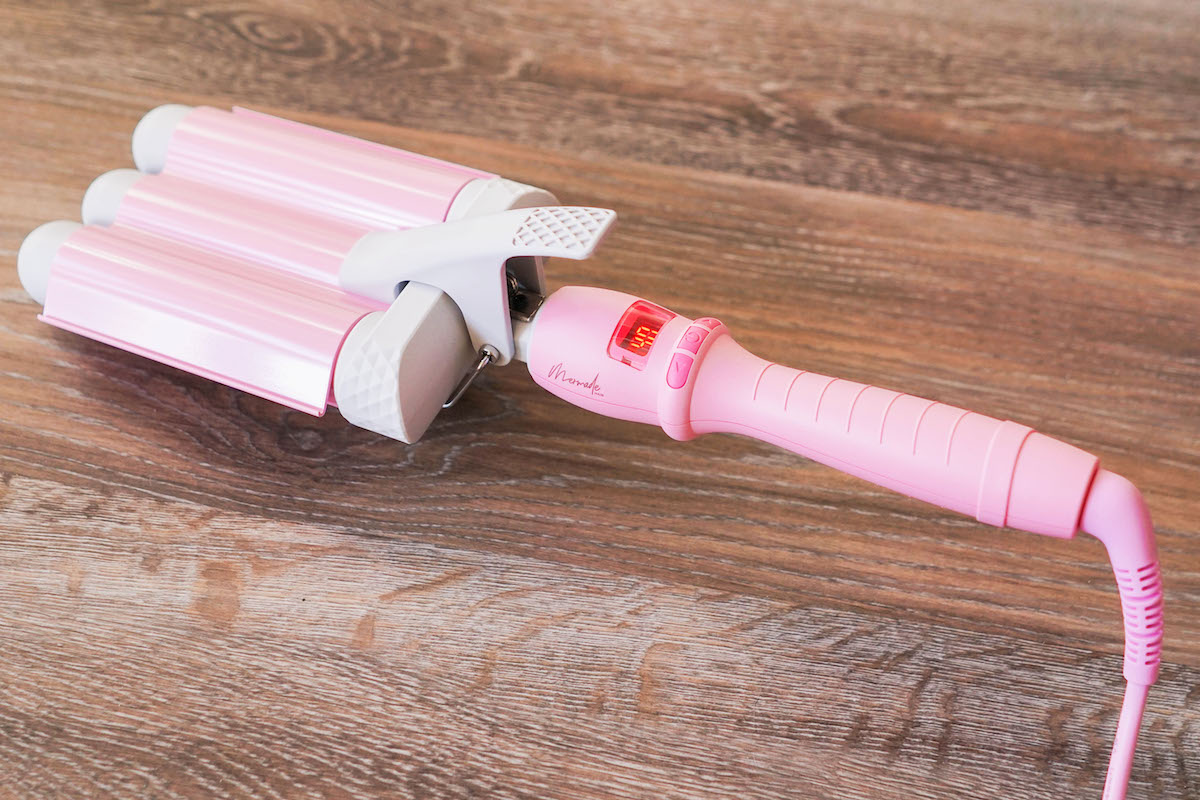
The Mermade PRO Waver is designed kind of like a triple-barrel curling iron. It’s the brand’s original product and has three big 1.25″ barrels, plus a unified clamp that gently scallops over all three barrels. The bottom of the design features a kickstand and the end includes a swivel base for the product’s plug-in cord.
The PRO is coated in pink ceramic, which is a popular material used in haircare to evenly disperse heat. You can expect smoother results and no hotspots with a ceramic barrel, which Mermade delivers on.
This iron features a 60-minute auto-shutoff and a digital heat display. It turns on to 360˚F, which the brand recommends as the heat setting to use for most hair types, but has a temperature range of 180-410˚F. Hold the power button down to turn the device off, or click it once to turn it on. This waver heats up in under 60 seconds, which is awesome. It also has real-time digital temperature feedback—great for knowing when your iron is safe to use if you accidentally set it too high or too low at first.
How is a hair waver different from a curling iron?
Unlike a curling iron, which is clamped once and twisted, hair wavers are meant to be pressed down the hair shaft. They deliver a different look and a very consistent result—your waves will always be the same shape and size when using a hair waver, unlike what you’d see with a curling iron.
Curling irons come in more sizes than hair wavers, but can’t produce quite the same look or amount of uniformity. Hair wavers deliver a beachier look, and due to their triple barrel design, tend to be heavier.
How to use the Mermade PRO Waver
To use the Mermade PRO Waver, start by prepping your hair the same way you would when using any other hot tool. Apply a heat protectant and make sure your hair is fully dry. Then, section out your hair using clips or clamps so that you’re only styling one piece of hair at a time.
I like to section my hair laterally (left/right) and in tiers (up/down). As each tier is let down, I part it into 2-4 smaller sections and style each one individually. I have thin hair, so I work with just three tiers; for thicker hair, you’ll likely need more sections. A good rule of thumb is to style the length of only 1-2″ of hair (from the scalp) at a time.
Begin waving your hair at the nape of your neck, in the lower sections. Clamp the waver on your hair and let it sit in place for 3-5 seconds. Release the clamp, then move the iron down two waves. You’ll want to re-clamp your last wave in the first barrel, which should match the curve of the wave. Clamp for another 3-5 seconds and repeat down the hair shaft.
One important thing to remember is that hair isn’t set until it’s cool to the touch! So, as you move down the hair shaft, remember not to pull on the section you’ve already done. If anything, clamp and then move your clamp (and the hair in it) slightly upwards to “scrunch” your completed section as it cools. Finish by adding hairspray for hold if desired.
For more pronounced ripples, try the Mermade Mini PRO Waver, which has 1″/25 mm ceramic barrels, or the Mermade PRO Waver Cutie, which has 0.9″/22 mm ceramic barrels. (And comes in lilac!)
My experience with the Mermade PRO Waver
My hair is fine, thin, and fragile. So, one of the features of the Mermade PRO Waver that I appreciate the most is its wide temperature range. The brand recommends creating your waves in 3-5 second intervals at 360˚F, but I use longer intervals at a lower temperature. You have to be more patient when you lower the temperature, but it’s a great option if your main concern is heat damage.
For this review, I styled my hair in 5-8 second intervals at 300˚F. This worked well for me and lasted for two days without needing touchups.
I recommend altering the product’s temperature to suit your hair, whether that’s down for finer hair or up for coarser hair. I also recommend being very aware of the angle of the iron in relation to your scalp: If it’s tipped up too far, it can crimp in a hard line right above your soft waves. Mermade compensates for this with a softly curved clamp edge, which is also helpful.
My only concern with this product is that the weighting is a little off (for me). Its barrels and cord are both significantly heavier than its handle, causing the iron to tip over often when resting on the kickstand and slide off the edge of a countertop very easily. Neither of these things pose a major safety hazard, especially as the hot surface of this tool ends before the end of the barrel, but they’re something to be aware of.
How to achieve different wavy results
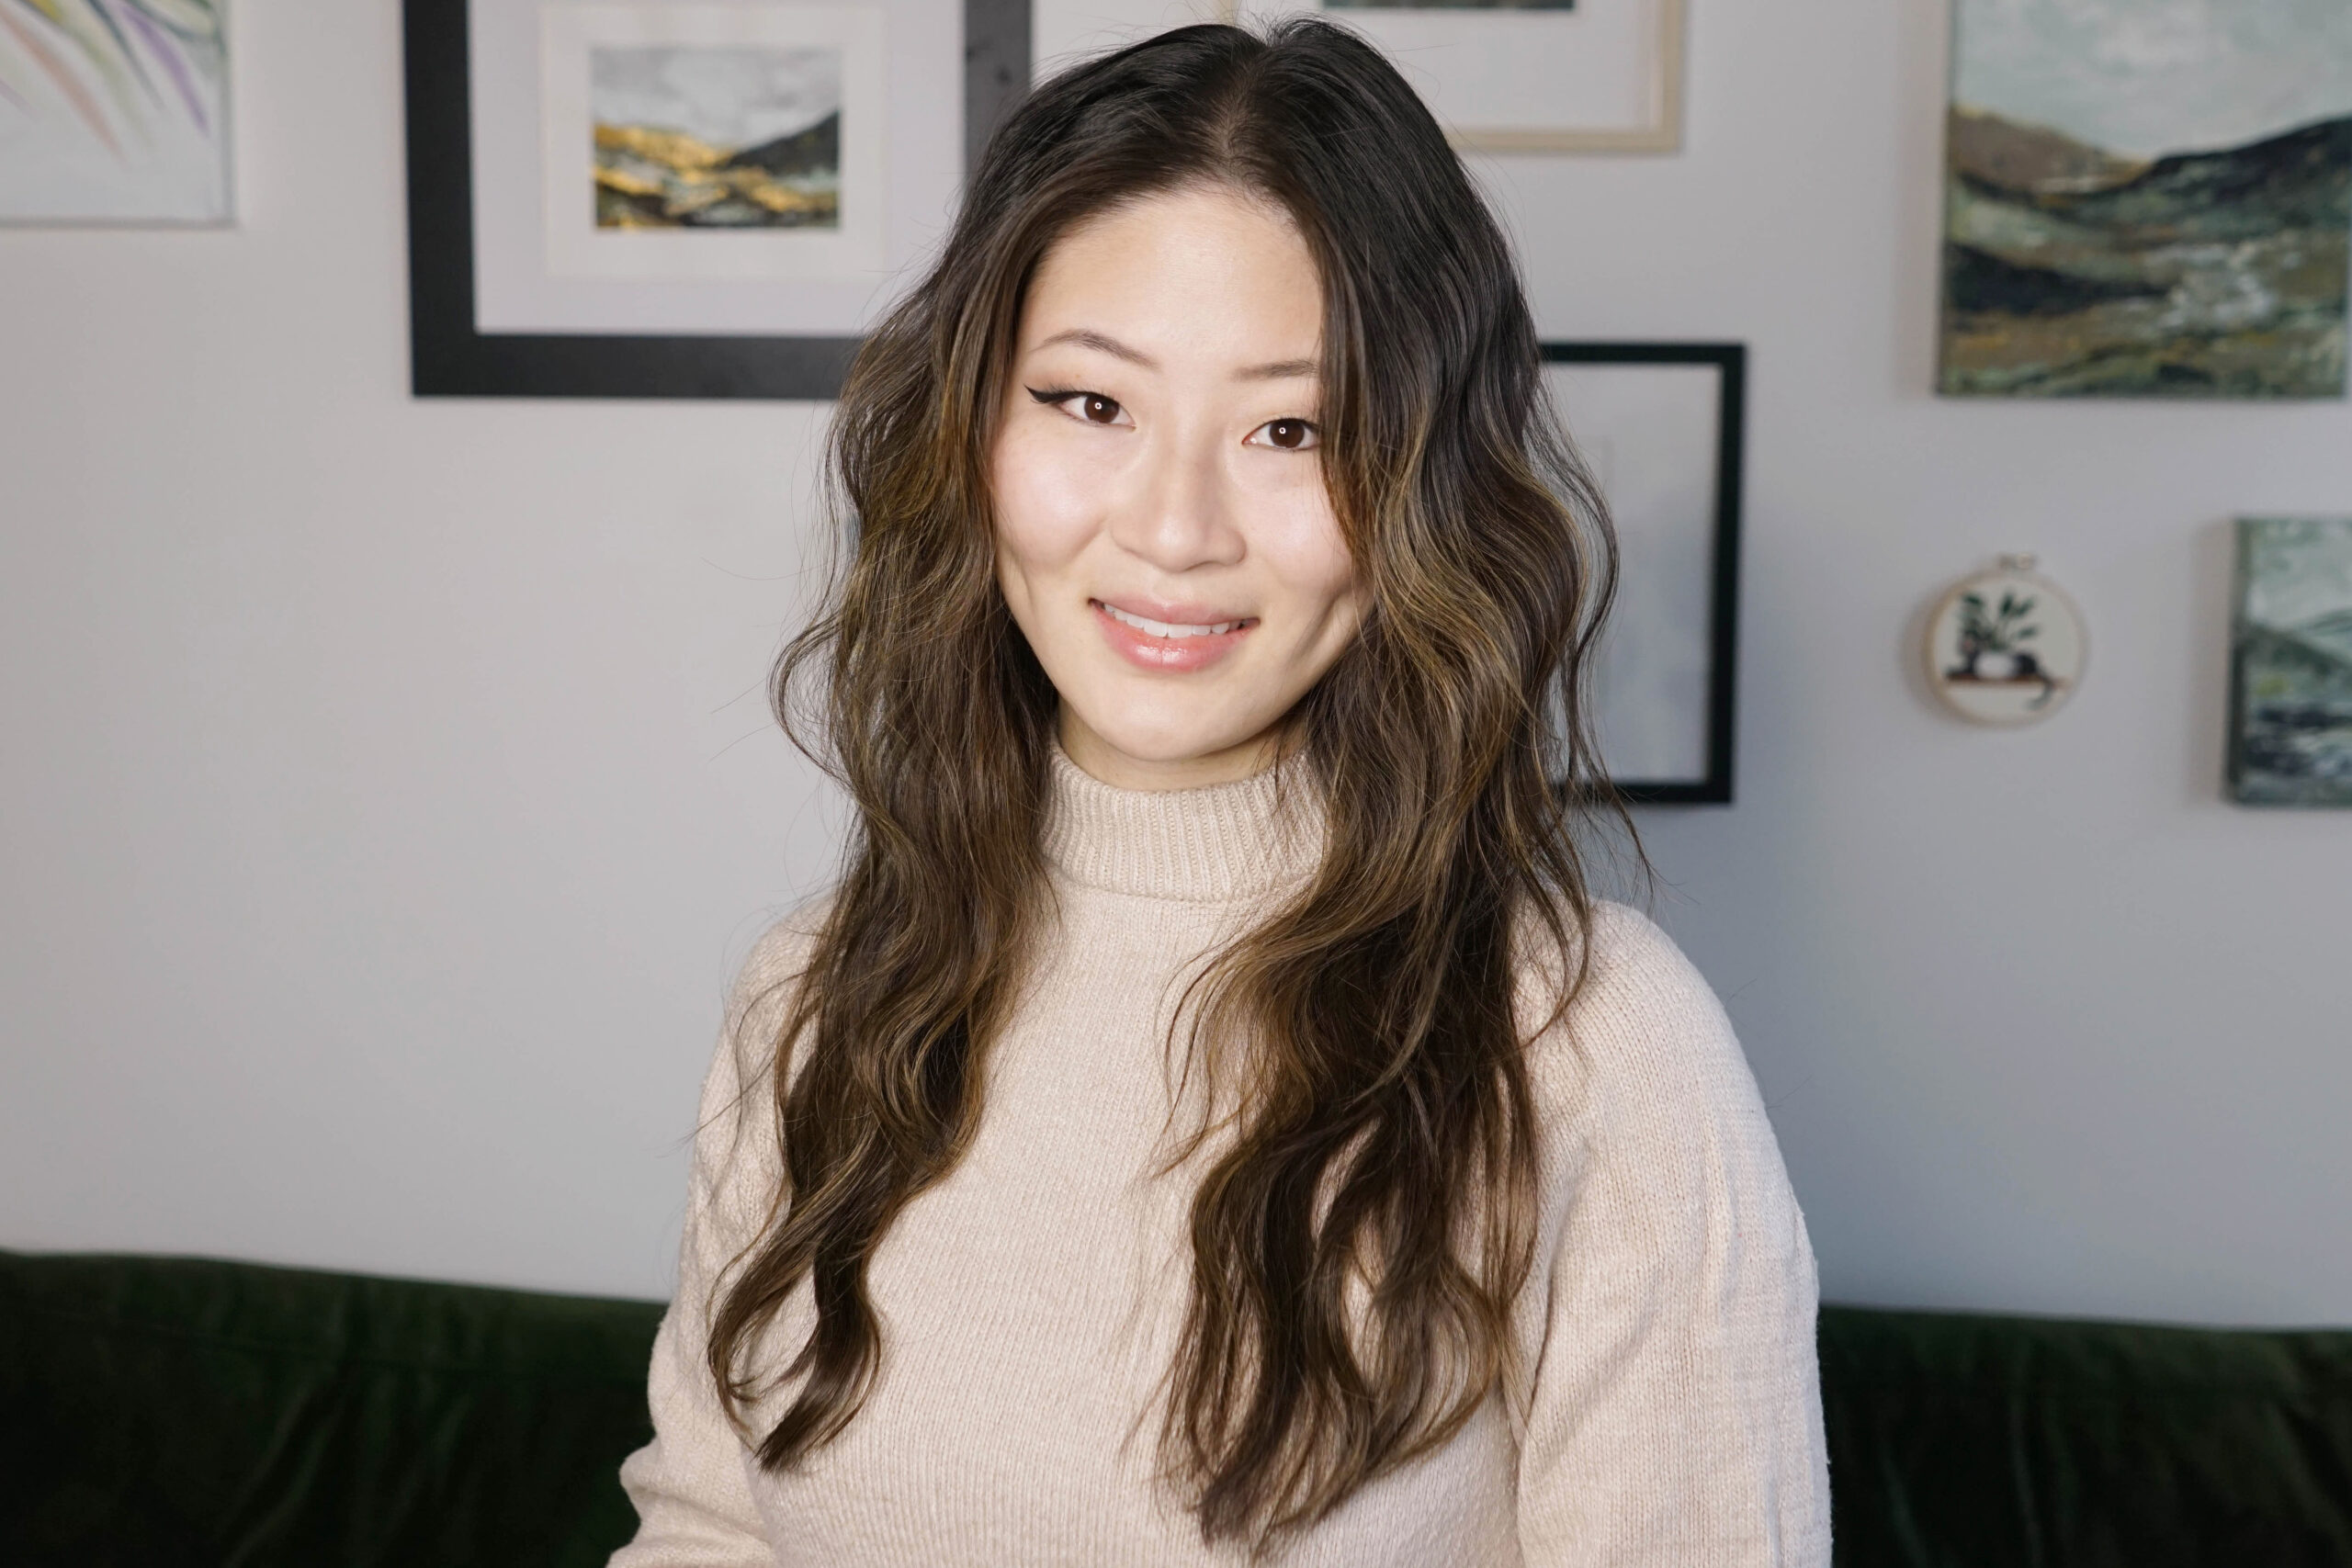
You can use this hair waver to achieve slightly different results by changing your technique. For a very quick and natural effect, like you see here, divide the hair into 2″ sections and use a lower heat setting. Choose styling products with a light hold or use them sparingly. I used a heat protectant cream to prep my hair, then finished it with a light mist of hairspray to help smooth the waves and make them last. This type of styling is great for creating a flattering hairstyle that looks like you just rolled out of bed—like maybe you were just born with great hair.
(I wasn’t, so I really appreciate tools like this one.)
For more defined waves, prep the hair with a heat protecting mousse. This will help press more structure into the hair. Use a slightly higher heat setting and smaller, 1″ sections. Let your waves cool fully before touching them, then spray with hairspray before brushing them out. This type of styling is great for creating a more polished effect, and will help your hairstyle stay in place on hot or humid events. Give it a try the next time you’re headed to something like a music festival or day on the lake.
Is the Mermade PRO Waver for you?
Overall, I really enjoyed using the Mermade PRO Waver. I haven’t owned any crimping or waving tools in years—since the mid 2000s—so this felt like a fun throwback to try out again!
Today’s hair waver is more relaxed than those of the 2000s, and I love the updated look. It looks natural and effortless, and it’s easy to pull off for an everyday look. I find hair waving to be a more difficult technique right off the bat than hair curling—keeping each wave level can be a particular struggle—but it involves just one motion over and over again, so you’ll get the hang of it quickly. The Mermade PRO Waver is a great product at a very good price, and it consistently produces flattering, low-key hair.
Shop the Mermade PRO Waver online at Best Buy today.


