
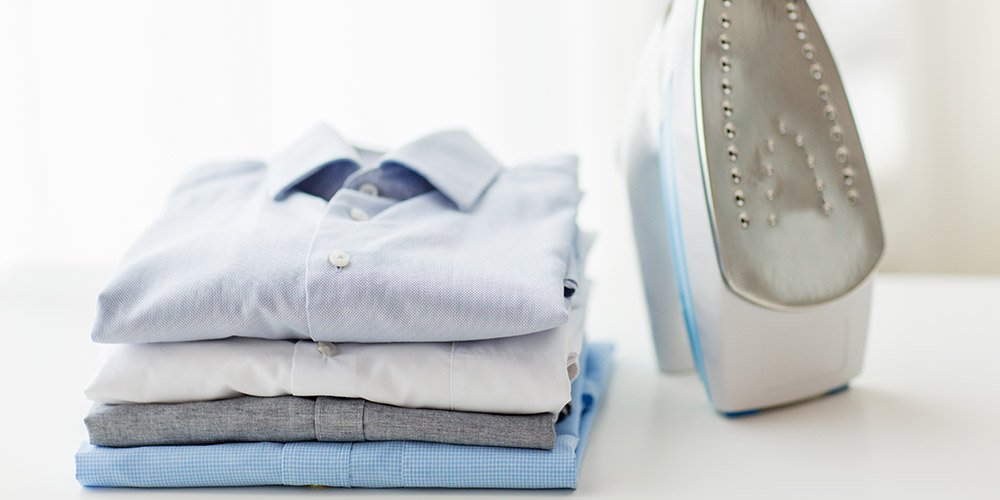
I have a confession to make—I absolutely loathe ironing. So much so that not only do I have a dress shirt hanging in my closet that I haven’t worn in months because it is ridiculously wrinkled, but that I still ask my dad to iron my clothes when I am visiting for special occasions. It’s a problem. That’s why I was excited to write this post about how to iron a dress shirt. I was forced to do some research, and now I get to share my findings with you!
A good iron is essential to a nicely pressed shirt
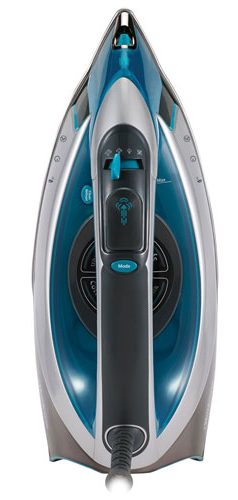 It goes without saying that you can’t iron a shirt without an iron, unless of course you are MacGyver in which case you could probably make do with a toothpick and an elastic band. But you are not, so an iron is essential. However, not all irons are created equal. For things like dress shirts and pants, you want an iron with a steel, ceramic, or titanium-coated sole plate, high heat capability, and a steam delivery system.
What’s a sole plate, you ask? It’s the metal part of the iron that actually presses down on your clothes, and it should glide easy so as not to snag or stick to the fabric. As far as heat capability is concerned, generally speaking, the higher the wattage of an iron, the faster and hotter it gets, which means a better and faster ironing job, so look for a wattage of at least 1400. Lastly, your iron should have a steam delivery system to produce moisture and help get even the toughest wrinkles out of your shirts. A great option that fits all these criteria is the Sunbeam Steam Master Iron.
Ironing boards are great partners of irons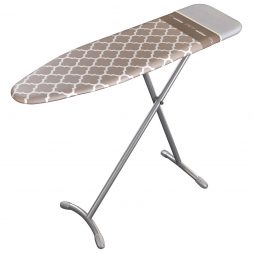
Until recently I did all my ironing on my bed. I’m not kidding. I would lay my clothes out as lat as possible and iron directly on top of my duvet. Needless to say, I tend to walk around at least somewhat wrinkled most days. To make the most of your ironing, a sturdy ironing board is essential. This ironing board from Laundry Solutions is a great option because it is height adjustable and features stain-resistant cotton fabric and a built in rest area for convenience.
The basics of ironing a dress shirt
Now that you’ve got your iron and ironing board sorted out, it’s time to start ironing.
 Read your shirt’s label. I can’t stress this enough. In a number of my futile attempts at ironing I’ve had the iron’s heat set way too high and subsequently have melted many silk and synthetic shirts. Most dress shirts are either cotton or a cotton blend so can withstand more heat, but just do yourself a favour and read that label!
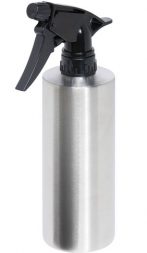
- Spritz your shirt with water. To get the best results possible, you’ll want to spritz your shirts with a water bottle so they are a tad moist. Believe itor not, but ironing clothes when they are fully dry makes the process a lot more difficult–who knew? As you iron and your shirt dries, make use of your iron’s built-in sprayer to keep your clothes damp. Or, if your iron doesn’t have a sprayer, just keep using that spray bottle and you’re set.
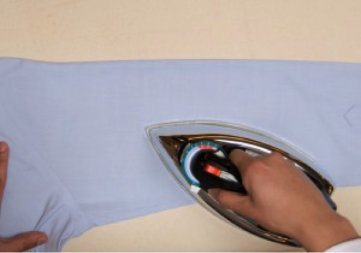
- Start with the back. In my research I found a few websites that said you should start by ironing the collar of a shirt since it is the part that frames your face so therefore the most important, and others that said to start with the arms. However, the prevailing consensus is to start by ironing the back of the shirt. To do so, unbutton the shirt completely and spread it out on your ironing board so the narrow end of your board is tucked into the shoulder of your shirt, and the side seam is in line with the side of the board. Keep the shirt flat and apply moderate pressure to the iron. Use moisture when needed, and when done, move to the other side.
- Move on to the sleeves. Once you’re done with your shirt’s back, it’s time to move on to the sleeves. Lay the sleeve out on your ironing board and flatten so the seam of the sleeve is folded neatly. Start from the armpit and iron towards the cuff.
- Now tackle the front of the shirt. Use the narrow part of the iron and the narrow part of the ironing board to get into the shoulder area and around the buttons. Keep in mind this is the part of your shirt that is most visible so it’s important to do a good job! Make sure you keep your shirt damp as you iron to get rid of as many wrinkles as possible.
- Last but not least is the collar. I never thought I would write these words, but to iron your collar you need to “pop” it. By that I mean that it needs to be laying flat on the ironing board with the back facing up. Spritz it with a decent amount of water and iron it from the middle back to each tip. One thing to note is that the collar is thicker than the rest of the shirt (hopefully), so might need a little more pressure, or a little more moisture to get it nice and pressed.
So there you have it! All you need to know to get a professionally ironed dress shirt. All that said, there are times when you might be in a bit of a rush, so a friend of mine has just told me this little magical tidbit of wisdom: if you need to get rid of wrinkles quickly, just toss your wrinkled shirt into the clothes dryer with a damp sock for five to 10 minutes, and you’re golden!

")
