
The battery-powered D-Link Wi-Fi Smart Water Sensor is a very practical style of smart home gadget that we don’t talk about very often. Smart water sensors have been in Canada for over 5 years now, but there still aren’t many of them. This addition to D-Link’s repertoire is a different facet of their smart home security toolkit. For me personally, while I’m typically reviewing really nice to have gadgets like light switches, locks, light bulbs, and voice assistants, it’s nice to review a product that’s close to home for me. I’ll explain more about that later.
What is the D-Link Wi-Fi Smart Water Sensor?
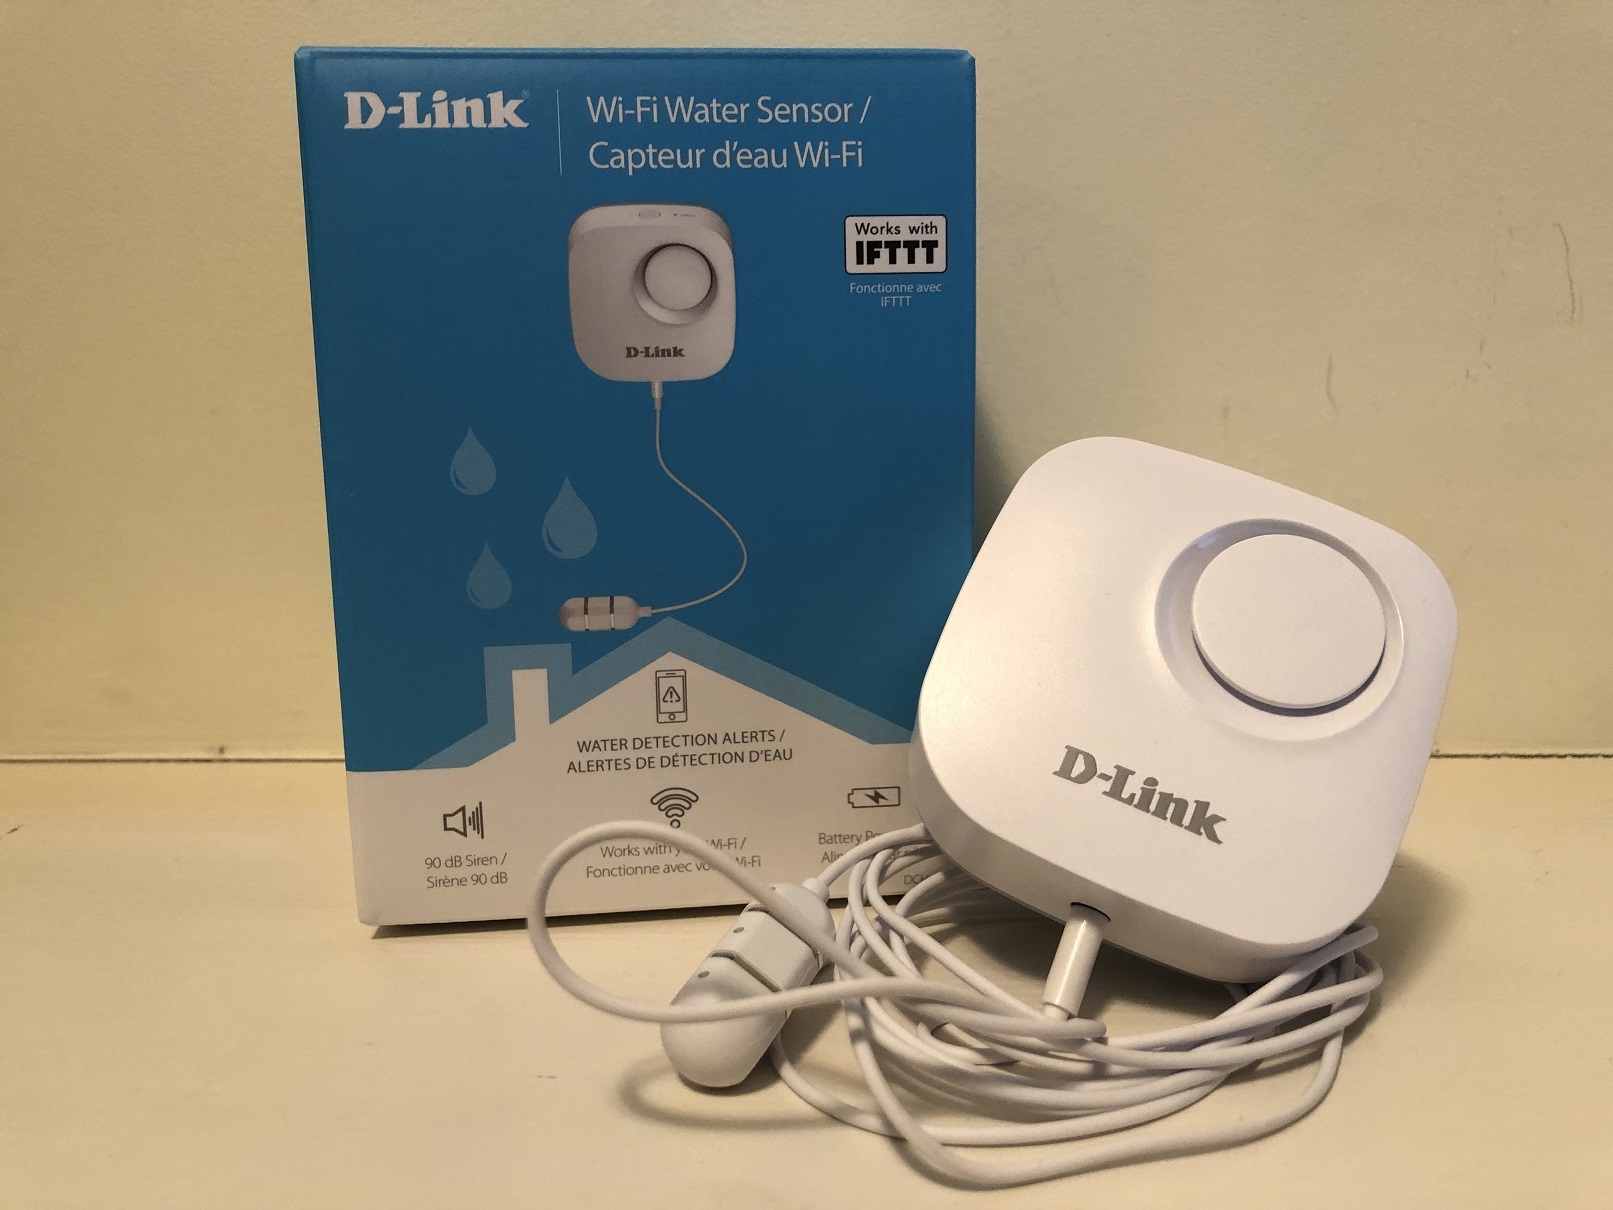
The D-Link Wi-Fi Smart Water Sensor is designed to help alert you to a leak or burst in your home so that you can take control of it before too much damage is done. The device is pocket-sized and runs on 2 AA batteries (with an 18-month lifespan) and can mount to your wall. The water sensor itself is a little 6-foot wire probe that extends out of the mount. That mount also serves as an alarm. Should you have a leak or burst that submerges the sensor probe, a loud 90-decibel alarm sounds locally while the sensor alerts you in real-time on your phone.
Getting Started with the D-Link Wi-Fi Smart Water Sensor
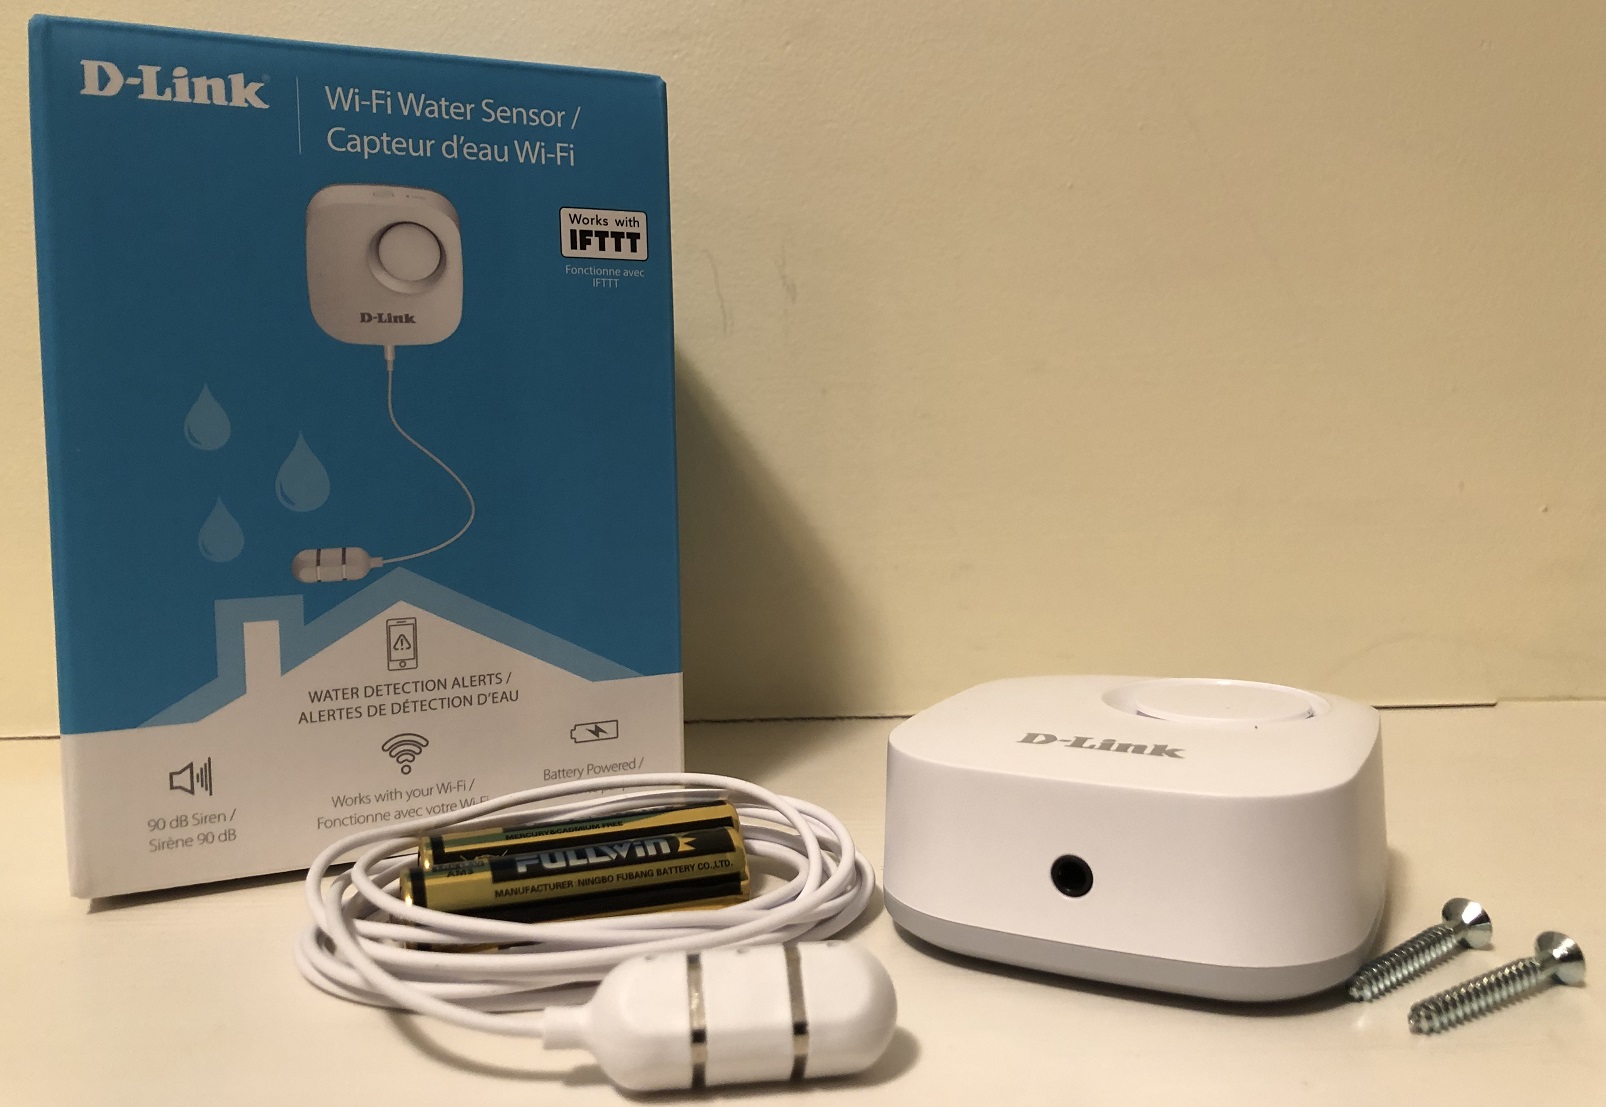
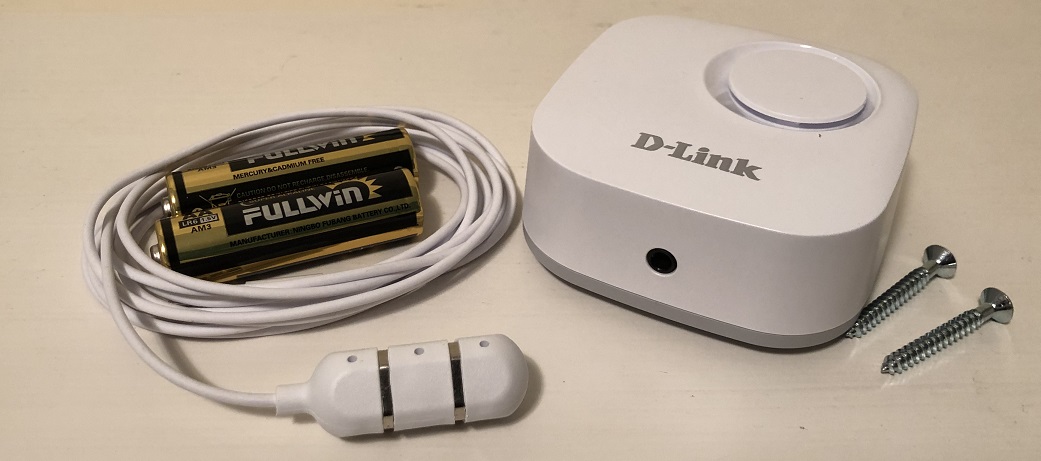
When you open the box, the presentation of the package is pretty simple. You’ll have the sensor unit itself, batteries, and a couple of mounting screws. Everything is included in the box. I really wish that more home automation companies would take the same approach and just include batteries. It’s such a small ask, but with the number of products I review, I’ve had to make sure I buy and keep spare batteries just in case since it seems to be about 50/50 whether or not they’re included in the box.
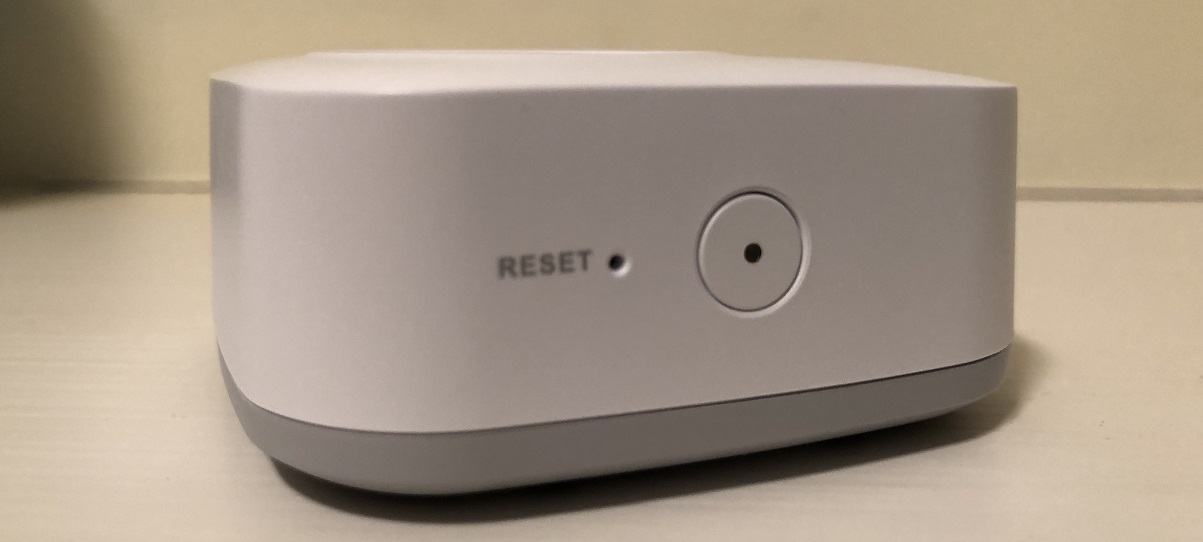
One thing that the device doesn’t come with that you might need is a pin or a paper clip. When I pulled the device out of the package the first time, I noticed that the reset button is inside a small pin-shaped hole. You’ll have to rely on this if you don’t get your setup right the first time.
Setting up and Testing the D-Link Wi-Fi Smart Water Sensor
![]() Setting this water sensor up is really easy. It’s so easy, in fact, that I think the hardest thing is downloading and setting up the Mydlink App (which is a free download on the iOS or Android App store). You’ll have to actually confirm your registration before you can access your account, so set aside about 5 minutes to get that done and read through their terms and conditions. If you already have existing D-Link smart home hardware (like their security cameras), it’s the same app.
Setting this water sensor up is really easy. It’s so easy, in fact, that I think the hardest thing is downloading and setting up the Mydlink App (which is a free download on the iOS or Android App store). You’ll have to actually confirm your registration before you can access your account, so set aside about 5 minutes to get that done and read through their terms and conditions. If you already have existing D-Link smart home hardware (like their security cameras), it’s the same app.
Once you’ve registered, follow the instructions on the quick start guide to place the batteries, plug the wire in, and synchronize the device with your account. The only problem you might have with this setup is that the device may have trouble finding your Wi-Fi network. If this happens and the device remains in a perpetual half connected state (if the LCD sensor isn’t flashing orange but isn’t connected to your Wi-Fi network), you’ll probably have to take a paper clip or pin and reset the device back to its factory settings.
Before you attempt to permanently mount your D-Link Wi-Fi Smart Water Sensor anywhere, make sure that you test to see if it works (I do a quick water test in the embedded video). One thing to keep in mind is that the alarm itself is not waterproof. If you submerge the alarm device, it will malfunction. With this in mind, the sensor probe wire is about 6 feet long, so you should mount the alarm piece high enough that it can chime for a long time before it would ever get wet.
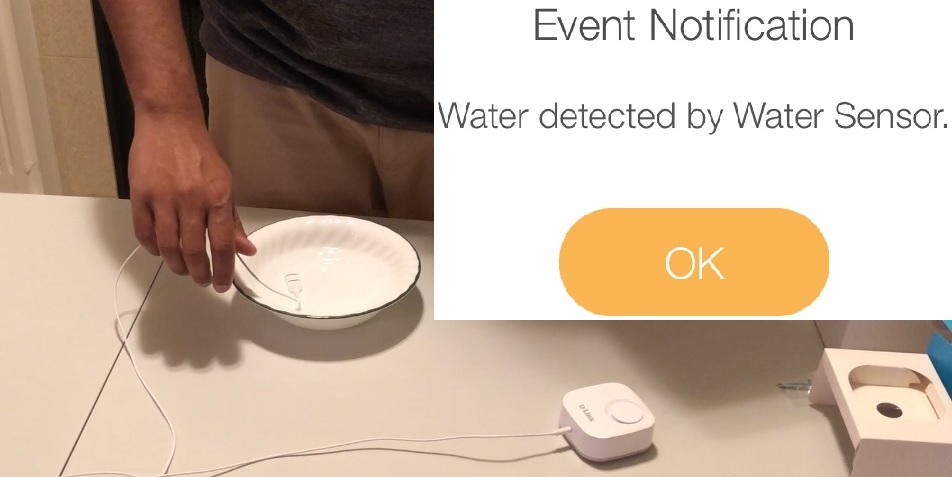
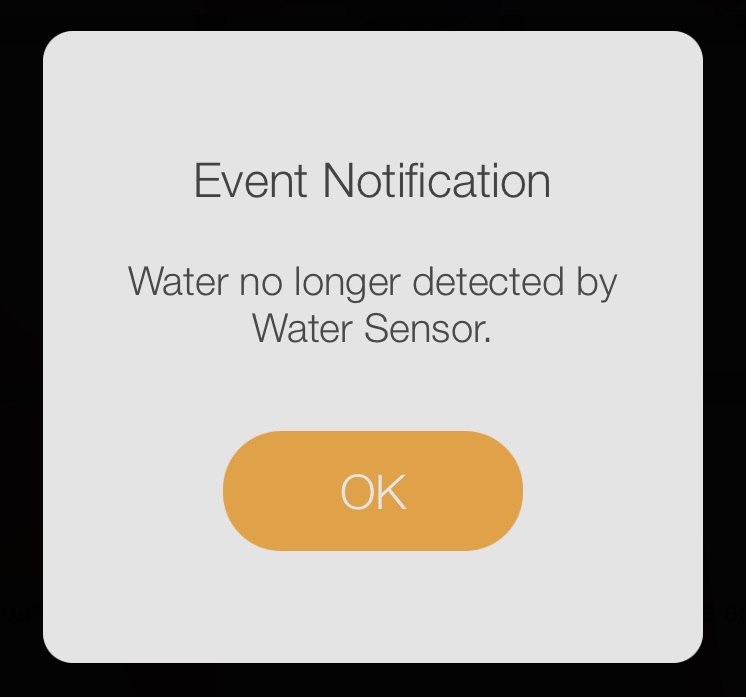 When you immerse the probe sensor in water, the device will immediately chime and send a signal to your smart device (or devices). The alarm is a fairly high-pitched continuous shrill tone that goes until the sensor has been removed from the water. Above you can see the notification that the app sends you when an event happens. On the right side, you’ll receive the message when it ends. I found that from the time an event started to the time I got notified, it was about 5-10 seconds. This was also an oddly sticky point for the app because every time I tested it, it would send me one notification that there was an event happening, and then about 5-10 more notifications that the event had ended. I’m sure that if it were an event in real life, I’d probably be pretty relieved, but since this was just a glorified fire drill (water drill?), it was a bit weird.
In any event, the D-Link Wi-Fi Water Sensor is really easy to put together and should take you no more than 5-10 minutes from unboxing to operation.
Connecting IFTTT to your D-Link Wi-Fi Smart Water Sensor
If you have supported IFTTT devices, you can bring together some of your other smart home products and provide another layer of security. There aren’t a lot of recipes to choose from right now, but there are some helpful ones on the website. For example, if you have security cameras positioned in a room where you have one of these sensors (like the garage or laundry room), you can trigger recordings to begin when a water event happens. If you have Philips Hue lights, you can set your lights to flash on and off for a similar event. It just adds an extra layer of notification, especially if you’ve placed a sensor in a place where the alarm might be obscured.
I’ve now got this device installed in my laundry room, which has the washing machine, hot water tank, the incoming supply line from the city water main, and the main outgoing sewage pipes from upstairs. This is probably the first place I’d recommend you put one of these sensors, and then consider some of the other high traffic areas (bathrooms, kitchen, etc.) and some of the less visible places you have pipes running through where you wouldn’t immediately check for leaks (like crawlspaces).
Why You Should Consider the D-Link Wi-Fi Smart Water Sensor
In my other life, I work really closely with Home Insurance policies, and over time, water-related claims continue to be a huge reason why you see your policy premiums rise year after year. In fact, water-related incidents account for over 50% of home insurance claims across Canada every year, causing HUNDREDS of millions of dollars worth of damage. In 2014 alone, Aviva Insurance paid out nearly $200,000,000 in water-related claims.
In a wet country like ours, water damage has passed some of the other things you may have thought were the most costly, like fire or theft. While you can’t stop every single instance from happening, you can really help prevent and control things within your home. Spending a small sum of money today to get these sensors in your home can save you thousands of dollars later on, as well as the inconvenience of potentially pulling up floors, or worse—having to move out temporarily if the damage is bad enough that more than just a floor needs to be pulled up. There’s no price for that sort of inconvenience.
At the end of the day, the D-Link Wi-Fi Water Sensor won’t stop that toilet line from breaking, or that hot water tank from leaking, but it will give you ample enough notice to get to the source of the problem and deal with it before it causes a ton of damage. You can obviously do your part by replacing visible lines every few years (like toilet supply lines and the braided hoses that feed water to your washing machine), but a device like this will go a long way in helping you to manage a leak or burst and the damage it causes. I highly recommend getting these sensors and placing them in some of your most at-risk areas at home so that you’ve got ample time to deal if something happens.
The Battery-Powered D-Link Wi-Fi Water Sensor is now available at Best Buy and online at BestBuy.ca along with a host of other D-Link smart security products.


cannot read qr code on my device dch-s161,need a software download,pleaase,thank you
Hi Ulderic,
I sent your comment to the smart camera team at Best Buy and they received this reply from D-link:
“It looks like the customer is trying to scan the QR code with his phone camera, instead of the mydlink app.
The customer needs to download the mydlink app, tap Add new device and then scan the QR code at the bottom of the water sensor.
Let us know if you have any other questions,
Martin
Comments are closed.