
Today, I’m reviewing the Lutron Diva Smart Dimmer Starter Kit. I’ve had a smart home for the past six years and back in 2017, I retrofitted all my lights to smart light bulbs. However, if I could do it all again, I would have instead retrofitted all my light switches to smart switches. I finally get to make that happen.

The Diva allows control of lights by voice, at the switch, through the Lutron app, or the Pico Smart Remote. In addition, for my bedroom, I’m installing the Lutron Claro smart switch. This allows me to turn the light off from bed with my voice. Both these products are compatible with an existing Caseta smart light system. So how did these smart light controls perform?
Unboxing the Lutron Diva Smart Dimmer Starter Kit
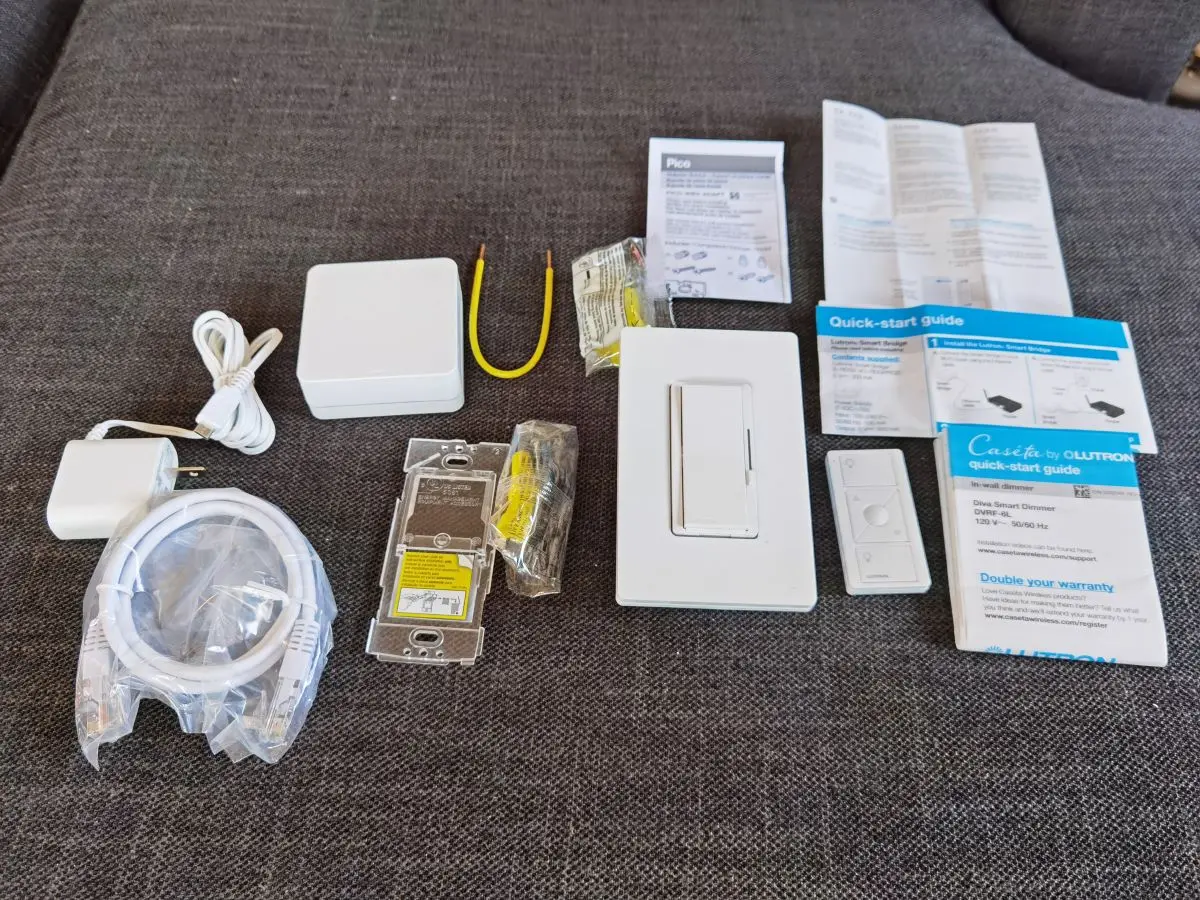
The Diva starter kit comes with everything you need to install the switch. You will however, need two tools—a flat-head and Phillips-head screwdriver. In the box is the in-wall dimmer, five wire connectors, and two screws. In addition, the starter kit includes the Lutron Smart Hub and an Ethernet cable.
For most people, this is an easy DIY installation. However, you should be comfortable with electrical work if you plan on doing this yourself. If you don’t have any previous experience, I recommend getting an electrician or someone more experienced to do the install.
What bulbs work with the Diva smart dimmer?
The Diva dimmer works with LED, CFL, halogen, and incandescent light bulbs. It’s a great smart solution for homes with a variety of different types of lights. For LED and CFL light bulbs, the Diva works with up to 150W halogen bulbs. Incandescent light bulbs can be up to 600W. Thankfully, you can mix and match between the four types of energy efficient, dimmable light bulbs.
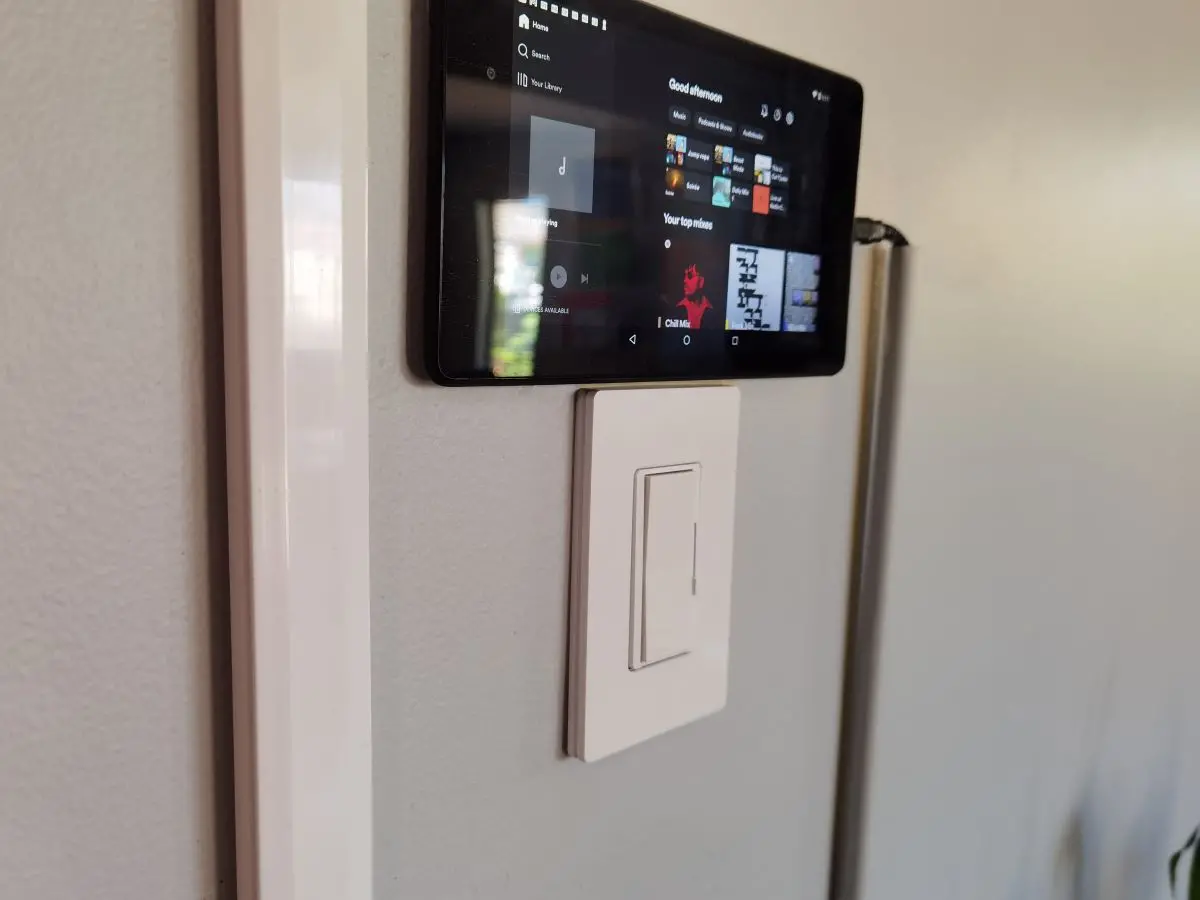
Installing the Diva smart dimmer
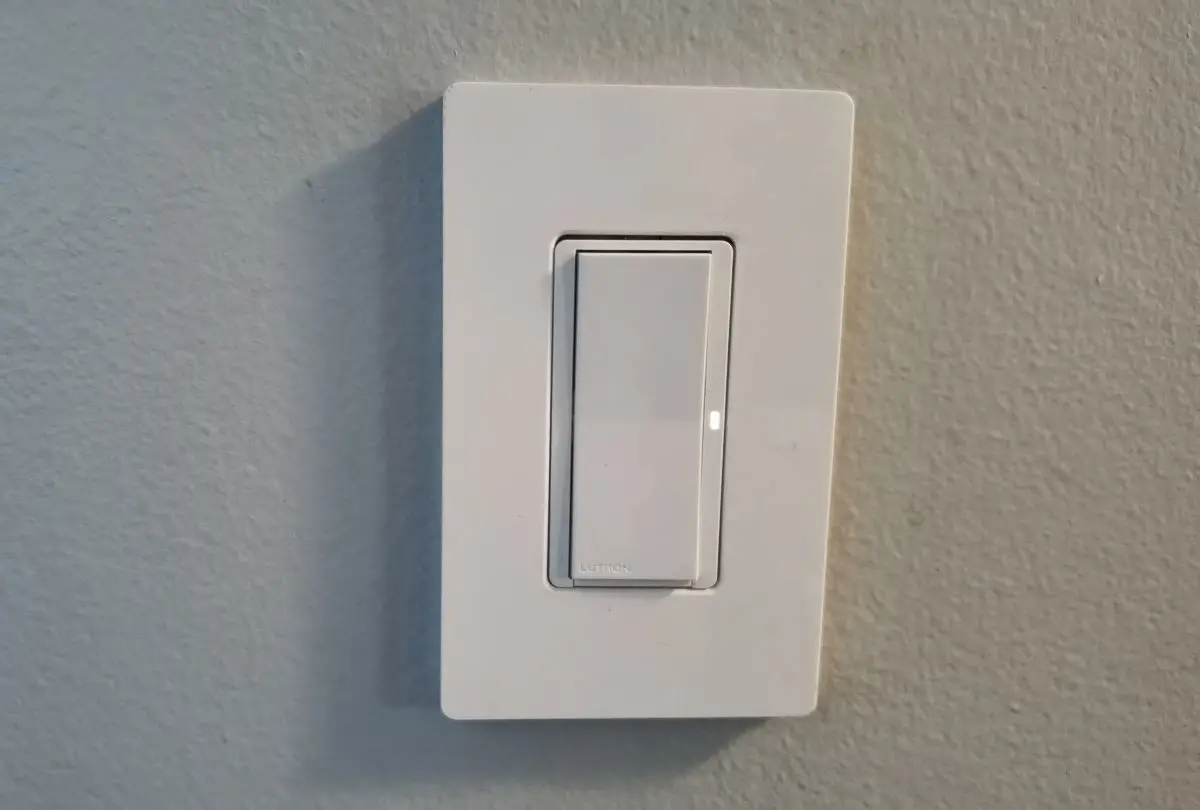
I’m installing the Diva smart dimmer in my living room. For the most part, I’m comfortable doing electrical work but only when I’m certain the power is off. My circuit breaker is old and not properly labelled. To find the right breaker, I turned the lights on and toggled through the breakers until the light went off. Next, I removed my existing dimmer switch. Coincidentally, it’s a Lutron dimmer switch except it’s not smart. It looks almost identical to the Diva smart dimmer so I knew the install would be a breeze. I removed the wires, replaced the dimmer switch, and reattached the wall plate. After that, I removed the light switch in my bedroom and replaced it with the Lutron Claro smart switch.
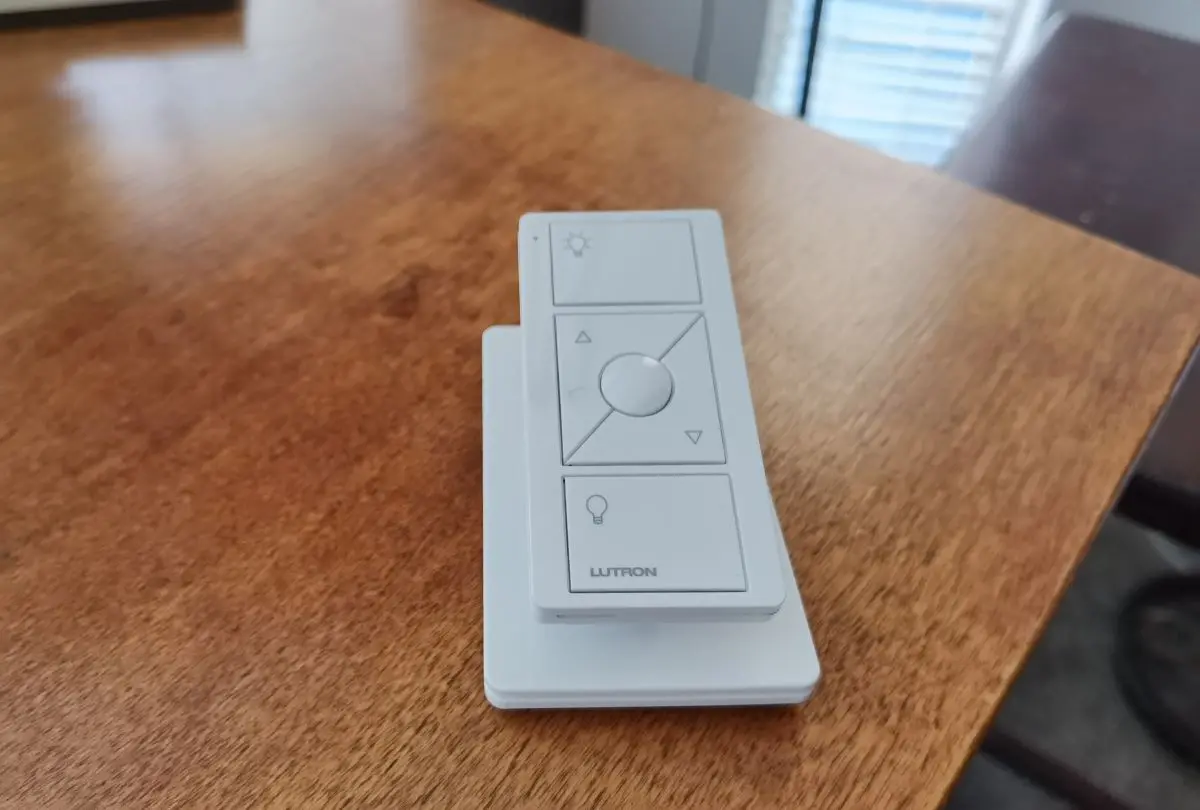
Technically, the next step is to install the Lutron Smart Hub to my mesh Wi-Fi system. However, I already have a Lutron Smart Hub so I didn’t need a second one. Instead, I paired the included Pico remote control to the Diva smart dimmer. To do so, I pressed and held down the “off” button on the dimmer switch for 6 seconds and then on the remote. After that, the Pico remote was paired to the dimmer switch.
Connecting the Diva smart dimmer to the Lutron app
I already have the Lutron app installed so I just needed to add the Diva smart dimmer and the Claro smart switch. The app provides clear instructions on the setup. However, it’s important you select the right switch. Lutron has many different types of switches so I made sure I selected the Diva smart dimmer and Claro smart switch from the list. Once installed, I could turn the lights on and off from the app. The final step is setting up voice control.
Connecting Diva smart dimmer to Alexa
To begin, I turned both light switches on. In the Alexa app, I selected “Add devices”. I typed Lutron and a menu appeared that said “Connect your Lutron account to Alexa”. I added my login details for the Lutron app and the Alexa app did the rest. Afterwards, Alexa looks for devices to connect. I assigned the Diva smart switch to the living room group, and the Claro smart switch to the bedroom group. Now it was time to test it out. I said, “Alexa, turn the Living Room off” The lights turned off. I did the same for the bedroom. Now I finally have voice control at the switch level.
Using the Lutron Diva and Claro smart light controls
Over the next couple of days, I started to understand the benefits of smart switches over smart lights. Both provide voice control, but with one big difference. With smart lights, the switches always have to be on. If someone turns the light off at the switch, voice control no longer works. With the Diva and Claro smart switches, that’s not the case. I could turn the lights off at the switch, with my voice, or with the Pico remote. This is especially beneficial in the bedroom. I can turn the bedroom lights off or on in bed. This is extremely convenient. It’s like The Clapper commercial from the 80s and 90s without the clapping.
The one thing I don’t like is the necessity of using a hub. I’m surprised that in 2023, we still have to use hubs like the Lutron Smart Hub. Ethernet ports behind a router or mesh satellite fill up fast with all the other devices in the home. However, once you have the hub installed, everything works very well. However, I did notice a slight delay when using the Pico remote. It takes about a second to turn the light on or off so it’s definitely not as instantaneous as a wired switch. After a while, I did get use to that delay.
Final thoughts
Anyone looking to make a smart home should consider the Lutron Diva smart dimmer and Claro switch. It’s especially a good choice for people with unique lighting setups. Rather than change all your light bulbs, make the switches smart. This gives you the best of both worlds. The ability to control lights at the switch, or via voice. Furthermore, users can set routines and light schedules. This is especially helpful when you’re away and want to give the impression someone is at home.
If you’re ready to make your home lights smart, then definitely check out the Lutron Diva Smart Dimmer Starter Kit and the Lutron Claro smart switch.


