 Recently I had the chance to test a really cool new product from DJI. Yes, the very same people that make the awesome Phantom drones. This time, though, they’re made a ground-based gimbal camera system that takes beautiful 4K video and high resolution images as you walk about shooting whatever you like. It’s called the DJI OSMO Zenmuse X3 Handheld 4K Camera with Gimbal System, and today I’ll tell you all about it. Keep reading for full details (as well as a short video I made to show just what this thing can do).
What is the OSMO ZENMUSE & What are its Hardware & Specs?
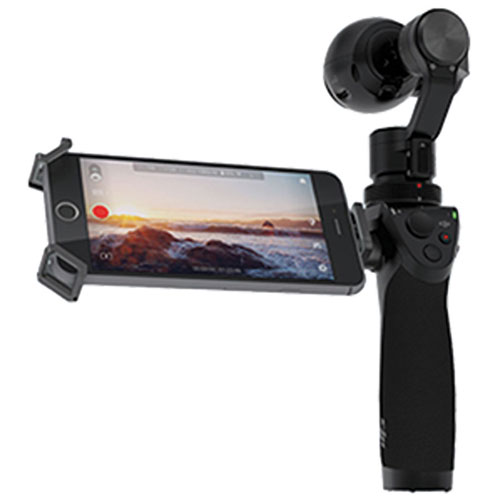
 The OSMO Zenmuse is a lightweight 4K handheld camera & gimbal system that takes incredibly stable (steady) video in UHD at 24, 25, or 30 frames per second (fps). It also shoots in Full HD (1080p) at 60 fps and captures beautiful stills in 12 MP (i.e., 12 million pixels). The OSMO is small and easy to take with you pretty much anywhere you like, and once you get the hang of using it, it’s relatively easy to use to great effect. Included with the OSMO are the following parts and components:
– 1 Zemuse X3 Handheld Gimbal (3-Axis) & Camera (Lens Cap included)
– 1 Adjustible Osmo Phone Holder
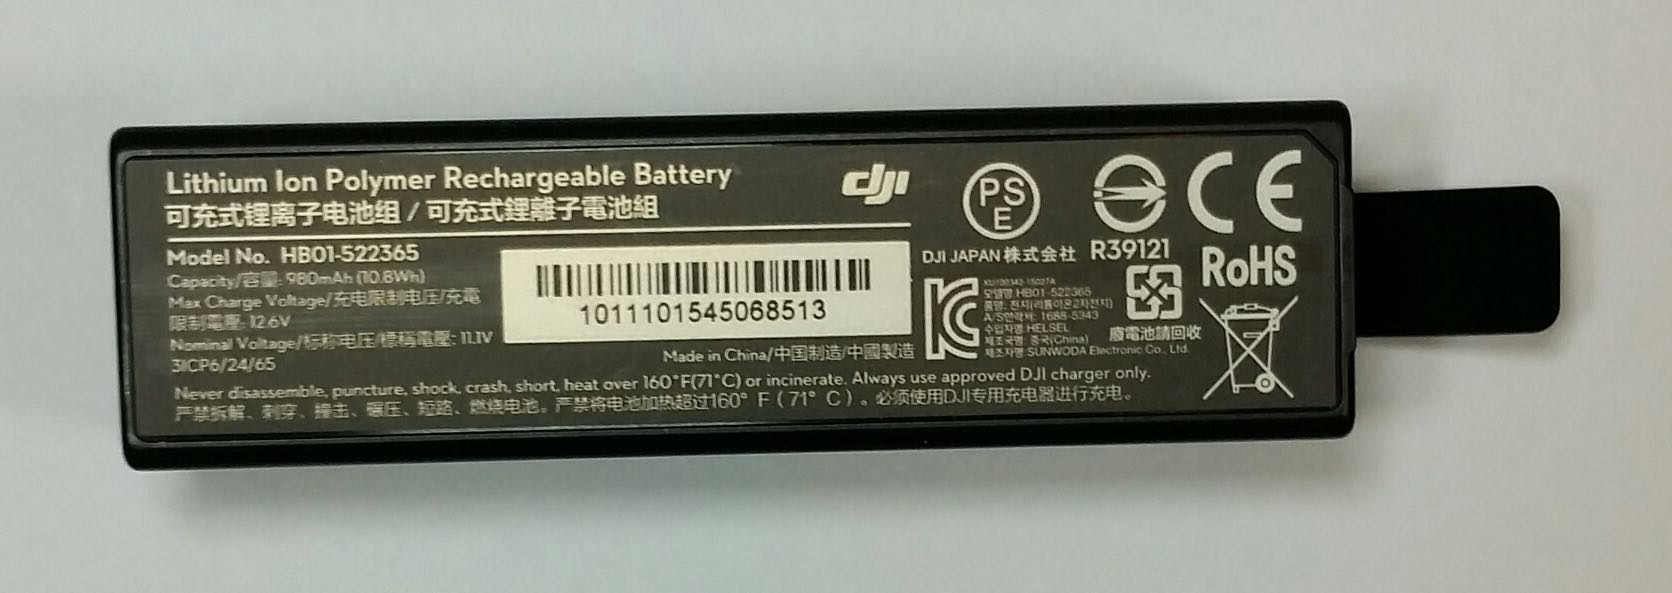
– 1 Osmo Intelligent LiPo Battery
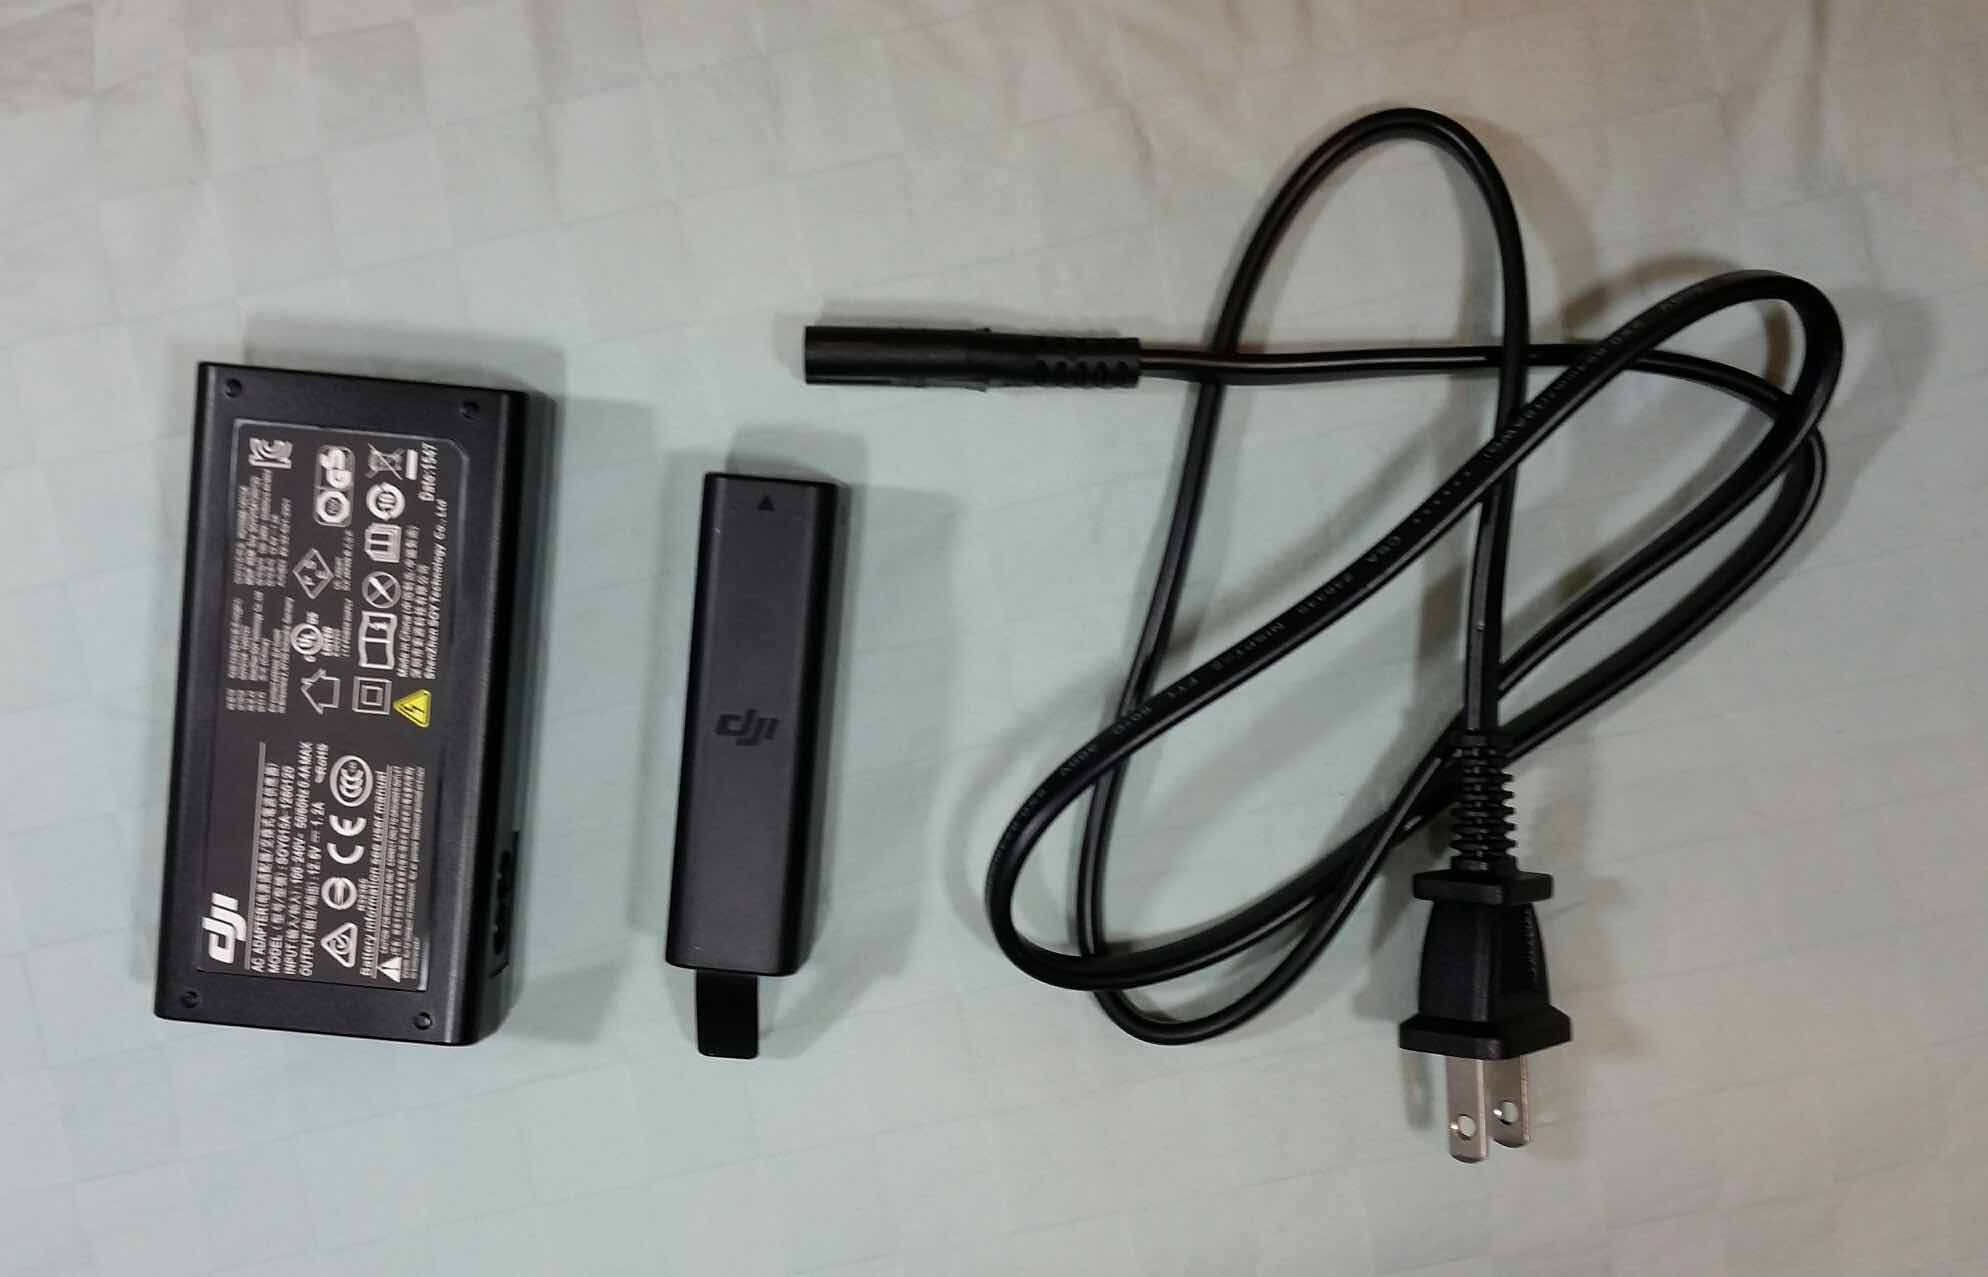
– 1 Osmo Intelligent Battery Charger & Cord
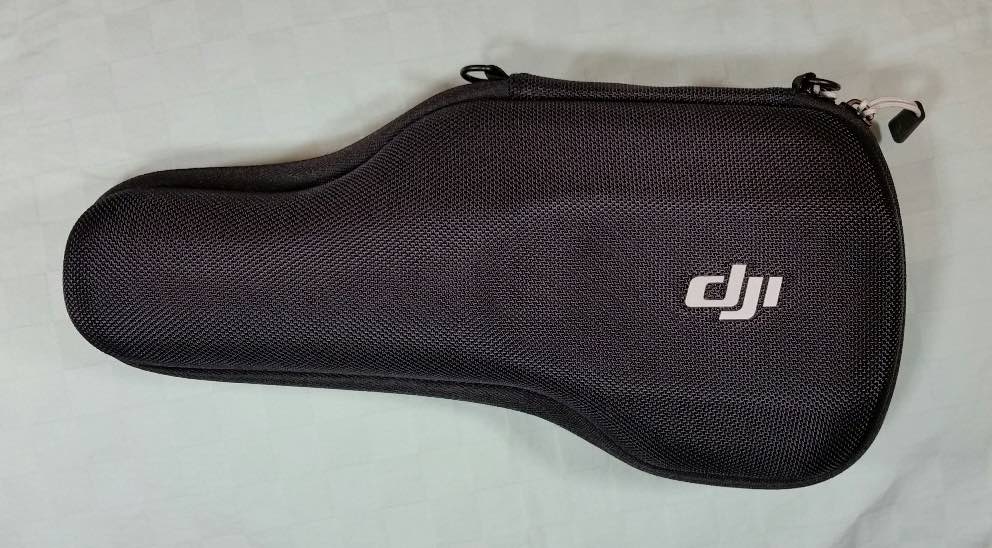
– 1 Osmo Carrying Case
– 1 16GB MicroSDHC Card
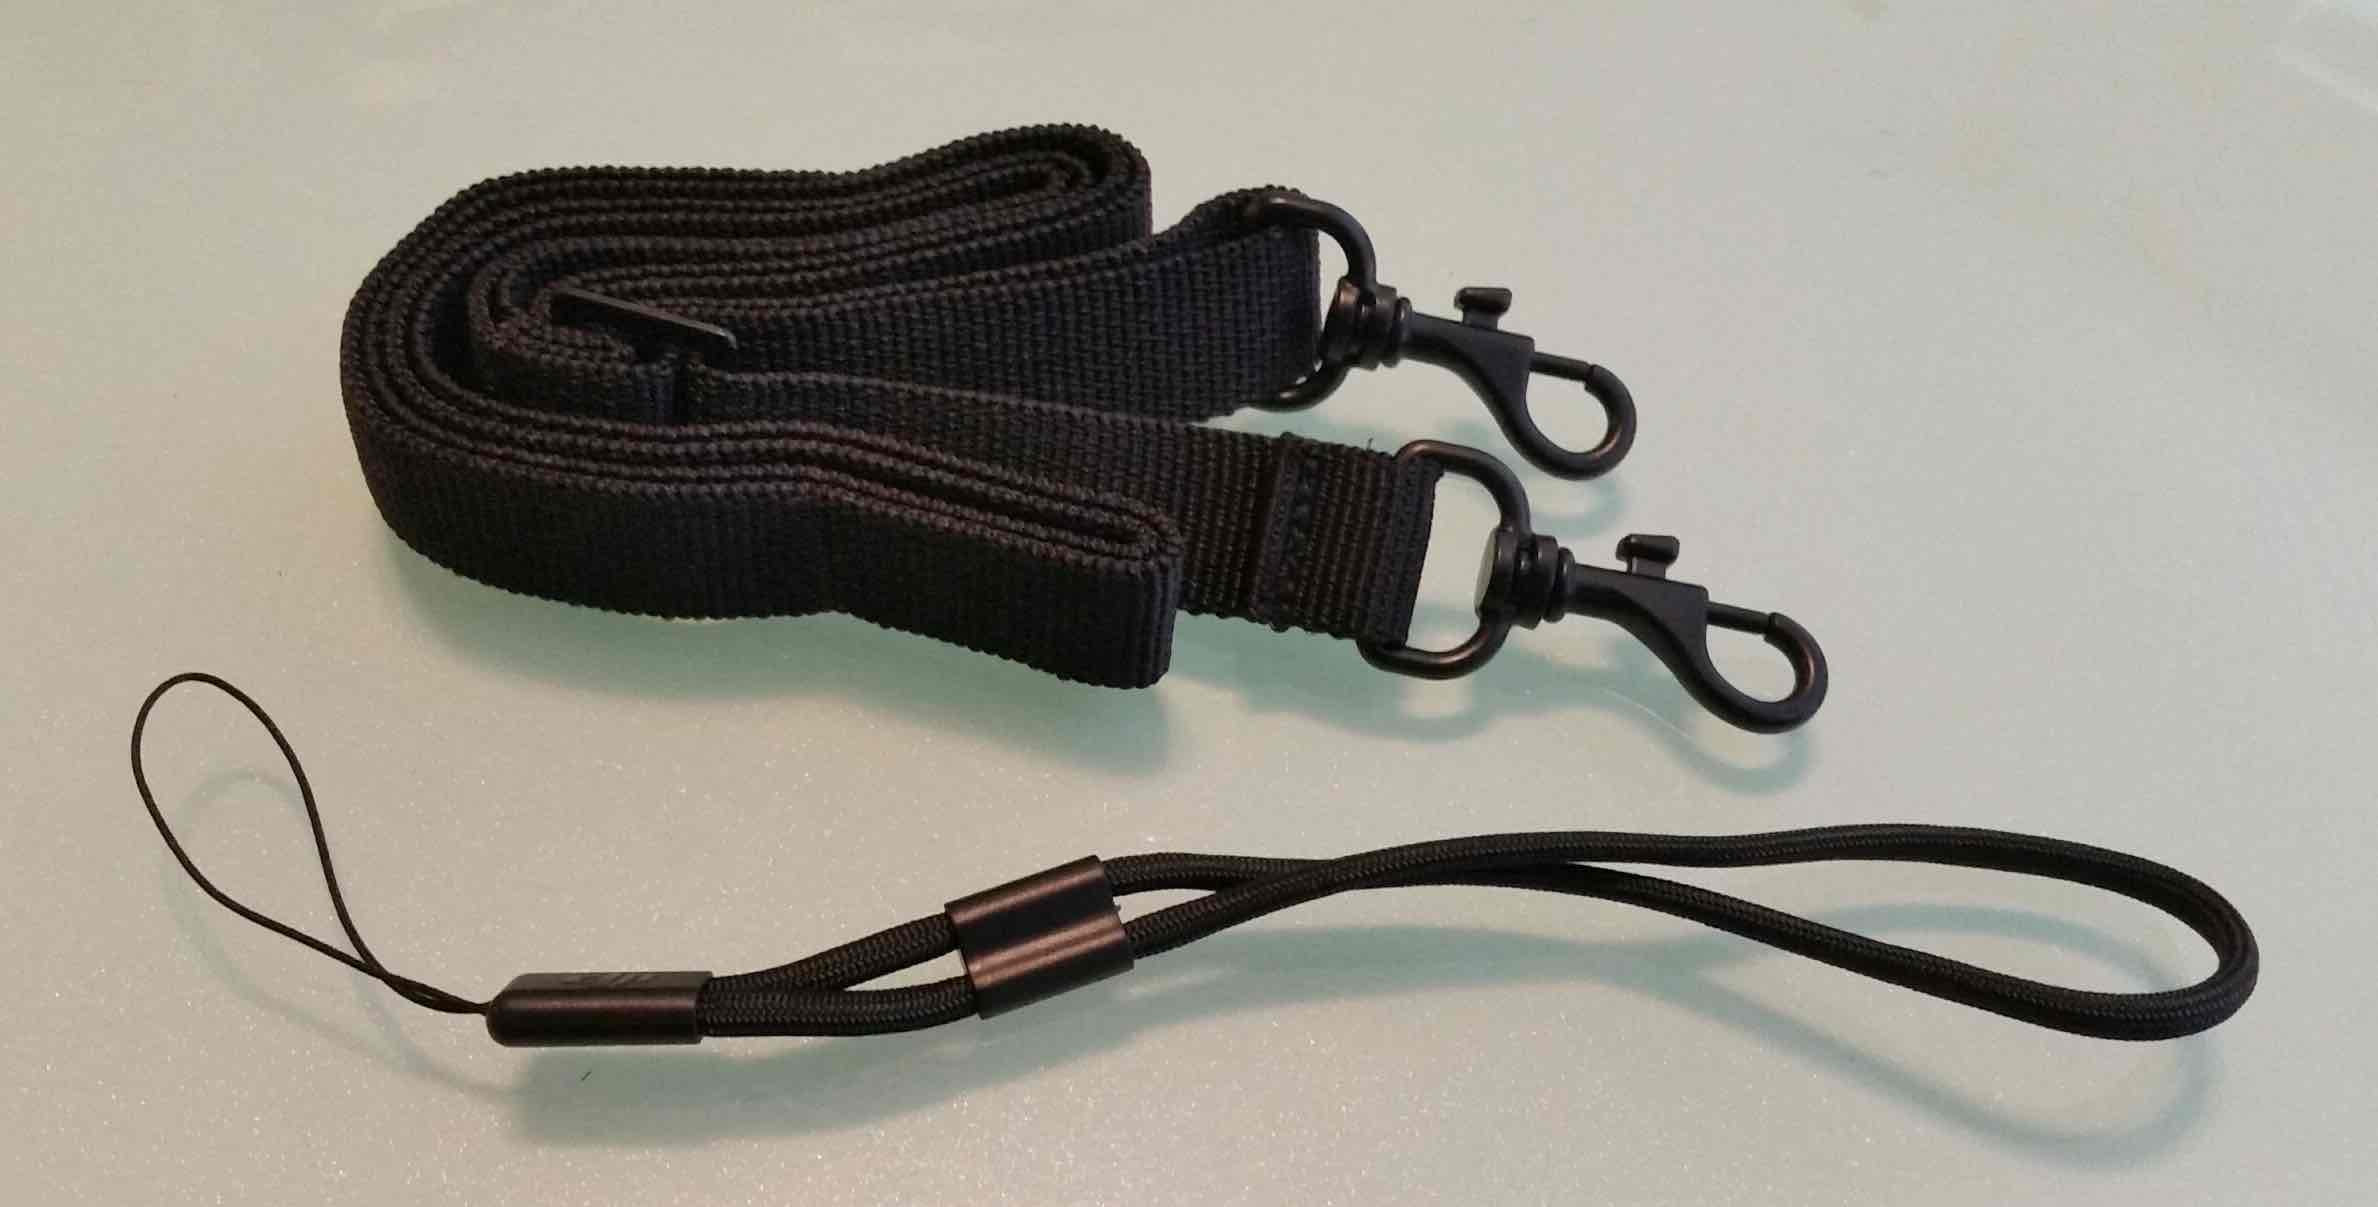
– 2 Carry Straps (one for your wrist & one for your shoulder)
– 1 UV Filter
– 1 Rosette Protection Cap
Testing & Results
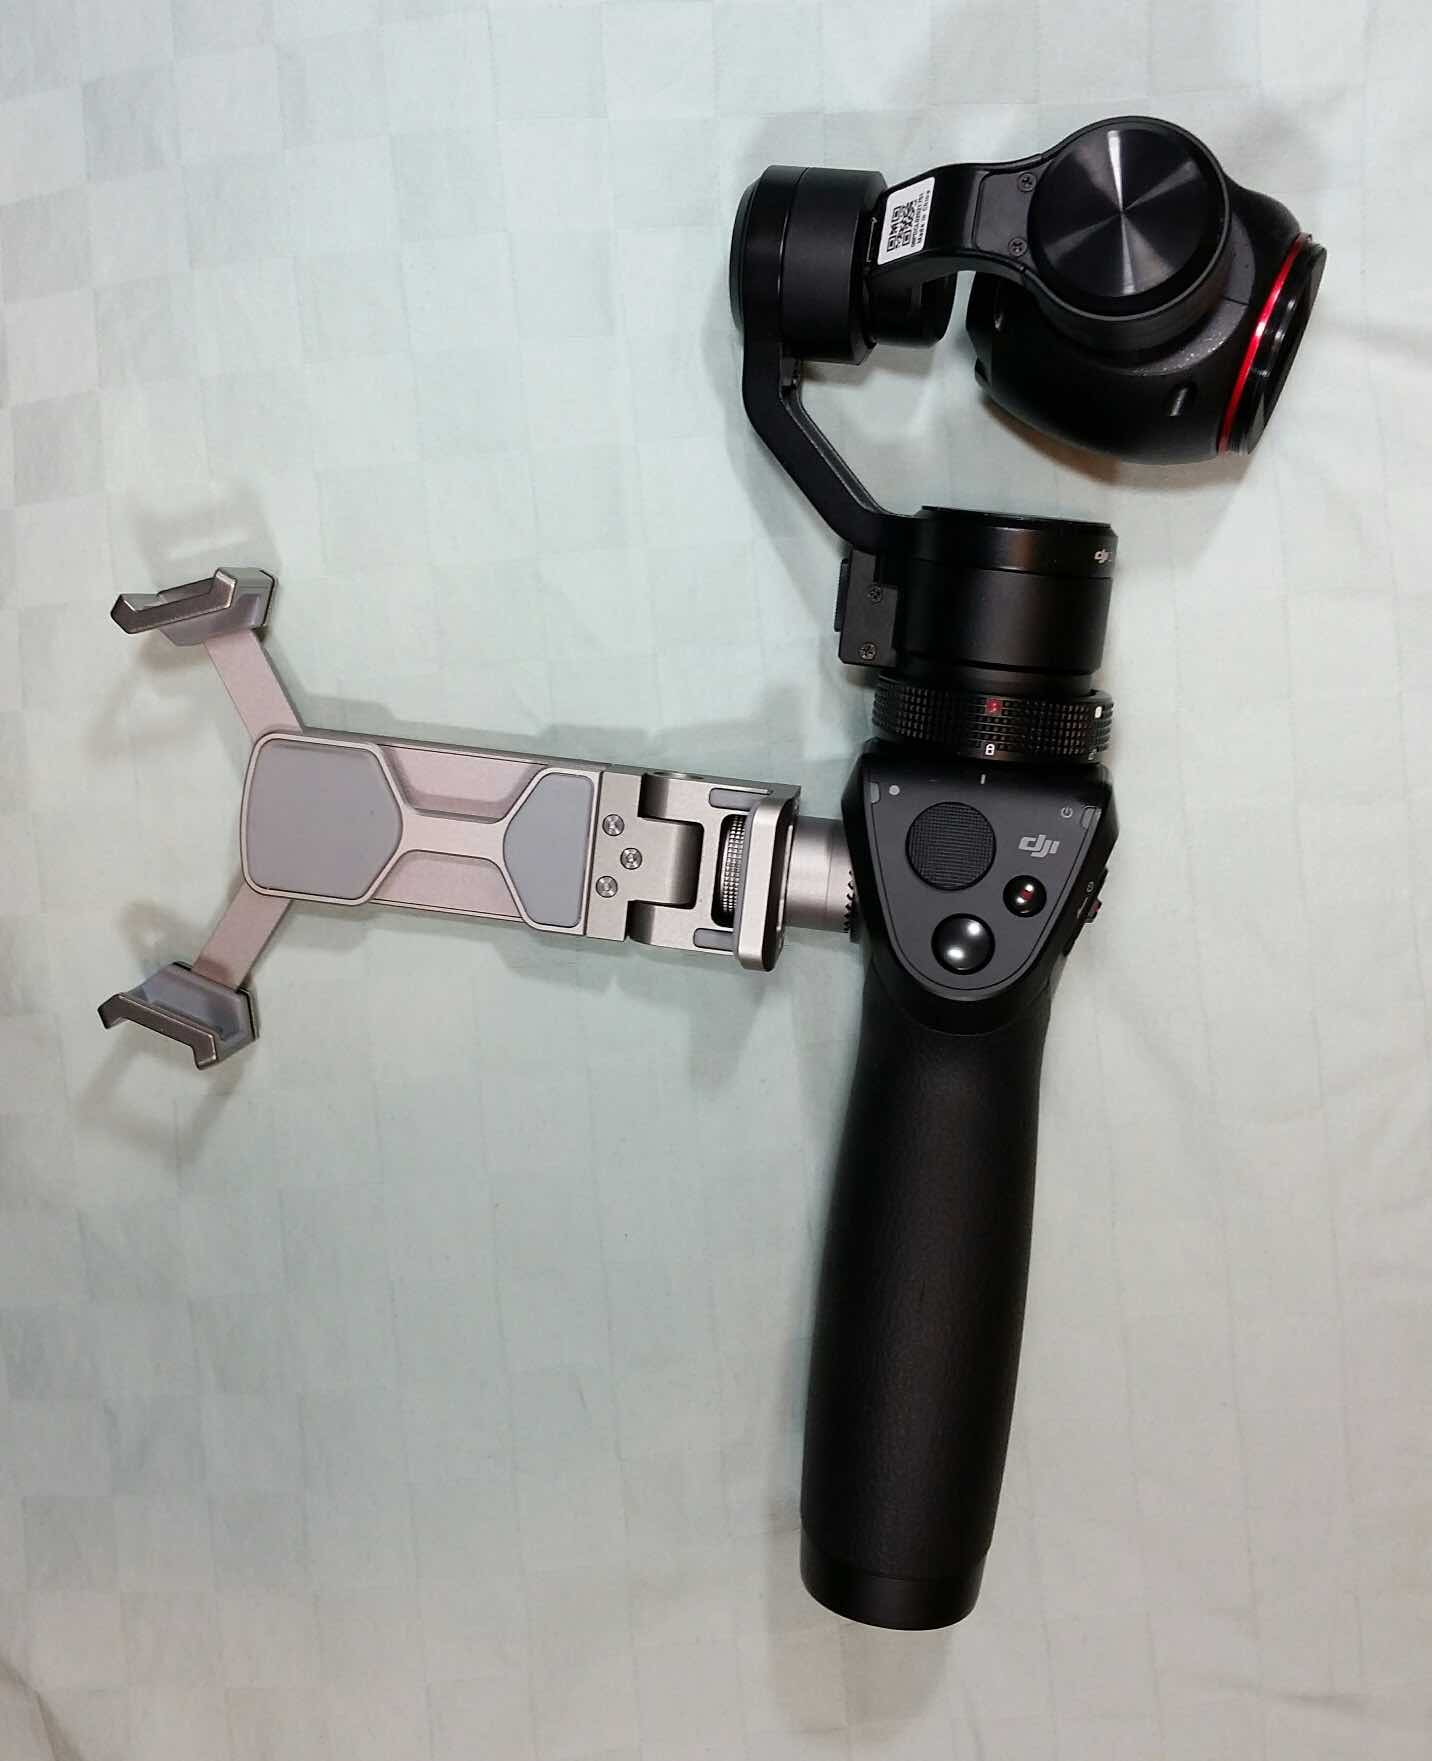 I really only have a couple complaints about the OSMO, and the first of these comes from trying to get started using it. Unfortunately, as with much of today’s coolest tech devices, the OSMO is rather stingy on clear, printed instructions. This is a problem because it took me quite a bit of time to get the device properly up and running. As it turned out, I initially missed a minor step (which wasn’t clearly stated in the instructions) that prevented the camera from working until everything was completed. This was not helped by the fact that there are several precise steps to follow when getting your OSMO started. On the very first use, in particular, additional steps are required (such as downloading & setting up the free DJI app) that are not subsequently necessary. While the trial-and-error ordeal of getting the OSMO started did prove rather frustrating, the time spent figuring everything out was ultimately worth while.
While testing the OSMO I found that the overall results were quite impressive. Not only was I able to shoot great video footage of all the mundane aspects of my life, but I was also able to easily tote the OSMO all over town without feeling like I was being bogged down with extraneous and cumbersome gear. The video & images I shot were very clear and steady—even though much of the video was shot with considerable movement on my part, and I really enjoyed having a high quality camera with me. The only time I didn’t get smooth and clear video was during a brief walk through some local woods near my home. For some reason, the images seemed to jump ahead a few frames at a time and transition in a highly pixelated manner. I only had this happen in the woods. The conditions were sunny and bright at the time with lots of shade from the trees.
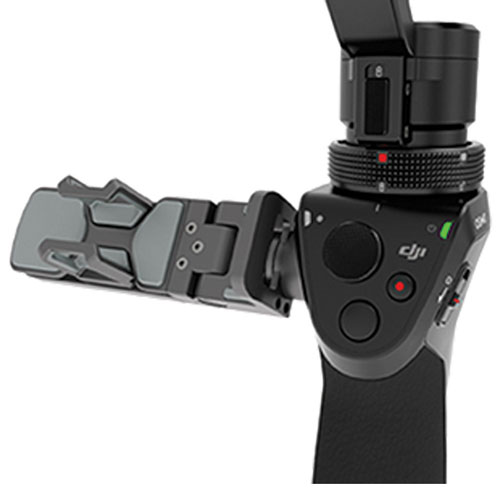
 One of the OSMO’s coolest features is its ability to connect (via the free DJI App. & the OSMO’s own built-in Wi-Fi signal) to your smart phone so you can see the video you’re capturing in real time on your screen. While this feature is awesome in that it allows you to centre your subject(s) to properly frame your videos, there is the issue of glare on your smart phone’s screen. This is my second pet peeve about the OSMO, and it’s a relatively minor one that shouldn’t be an issue in many circumstances (such as while shooting indoors, or outside when the sun isn’t overly bright). It also may not effect every smart phone as it did mine. For whatever reason, my phone is highly prone to glare on its screen.
Back on the more positive side of the ledger, there are many different ways to control your OSMO, including being able to lock the camera onto a specific target so that the camera follows the subject around, continually centring it in the middle of the frame as you move all around. This is a very useful feature when shooting an action shot for a movie as such shots often require as much camera movement as movement from the subject. There’s even a cool selfie mode whereby you can press a small trigger on the handle until the camera turns 180 degrees to face you. I’m sure there are plenty of selfie takers out there that will appreciate this feature!
Additionally, the DJI App. provides a host of other features and functions that most folks are sure to find useful. For instance, aside from giving you the ability to select between the OSMO’s various shooting modes, there’s a very cool feature that allows you to control the directional movements of the camera just by dragging your finger across your smart phone’s screen. And the OSMO’s Automatic Panorama Mode allows the camera to rotate a full 360 degrees, capturing every single frame as it goes while remaining perfectly level all the way. With features like these to work with, the OSMO truly stands out as a champion among cameras!
Examining the Video Evidence
Please take a few minutes to check out some of the footage I shot with the OSMO & hear a brief summary of my thoughts on it:
Final Verdict
Overall I was very impressed with the OSMO and I can definitely see its appeal. If you’re into photography & shooting high quality video footage (whatever the reason), you’re probably going to like it too. I don’t know that the image quality quite matches that of DJI’s awesome Phantom 4 Drone (which I recently reviewed HERE), but it’s certainly one of the best dedicated camera systems that I’ve had a chance to use, and I have no reservations in recommending it to the true photography buff! That’s all I’ve got to say for now. Until next time, have an awesome week!
Gallery of Additional Images
