
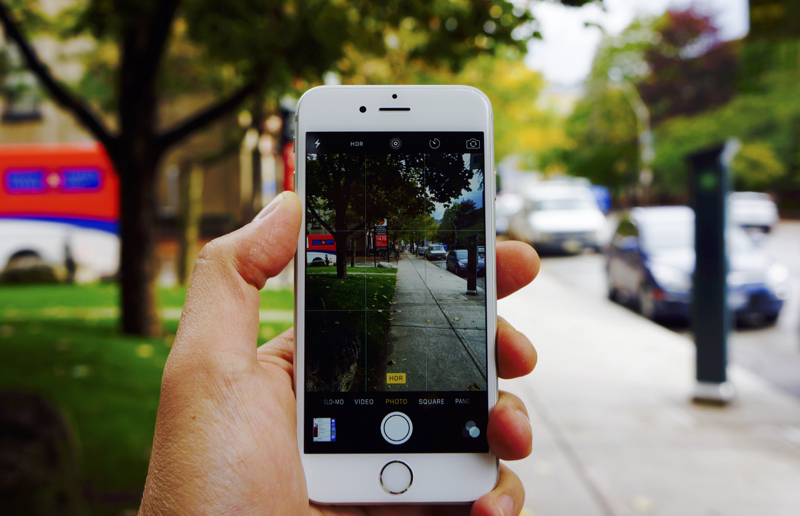
 We all know that smartphones have become the preferred photography tools. With impressive capabilities, quick shot-to-shot performance, and dual camera features. Many of today’s smartphones are superb cameras capable of taking truly spectacular shots.
Smartphones today come with great optics, wide apertures that let in more light and detail as well as multiple cameras that can zoom in or shoot black and white photos independently.
Some cameras have the ability to mix B&W photos for depth and detail with RGB colour photos for the best possible image.
Did you know that these same smartphones are also capable of helping your edit photos on the fly as well as add everything from minor tweaks and crops to more complicated filters and layers?
Smartphones are supercomputers with multi-core processors, superb graphics capabilities and vivid touchscreens, which makes them ideal for digital editing and retouching.
Because of the connected nature of smartphones, the photos you edited can be easily shared via email or social media. Photos from smartphones can be sent to a printing service which can print a frameable photo for you in a matter of days.
Here are some tips on how to best edit photos on your smartphone.
Mind the source file

The adage of ‘garbage in, garbage out,’ is true for most things and specially photography. This means that the source photo needs to be good in order to be able to have a good file to work with.
No amount of editing can remedy a poor capture and there’s no substitute for a well-exposed, in-focus and properly framed photo.
The great thing about digital photography is that we can take dozens of photos until we get ;’the one.’
iPhones and Android smartphones can fire insane bursts to take multiple shots in mere seconds. The A.I. (artificial intelligence) in smartphones also works its magic by slyly merging photos together to get the best possible outcome.
With a good source photo, there’s no limit to what you can do to improve it or stylize it for your needs.
There are tricks to ensure you get the best possible photo.
Use the highest size and resolution available on your smartphone.
Take at least two to three shots of the intended subject, this way you have a safety net of alternate and possibly better photo to work with.
If your smartphone allows capturing RAW files, use that setting. RAW files are unprocessed and unedited by the processor but they are far larger files and they capture a lot more photographic information.
This means you can make more detailed crops, you can alter brightness and contrast and can tweak saturation without degrading the overall photo quality.
If your camera doesn’t offer RAW capture (don’t worry, most smartphones don’t), try and master the Pro settings so you can get the best desired effect in the shot before you start editing.
Pro mode is daunting but I find that it requires practice and yields far better and more natural looking photos than simply relying on the auto mode.
A note about image formats
Most smartphones will take .JPEGs or .jpg which are currently the best option for mobile photos. Jpegs they have enough detail, are generally good enough for basic printing as photographs.
This is a popular format compressed enough to share online or over the Internet.
Apple’s latest iPhones now shoot photos that result in an HEIC file. HEIC is High Efficiency Image File Format.
This is a more modern format which grabs more detail, captures the photo as well as any short videos or audio associated with it, and even more photographic information.
HEIC files are superior to JPEGs in many ways, but they are not as common.
This is why editing photos from the iPhone 8 or iPhone X can be challenging when you are exporting these photos to apps that may not be able to handle HEIC files yet. Exporting HEIC files to a PC is also problematic. They seem to work fine on the latest Mac computers.
One solution is to convert these HEIC images to JPEG using an online service. It’s an added step, but it makes those images useful.
A myriad of editing options
Now that you have a great source photo to work wit, there’s a myriad of potions for editing depending on your needs.
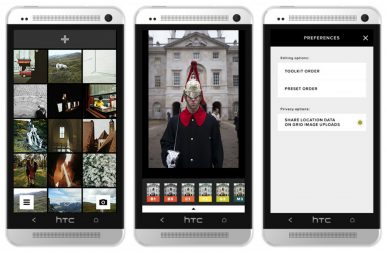
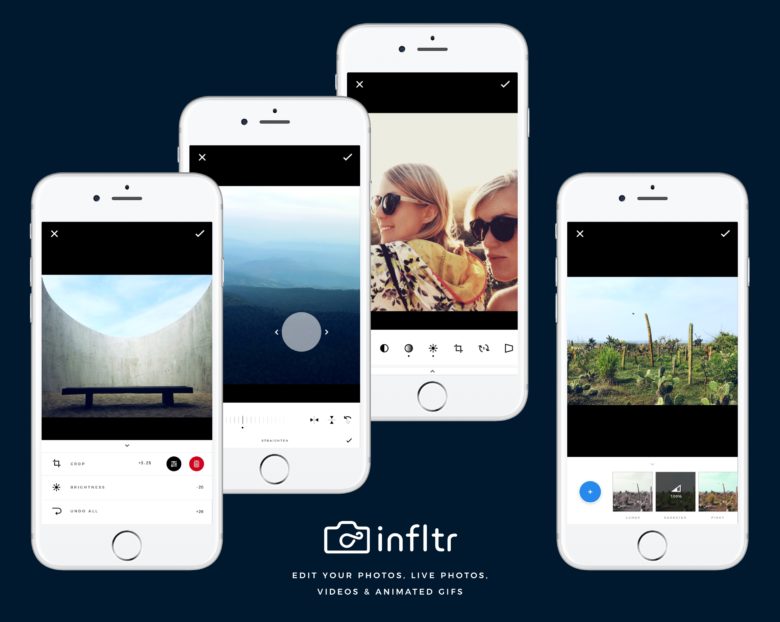
Simple edits like cropping and straightening the photo can be done quickly with most smartphone’s built-in editing tools.
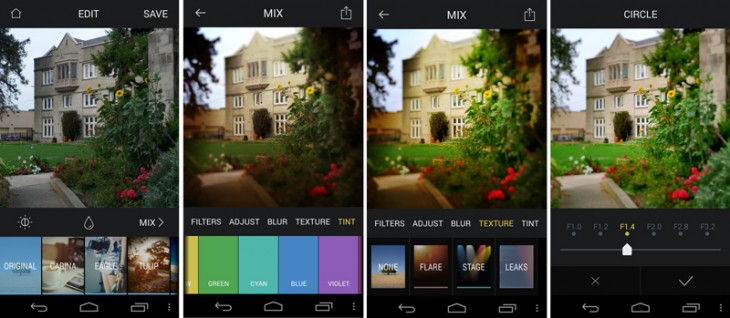
Some even offer more detailed corrections and preset filters to give photos a distinctly processed look. There are tons of other editing options by way of downloadable apps and services.
Most people are satisfied with the level of editing they can get done with Instagram, which has around a dozen filters as well as a range of controls. You can tweak brightness, contrast, saturation and colour gamut. I add effects like Miniature, which blurs the background to add more depth of field or distort scale.
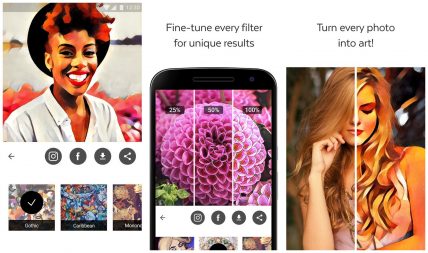
More advanced apps like VSCO, Snapseed, Prisma and Adobe Photoshop Mobile further extend the range of effects and controls you can enable.
Prisma is interesting because it uses popular art styles as filters for photos, which makes them look dramatically different depending on the style you want to emulate.
Similarly, VSCO and Snapseed represent apps that offer the option of purchasing filters that can give a distinct look to photos. Filters can emulate everything from high-gloss commercial print shots to moody monochrome photos from the 50’s and the 60’s.
Wrap up
Depending on what sort of photography your want to do, there are literally hundreds of apps that promise to beautify, adjust and even colorize your photos. The quality we see is comparable to editing and creating these on complicated desktop applications.
While the built-in camera function of most smartphones includes a basic editor that can crop, resize and handle various edits, there is a wide range of apps and services that can edit, add filters and even quickly share these images in a wide variety of ways.
As with any type of photography, the source image should be of the best possible quality. Now amount of editing on a smartphone or a PC will be able to fix a blurred, out of focus or misaligned photo.
Remember to take multiple photos or safety shots to ensure you have better chances of getting a usable photo. These can be enhanced, tweaked, filtered and resized to the desired effect


