
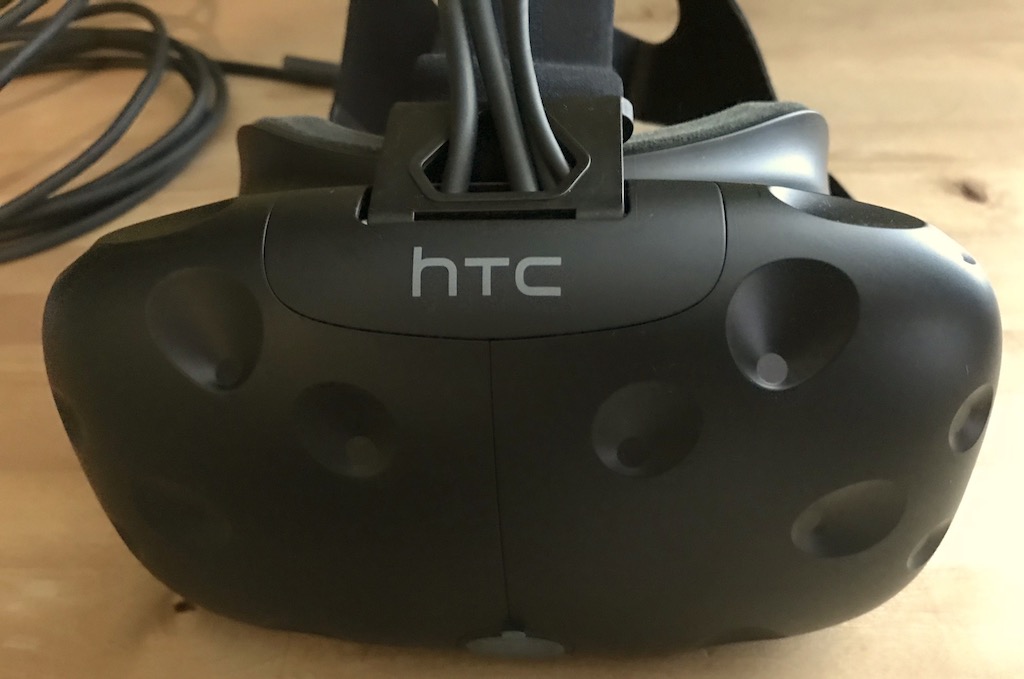
Virtual reality has been the next big thing in PC gaming and consumer electronics for the past few years, but it’s at the point now where the technology is catching up to the concept and we have mainstream VR kits that can deliver on the promise. When you take Sony’s Playstation VR and the headsets meant to use with smartphones (like Samsung’s Gear VR) out of the equation, the most popular VR headset is currently the HTC VIVE.
I just spent a week with an HTC VIVE virtual reality system (that’s the headset plus controllers), and I can definitely see what all the fuss is about.
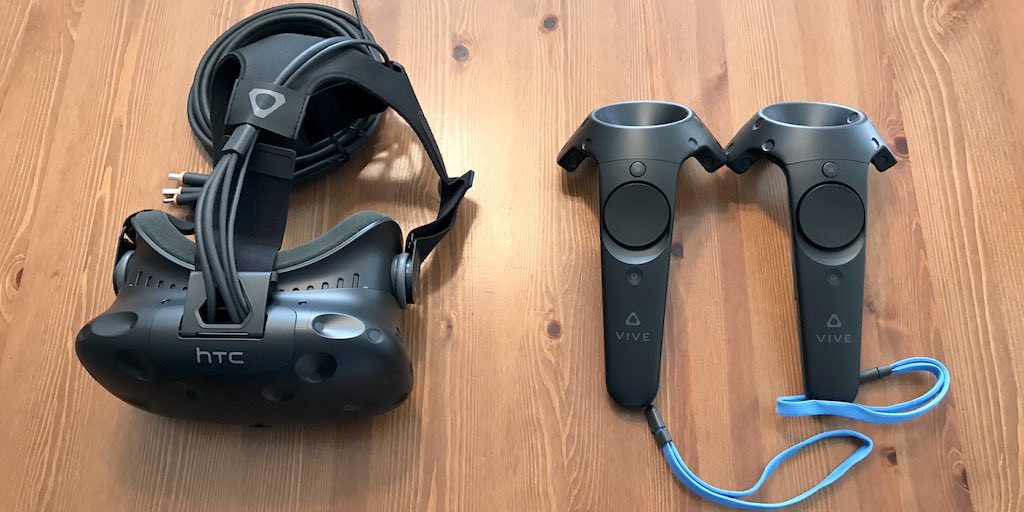
 HTC VIVE Unboxing
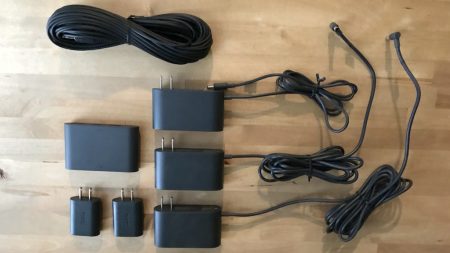
The VIVE system arrived in a relatively compact black box. Inside was little wasted space. Components and accessories fill every square inch. The primary contents are the VIVE headset, two motion controllers, a pair of motion tracking base stations and a hub. But there were also five(!) power adapters, numerous wires, ear buds and extra cushion pieces for the headset. There is also a guide for getting started and a download code for some free VR content from Steam.
Setup
There’s no avoiding the fact that setup is … a little more intensive and time consuming than you might be accustomed to. It certainly was more involved than I was expecting, which might help to explain why HTC is selling a VIVE in-home installation service, at least in the U.S.
I’m going to detail the setup in stages, because it truly is a multi-step process. And before I get going, please note that this is not intended to scare anyone off VR, it’s a heads up that this is not a plug-and-play situation. However, once you’re set up, it’s done and the payoff is worth it.
Step 1: Computer Compatibility
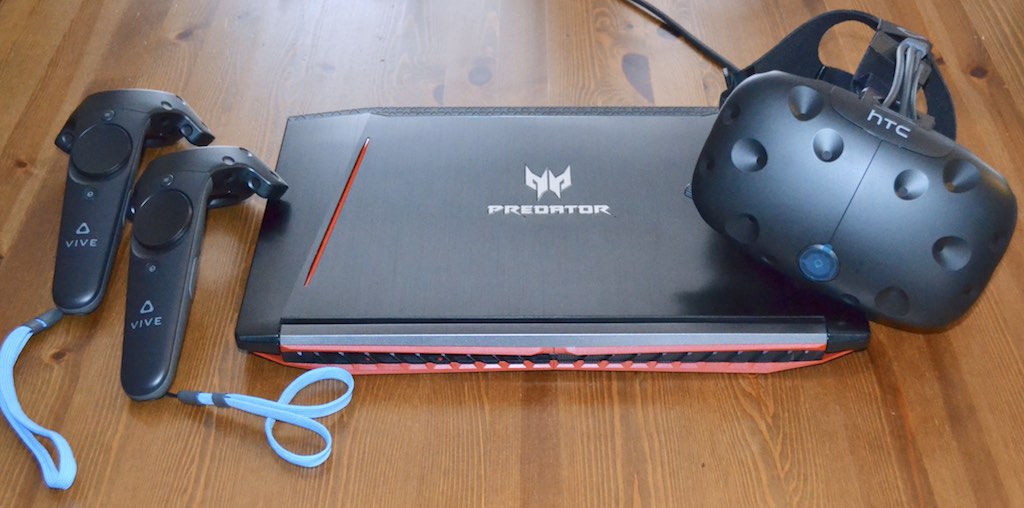
Before investing in the VIVE or any VR headset, make sure your computer meets the high requirements for virtual reality. I tested the VIVE using the Acer Predator Helios 300 gaming laptop I reviewed several weeks ago. With a GeForce GTX 1060 video card, Core i7 CPU and 16GB of RAM, it was well within HTC’s recommended minimum specs.
Step 2: Install Software
Naturally, HTC has software to be installed on the PC and there is also Steam to install for easy access to VR software—without content, the headset doesn’t do much.
 Step 3: Charge the Controllers
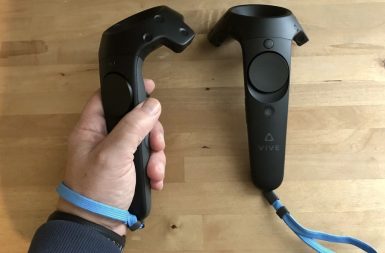
The VIVE system comes with two controllers. They need to be charged via microUSB (that accounts for two of the supplied power adapters).
Step 4: Adjust the VR Headset
The VIVE headset is very adjustable, which is a good thing. Now is a good time to get it set up so it fits perfectly. You can also customize the optics for your eyes and it will fit over most eyeglasses.
Step 5: Clear a Space, Install Base Stations
To use virtual reality, you need some room to move around. And with the VIVE, you’ll also need to position two base stations that are used to track movement. If you choose to set it up so you just stand or move, things are pretty easy in terms of space, otherwise, you need to clear out obstacles in an area with a minimum size of 2 metres by 1.5 metres.
Next, you need to position the two base stations. They are supposed to be above head height, and in more or less opposing corners of a room (with a maximum of 5 metres between them). They need to angle downward to cover the play area and each needs to be plugged into power (that’s two more of the power adapters). If they are unable to sync properly, you’ll need to connect them physically with an included cable.
This stage took longer for me as a reviewer, because positioning and angling those base stations is tough when you can’t use the included wall mounts. I had to prop them up on the top of book cases. Someone who buys a VIVE VR system will be permanently installing these, and the mounts make positioning a lot easier.
Step 6: Plug in to the Hub and PC
The VIVE headset has a trio of long cables, plus an audio input. The audio is easy, just plug in the included earbuds. That long “tether” is HDMI, USB 2.0 and power. They plug into an included powered hub (the fifth power adapter). The corresponding ports in the hub are then connected to HDMI and USB on the host PC.
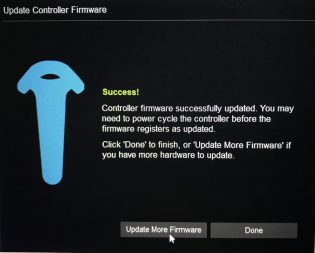 Step 7: Firmware Updates
After firing up the VIVE software, the base stations required firmware updates. Unfortunately, this meant taking them down and physically attaching them to the PC with a USB cable. The update was quick, but then I had to reposition them again. The controllers also required firmware updates.
Step 8: Draw the Boundaries
The VIVE uses a Chaperone system that warns if you are approaching the limits of your designated area—so you don’t punch a TV, trip over furniture or fall down the stairs. First you need to draw an outline of the area using a controller so the system can map it. If sitting or standing in place, you don’t need to worry about this step.
Step 9: System Check
The VIVE software runs a system check to make sure all the components are connected, calibrated properly and communicating. When you get the green light, it’s go time.
Step 10: Let the Games Begin!
Once the setup is complete, you are free to start enjoying the VR experience. That was a lengthy process, but as mentioned, you don’t have to do it every time, just the first time. I’d recommend following along on the video that HTC offers, it makes the whole process easier.
HTC VIVE VR System Specs:
For full specifications, see the HTC Vive product page. |
The Virtual Reality Experience
When I first put the VIVE headset on and entered into the world of virtual reality, it was pretty amazing. It’s difficult to describe, but for me the “a-ha” moment was when I lifted the controllers and saw my hands in front of my face.
Graphics can be very detailed, given the 1080 x 1200 pixel per eye optics. With a fast 90Hz refresh rate, 110-degree field of view and the power of the Acer Predator laptop that was doing the processing, action was also smooth—although it did frequently cause the laptop’s fans to kick in at full blast (something the people outside of the simulation noticed). The headset itself is comfortable and the controllers fit nicely into my hand. The trail of wires from the headset was something I was conscious of at first, but it soon disappeared into the background, and no-one tripped over it.
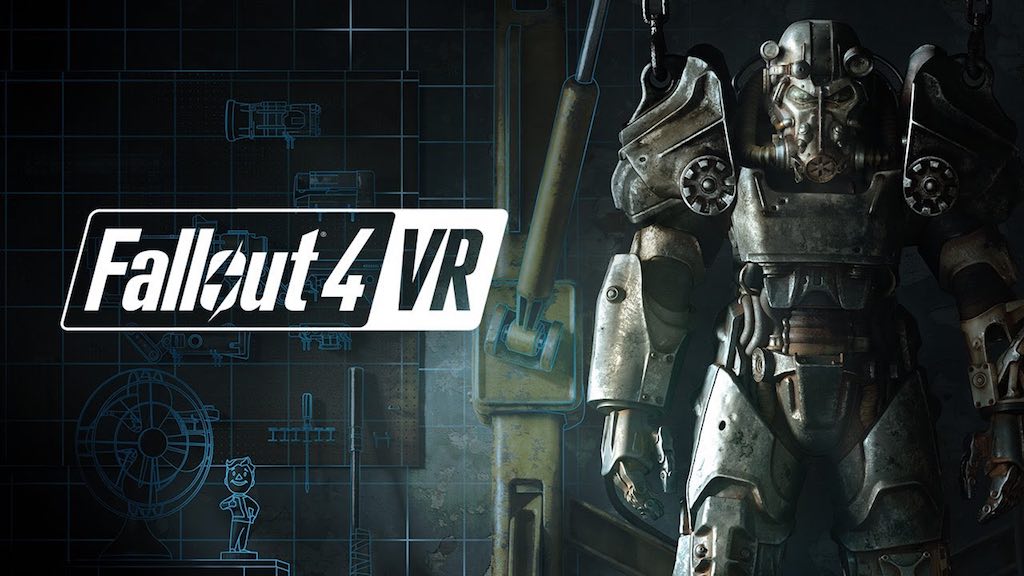
HTC included download codes for free VR software with the VIVE system. Unfortunately, Fallout 4 VR hadn’t been released yet, but Google’s Tilt Brush was popular. My kids (all teenagers) spend the better part of a weekend exploring and never seemed to get tired of it. I suffer from motion sickness, but never had anything worse than a mild headache while using the VIVE VR headset and my kids didn’t feel ill either. The only mishap we suffered was when one of the boys was busy running around punching people in a VR environment and I walked through the designated play zone without really paying attention and caught a fist to the back …
Should You Make the Move to VR With the HTC VIVE?
We only hit the tip of the iceberg in terms of VR content during the VIVE review. Steam has over 1500 VR titles, including some big name games like the aforementioned Fallout 4 VR. There are educational titles as well—like Google Earth VR—not just games.
I’ve been trying out VR headsets for the past few years, as they are often the big draw at various consumer electronics trade shows and demos. The HTC VIVE was the most refined that I’ve tried to date, and with the included controllers, it delivered an extremely immersive virtual reality experience.
Yes, it’s a bit of a pain to set up and the system requirements are high, but based on what I saw and experienced during my review with the VIVE, the technology and content is finally catching up with the promise of VR.
For everything you need to launch your own virtual reality setup, including VR headsets, gaming laptops and high performance desktop PCs, make sure to visit Best Buy.


