
Many camera enthusiasts have rolls of film kicking around, from before they switched to digital. What if there was an easy way to scan those developed rolls at home? The Magnasonic All-In-One High-Resolution 22MP Film Scanner might very well be the answer. It’s a very affordable and compact scanner that uses a 14 megapixel 1/2.33″ CMOS sensor to create high-resolution scans of your film negatives or slides. I was sent one from Best Buy to test out and write an honest review about on their blog.
Some people believe that all photography is digital nowadays, and that film is dead. However, there is still a hardcore group of film enthusiasts who are doing more than just keeping it alive—they are pushing the medium to even greater heights. And some of the hallowed names in film photography, like Kodak and Fujifilm, are seeing an upsurge in demand for their film products and have even begun to manufacture film stocks that had previously been shelved.
Some of my own most profound creative moments have happened through shooting with film and were it not for the expense of getting the rolls developed and scanned, I probably would have continued to shoot with a film camera on a regular basis. There really is nothing quite like the experience of working with film. It’s almost like an entirely different pursuit from digital photography.
What comes with the Magnasonic Film Scanner?
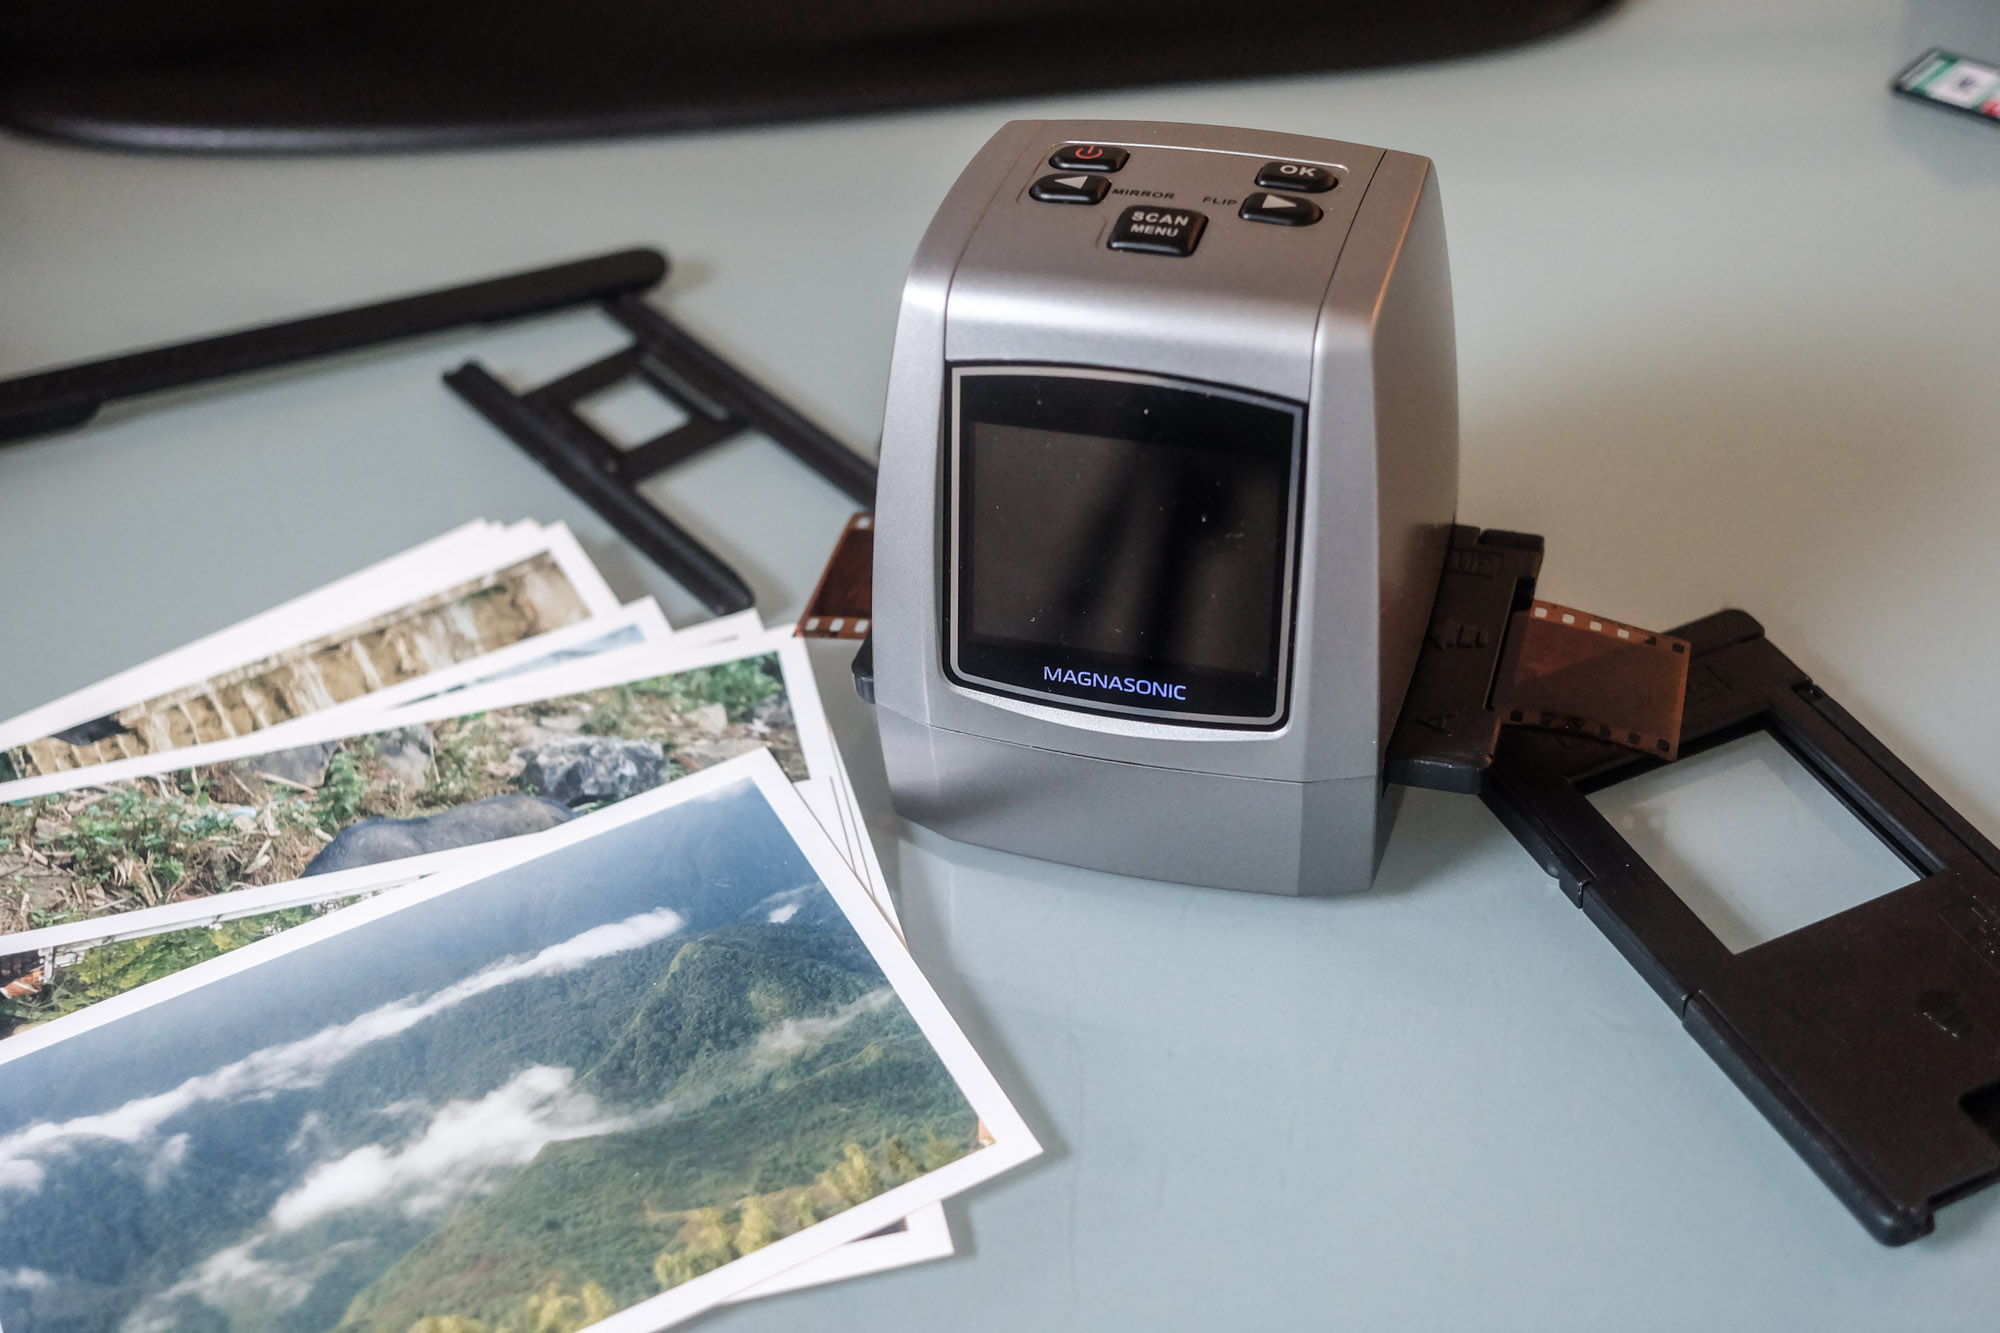
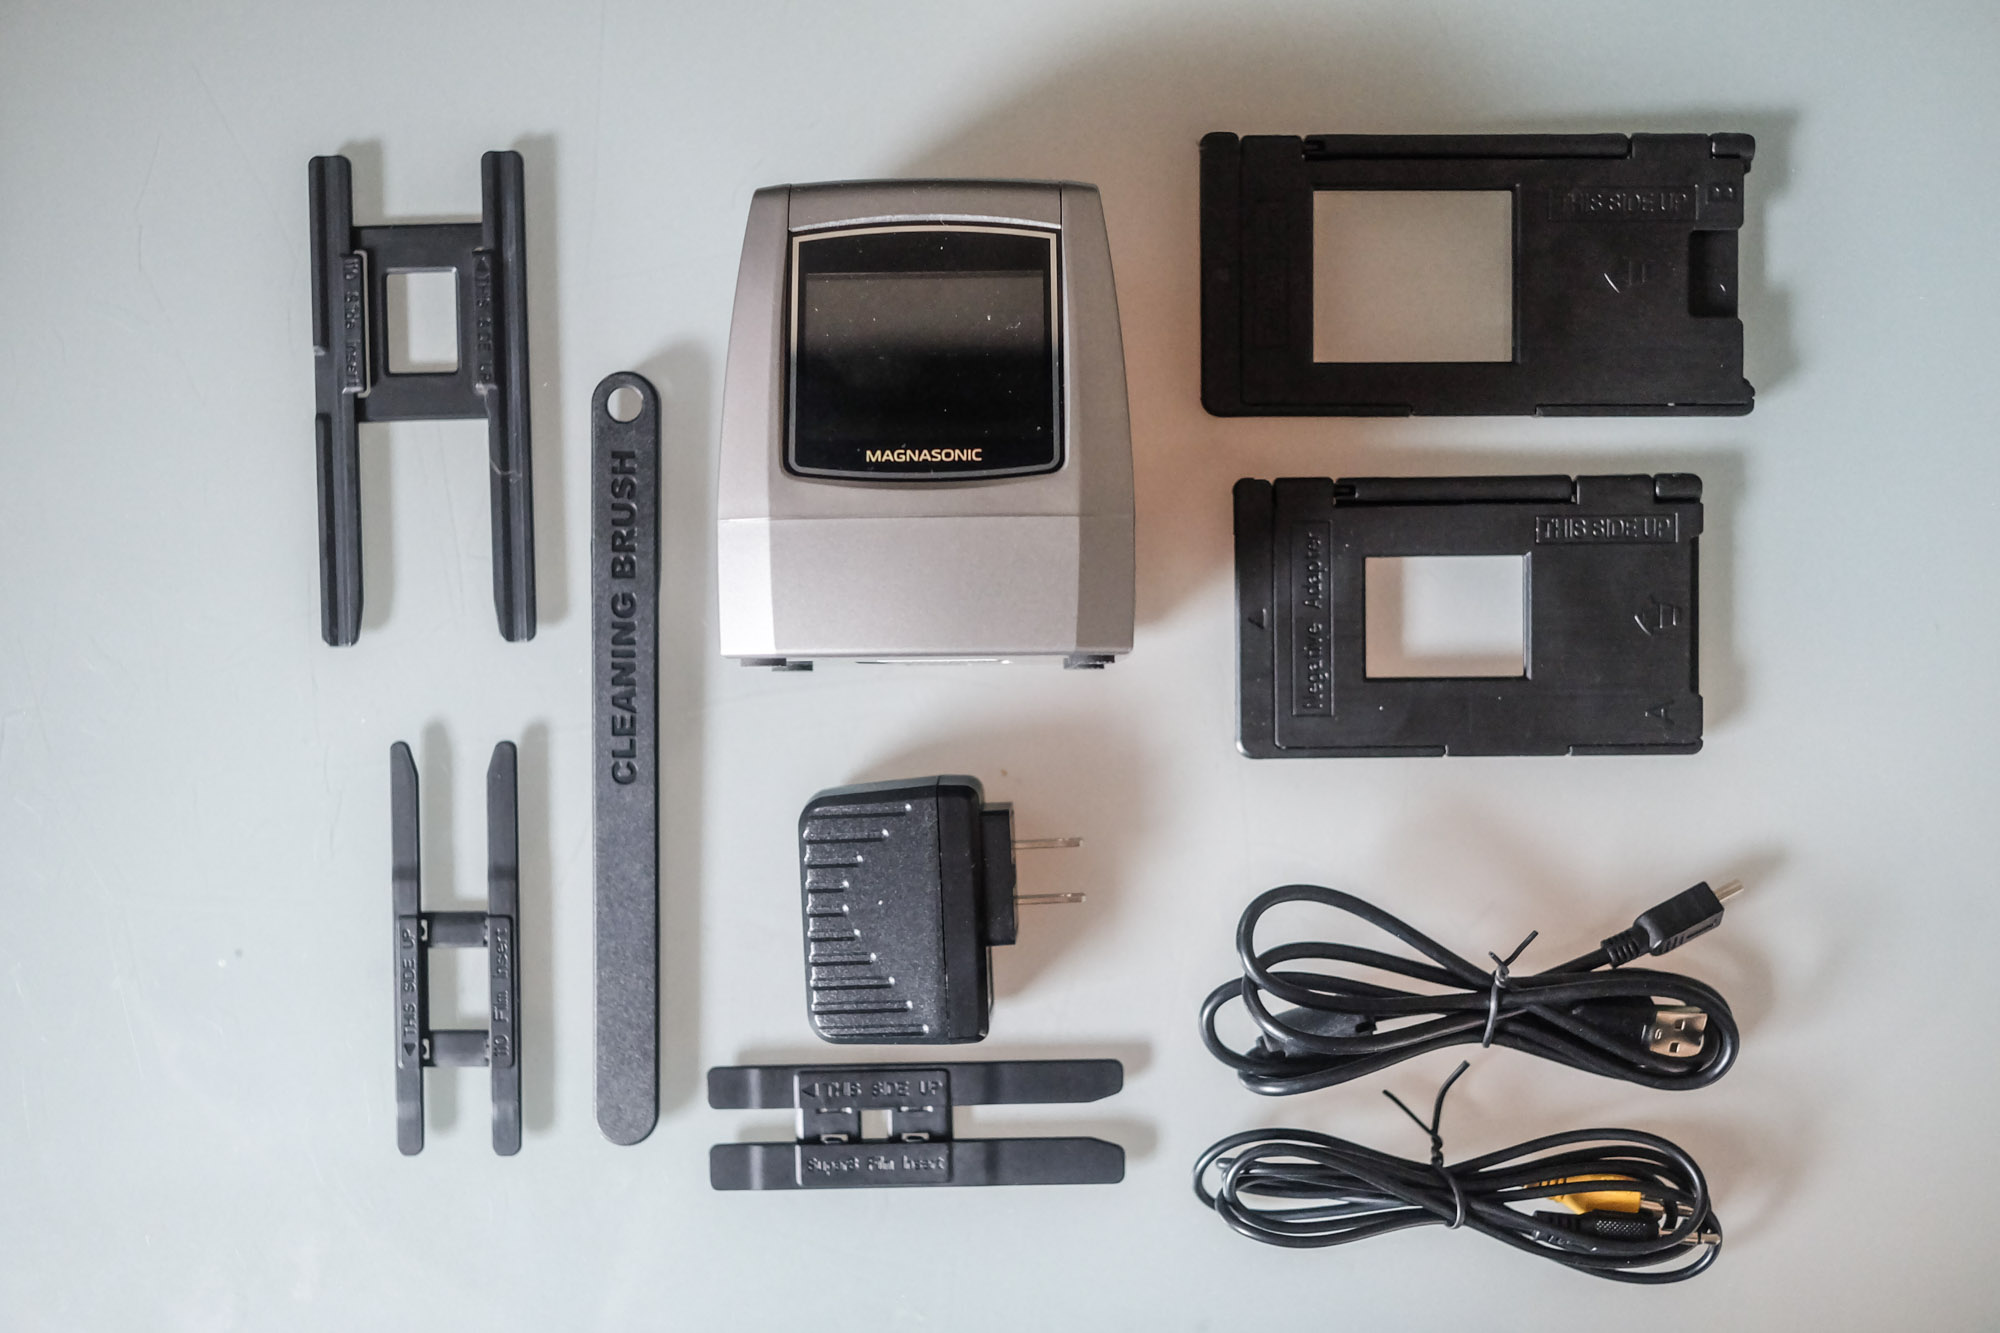
The box contains the scanner itself, a micro USB cord and power adapter, a TV cable, various film and slide holders, and a cleaning brush. The scanner is very straightforward to set up; you just attach the micro USB cord and plug it in, either to a wall socket (using the power adapter) or to your computer. The holders are all clearly marked so it’s easy to find the one you want, and even if you’re not sure what film size you are working with, it’ll be obvious as soon as you try to fit it into the holder whether you are using the right one.
The scanner has an internal memory of 128 megabytes, but it also has an SD slot where you can insert a memory card to store your scans on.
Build quality
The build quality is ok, nothing to write home about. The scanner has a plastic body with 5 buttons on top which make the unit feel a bit like a toy when you press them. The display is a 2.4″colour LCD screen, which allows you to move through the menus and also preview your scan before you decide to keep it or bin it. I found that although the display is small, the preview is pretty accurate to what you will see on your monitor when you import the scan. I was easily able to connect the scanner to my monitor via the TV cable, which gave me a much larger display to work with, but the picture quality wasn’t great.
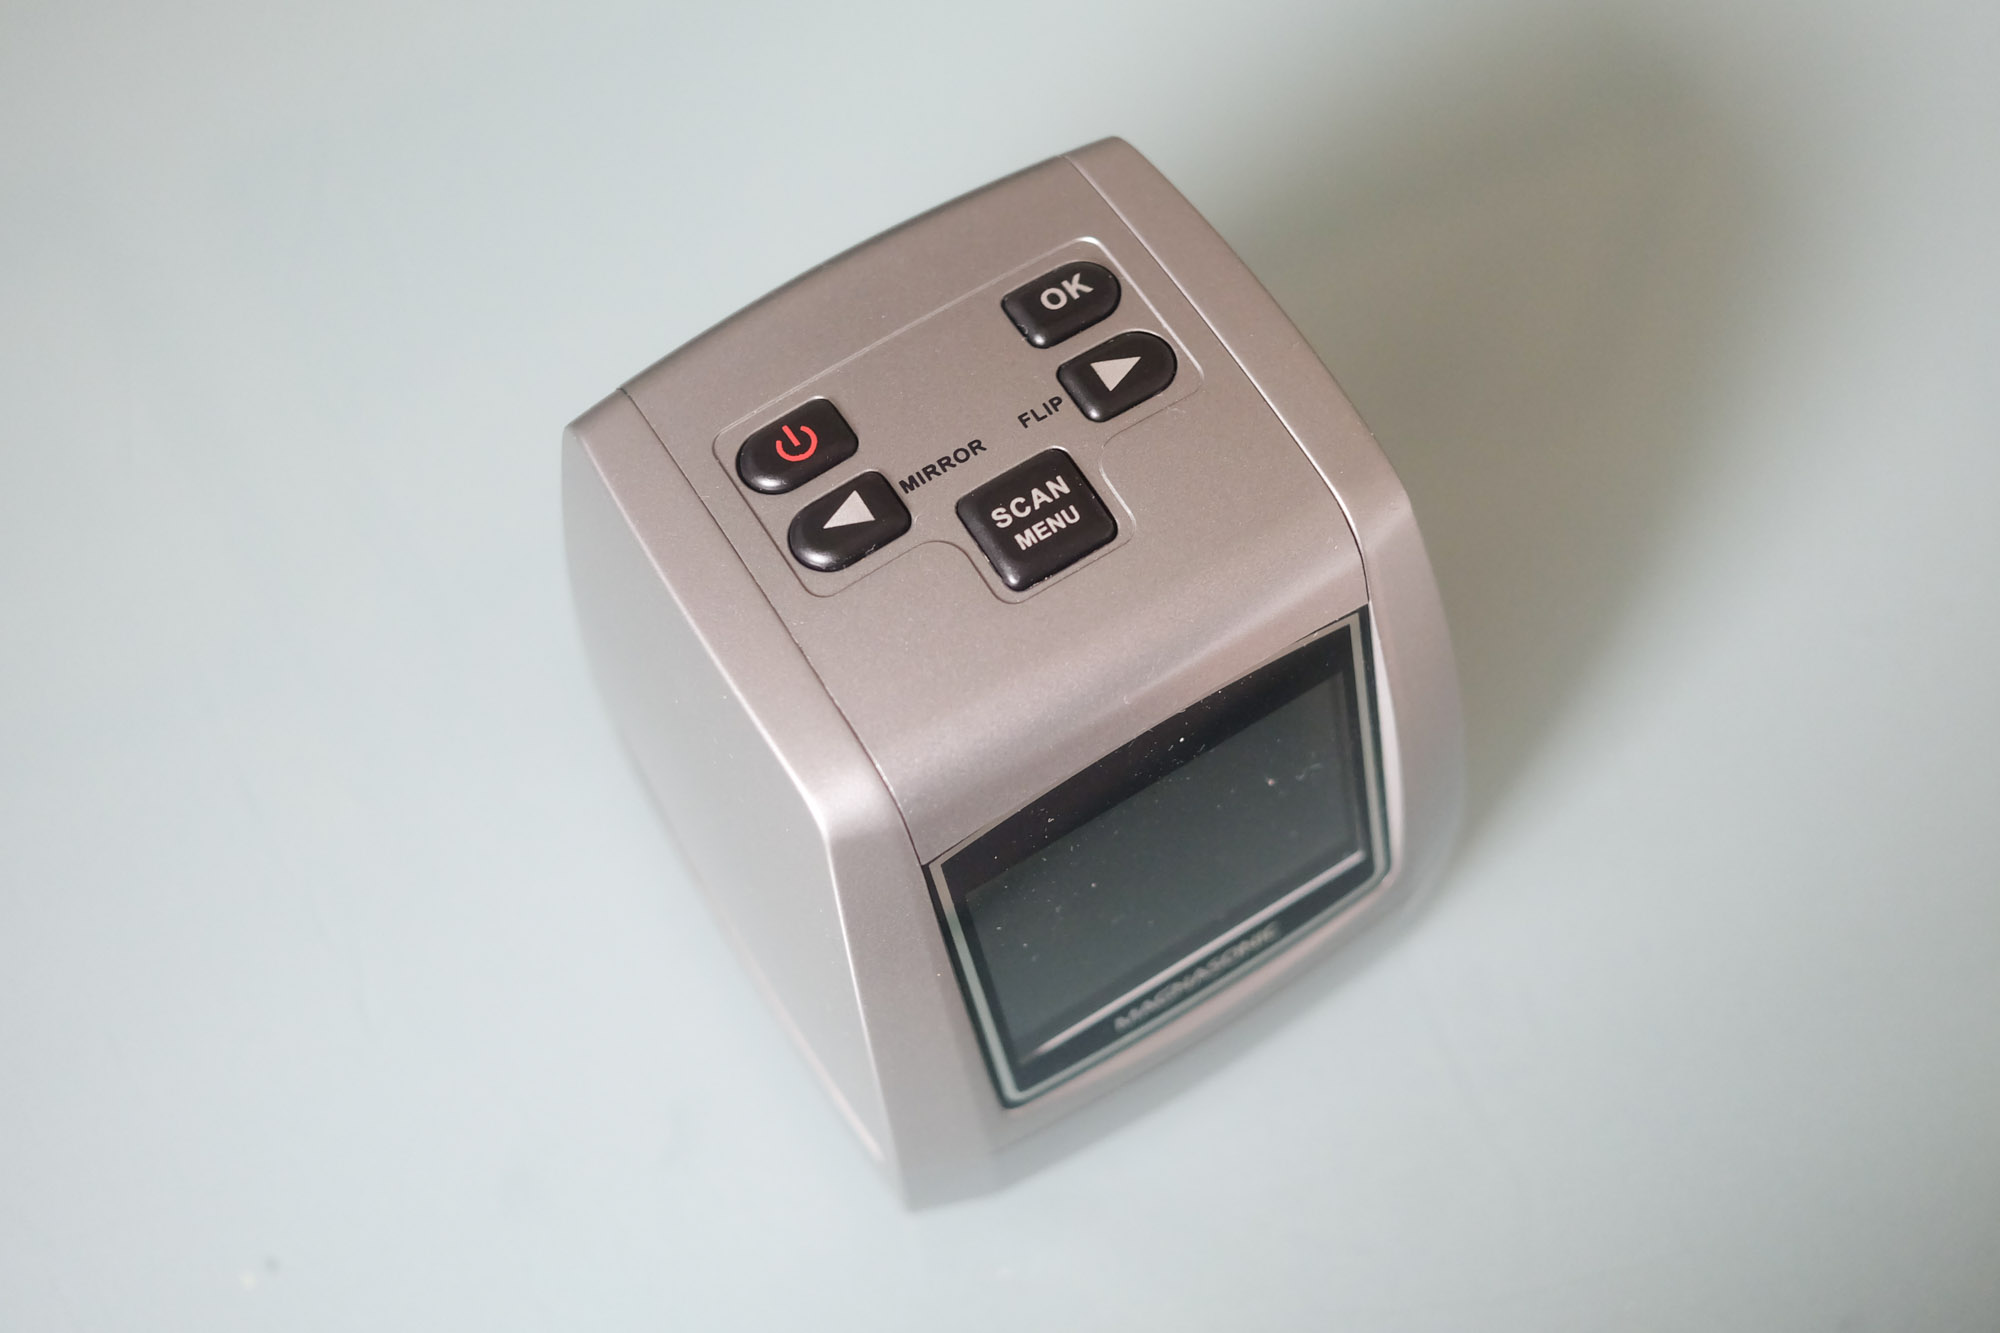
When you are making a scan you can change the exposure and also the red, green and blue levels. You can flip the image vertically, or mirror the image horizontally. This is handy if you have put your film strip or slide in the wrong way.
Working through the menus to change exposure and colour levels is not the most intuitive process, and I found myself accidentally exiting menus when I just wanted to move down one option, for example. But the more I worked with the scanner the more I was able to navigate the menus efficiently.
If you are scanning old slides and negatives that have been in storage for a while, it is easy to introduce dust and fibre particles to the scanning chamber, and that is where the cleaning brush comes in handy. If you do notice spots on your scan it’s really easy to get the brush in there to clean the backlight panel.
Scanning old negatives
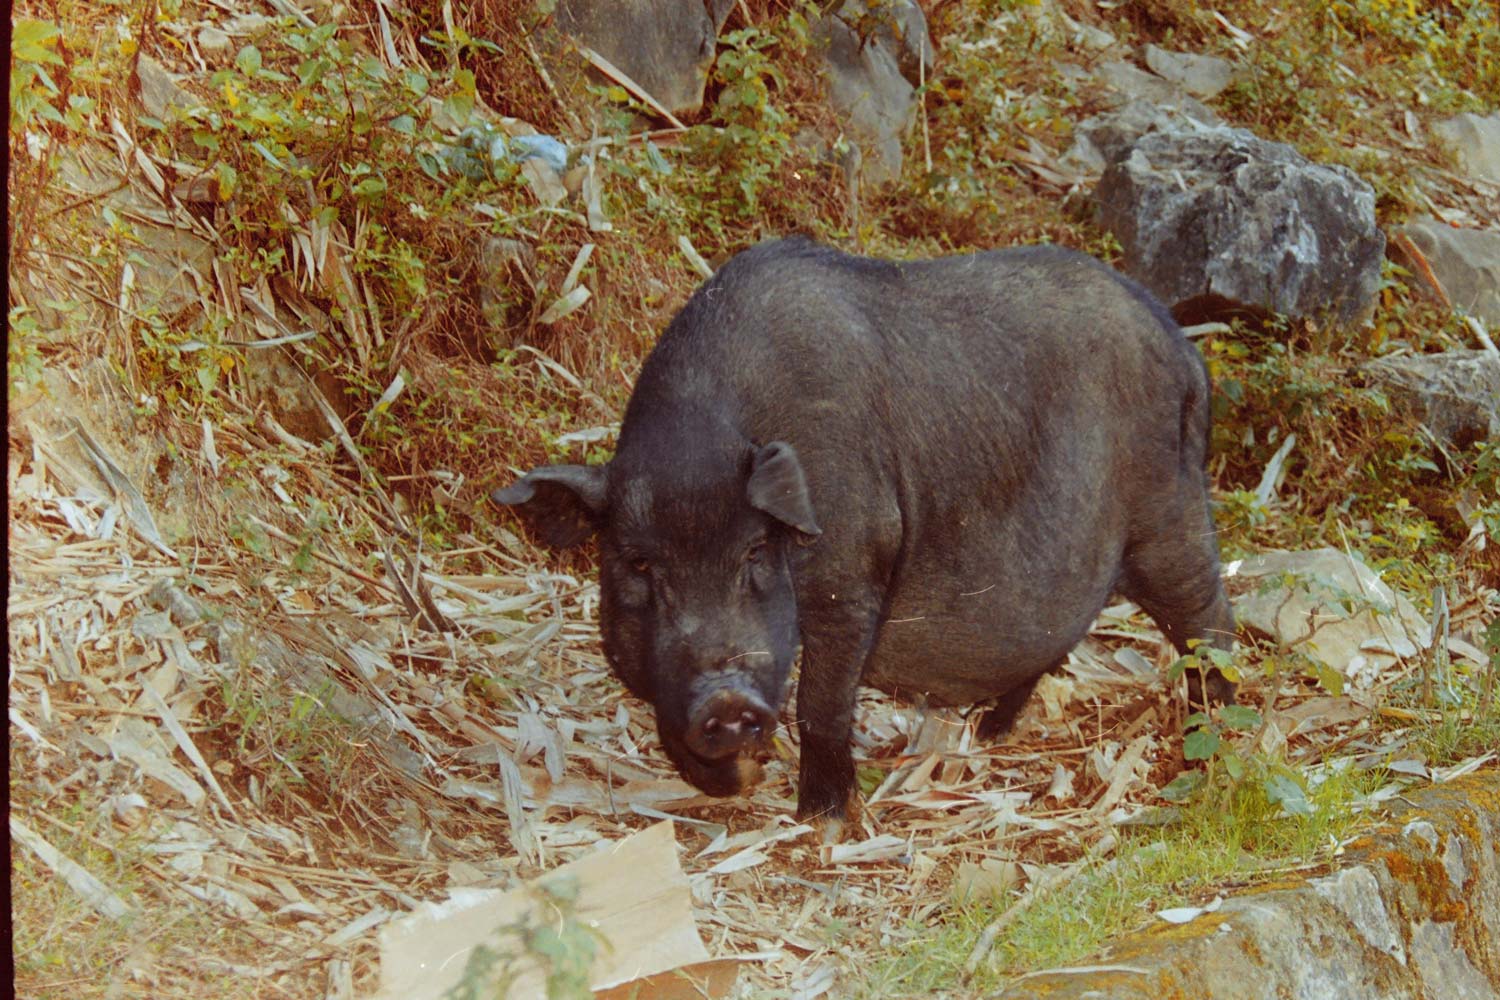
It just so happened that when I received the Magnasonic scanner, I had some old photos from a trip to Vietnam sitting in a drawer beside my desk. I was quickly able to grab a strip of negatives and load them into the holder. It was just a matter of seconds before I had my first scan. For no reason, in particular, I chose a photo of a pot-bellied pig. Below you can see the first four scans that I made.
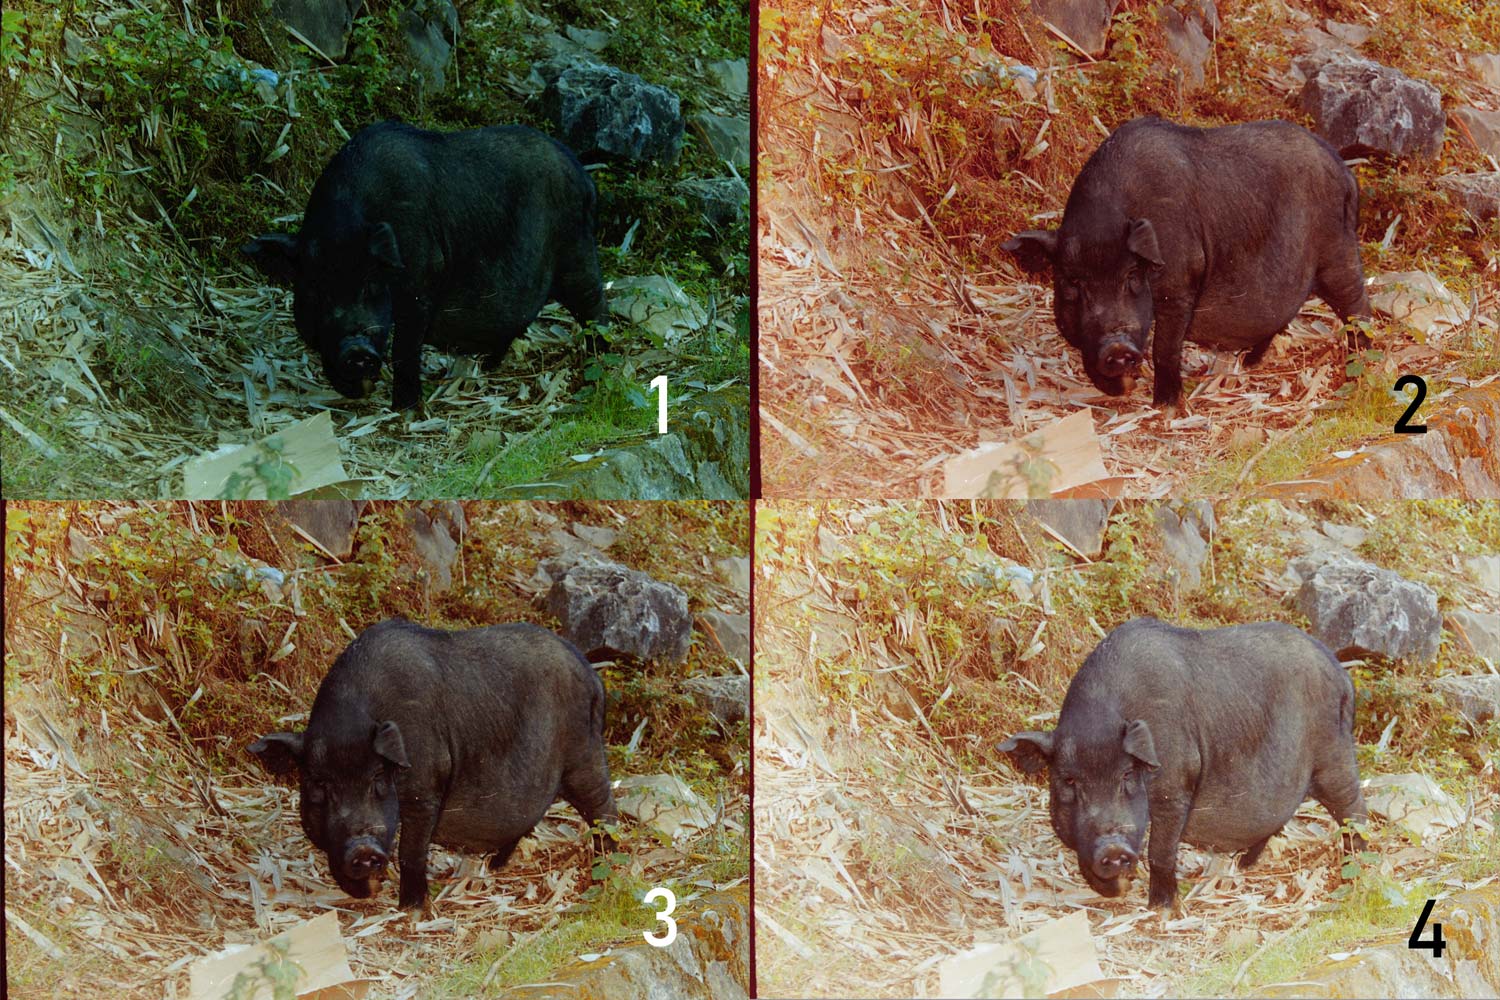
The first scan was too dark, and also seemed to be lacking in reds (hence the lack of ‘warmth’ in the colours). When I checked the exposure it was set to -1, so for the second scan I set it to 0, and moved the reds to +1. As you can see, that fixed the brightness but overcooked the reds. For scan three I moved the reds to +0.5, and I’m pretty happy with the result. I was curious to see if I could get a little more detail in the pig’s face, so for my fourth scan, I upped the exposure to +0.5. I feel like the optimal photo is somewhere between the two, so I took them into Photoshop and blended them for my final image.
For my next scan, I was going to try some of my medium format negatives, but I quickly realized that the Magnasonic scanner doesn’t accept medium format. The scans above are all from 35mm film. Fortunately, I had another option up my sleeve—an old box of slides that used to belong to my wife’s grandmother, who had quite the wanderlust. Slides are positives (as opposed to negatives) so I had to adjust the film type through the menus. Once again loading the slides and creating the scans was a breeze.

I really like this photo, which was taken somewhere in China. Where I feel the scanner isn’t doing the slide full justice is in the shadow areas. I think there’s probably more detail in there that would have been pulled out by a higher quality scan. You might notice some fibres on the image too. There were actually a lot more but I was able to remove most of them with the cleaning brush. A little more work and I probably could have got them all.
Conclusion
The Magnasonic All-In-One High-Resolution scanner is easy to set up and use and creates pretty good scans. I think you can get even better results using some simple techniques in Photoshop.
Bottom line: A good scanner for the price, but probably won’t impress professional photographers.
Check out the full range of printers and scanners available at BestBuy.ca.


Thanks for putting your thoughts on this product. You are a good product reviewer keep doing more review. Looking forward for your next post.
This is an interesting product, but most people don’t take pictures using negatives anymore. I’ve scanned in physical pictures before, but this dedicated scanner might work better at getting digital copies.
Comments are closed.