
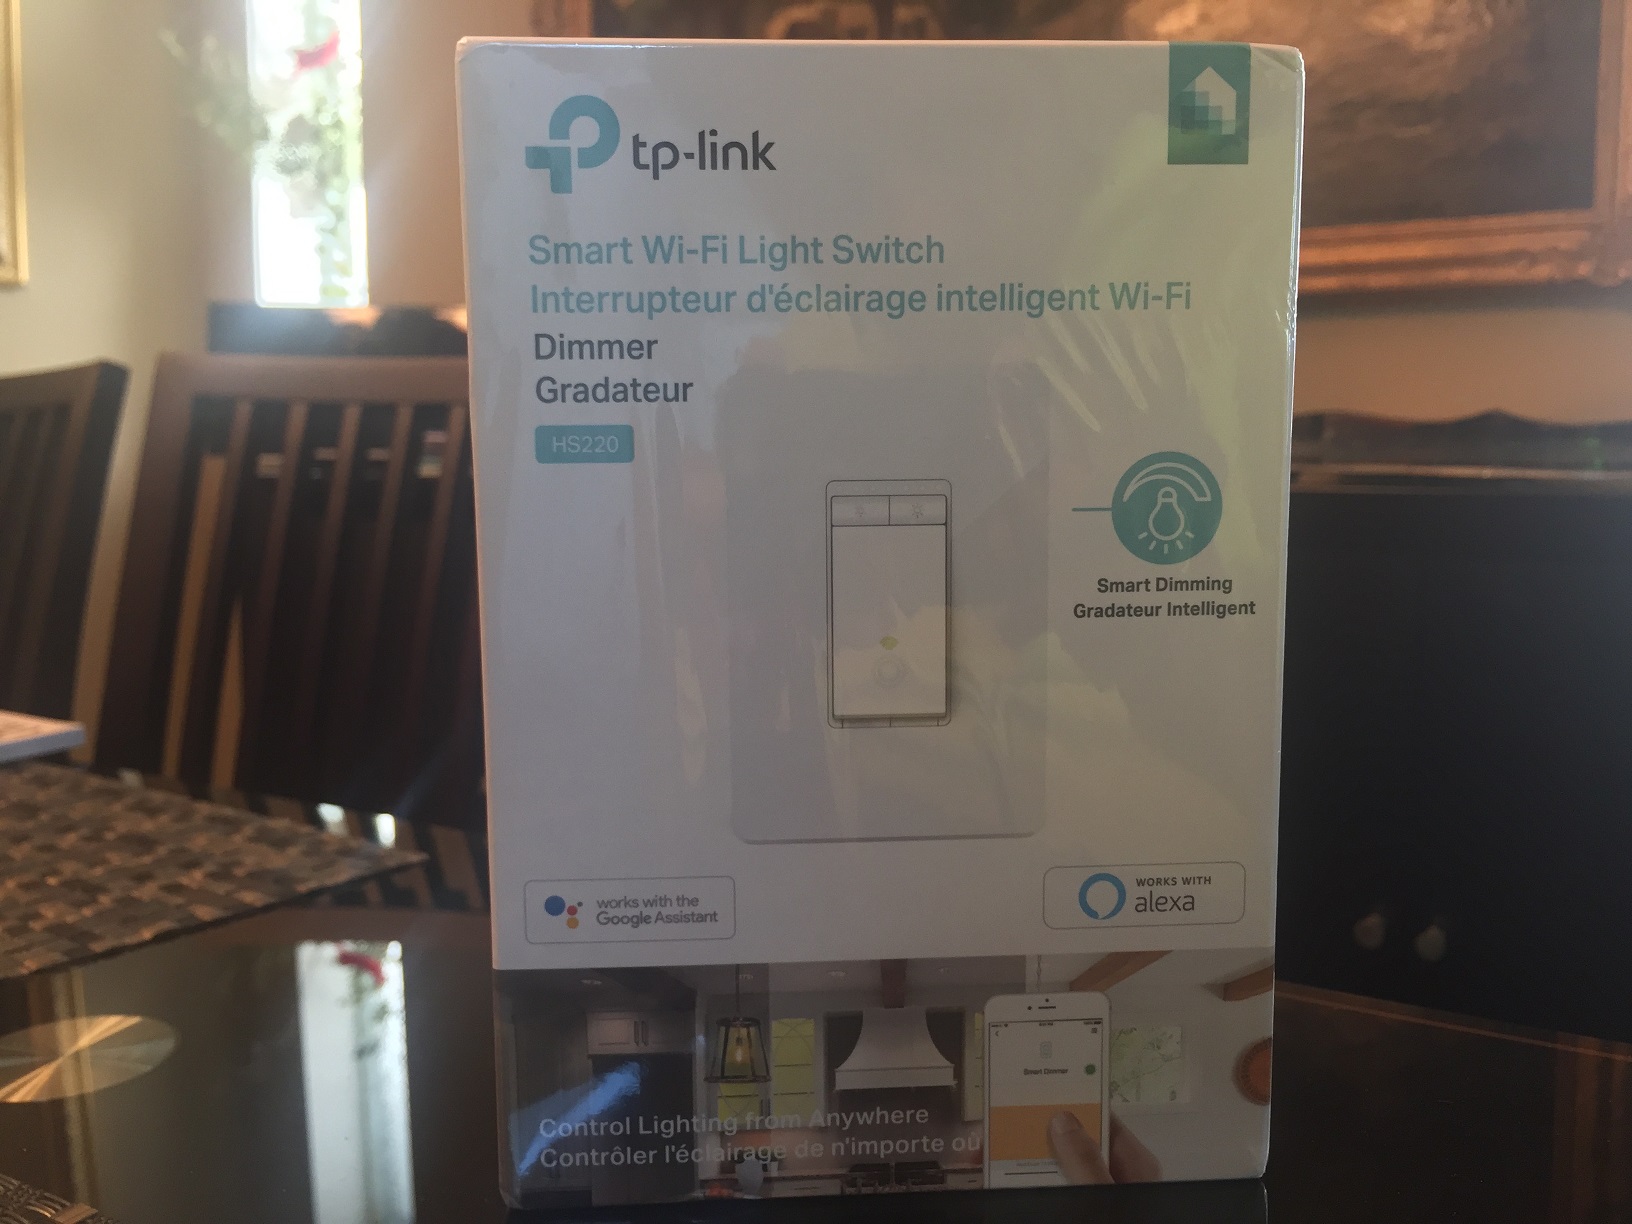
The TP-Link HS220 Smart Dimmer Switch is my second foray into TP-Link’s new line of smart switches. I reviewed the non-dimmer switch a couple of years ago, which you can read here. This one is very similar to that switch in its easy to use nature within TP-Link’s Kasa App, but it has much different functionality. The TP-Link HS220 Smart Dimmer Switch is a 3 button dimmer light. You can use it like a regular light switch, or use the dimmer buttons at the top of the switch to manually operate it. Through that Kasa App, you can also dim it remotely or in person. It also has voice assistant capabilities for local use with Google Assistant or Alexa, and if you get really ambitious, it will work with IFTTT and Nest as well.
As always, if you aren’t sure about some of the wiring information I talk about in this review, or you don’t feel comfortable installing any of these wiring projects in your home, please consult an electrician.
Getting inside the box with the TP-Link HS220 Smart Dimmer Switch
 The box contents of the TP-Link HS220 Smart Dimmer Switch are pretty minimal. In the box you get a faceplate cover, a couple of marettes (plastic twisting wire connectors), wire stickers, and instruction cards, which basically direct you to the Kasa App itself for full step by step installation support.
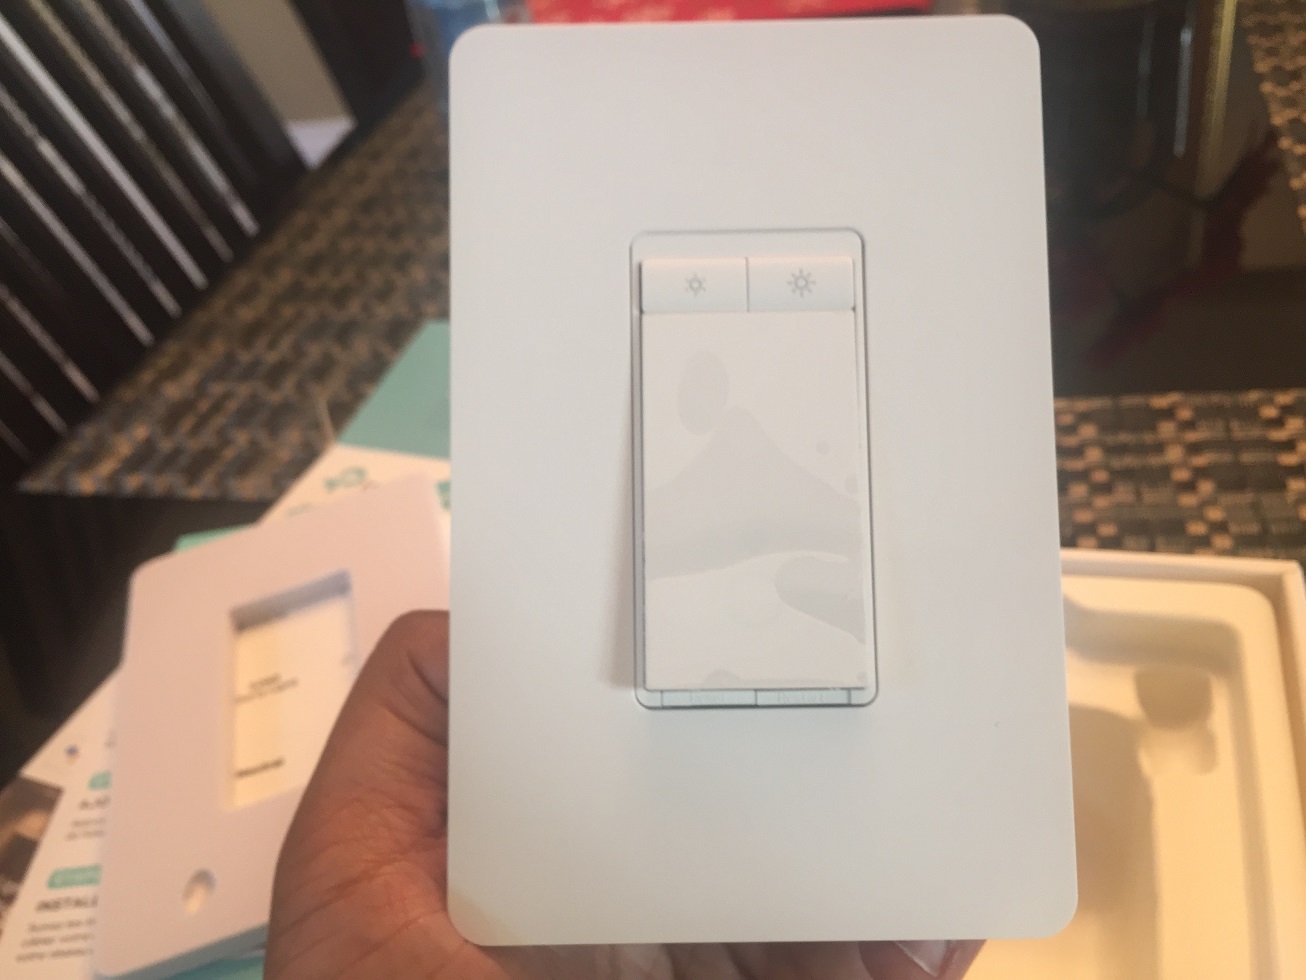
One of the main things to remember when installing a smart switch is its size. Unlike conventional non-smart light switches, they take up the majority of your wiring box’s free space. This means that you might have to chip a little bit into your junction box or the surrounding drywall to make it, but the faceplate is large enough to cover the entire area of whatever you may have to make accommodations for. The faceplate itself does come attached to the switch and does require a bit of force to separate it since it clips on (as opposed to screwing on), but once you’ve got them apart, you can move on to the install.
Before installing, there are some things you should know about your new switch, including the fact that the Kasa App requires iOS 10 or Android OS 5.0 at minimum. Here are a few things you can and can’t do with the HS220 schematically.
Things you can do with the TP-Link HS220 Smart Dimmer Switch
- You can install it in a multi-gang switch box (i.e., 2 switches for 2 different lights). The front face is the same size and dimensions as a normal rocker switch, so you can replace one with the other no problem.
- You can also move this switch from room to room in your home without having to re-configure it in the app. For example, if you start this out in the guest room and decide you want it in the living room, you simply reinstall the switch itself. Once it has power, it will sync up again with your Kasa network automatically, and you can start using it like nothing happened.
- You can use voice assistants to help dim your lights if you don’t have your app nearby or if you’re used to running your home with the help of Alexa or Google Home. Just follow the applicable instructions for hooking up to your voice assistant.
- Lastly, you can use some third-party support for home and away settings too! If you have an IFTTT account, you can create some settings there, or else you can also manage it through “Works with Nest.” If you have a Nest ecosystem set up at your house, your HS220 Smart Dimmer Switch can follow your home and away settings.
Things you can’t do with the TP-Link HS220 Smart Dimmer Switch
- You cannot install this on a multi-pole switch (i.e., a light powered by two different switches). I purposefully installed this on a multi-pole switch and found that neither the HS220 nor the regular 2nd switch were responsive afterwards. You will get power to the dimmer, and you will be able to configure it in Kasa. However, you will not be able to power your lights on, even when sync’d up with the app. To be honest, this is fairly consistent with the other smart switches I’ve come across, so don’t take this as a knock against the device.
- You also shouldn’t install this on anything but a modern (100 amp or more service) wiring system in the home, and preferably on copper wiring. Since smart switches have larger power bases than normal switches (and have to be on all the time), they will be drawing power constantly, and may stay warm. As a result, most smart switch manufacturers recommend that you install on a service with modern breakers and a high amperage. If your home runs on fuses, aluminium, or knob and tube wiring, it’s best to take a pass on these.
- Lastly, you might get spotty results if you’re installing on a switch that controls power to a socket. Since smart switches thrive on a closed power loop, the HS220 drops its connection and loses power altogether if you have nothing plugged into that socket. Fortunately, once you plug something in, it closes the loop again and then it powers up again in seconds. The intermittent results are just based on whatever you’ve plugged into it. It may or may not work.
What you need to know about installing the TP-Link HS220 Smart Dimmer Switch
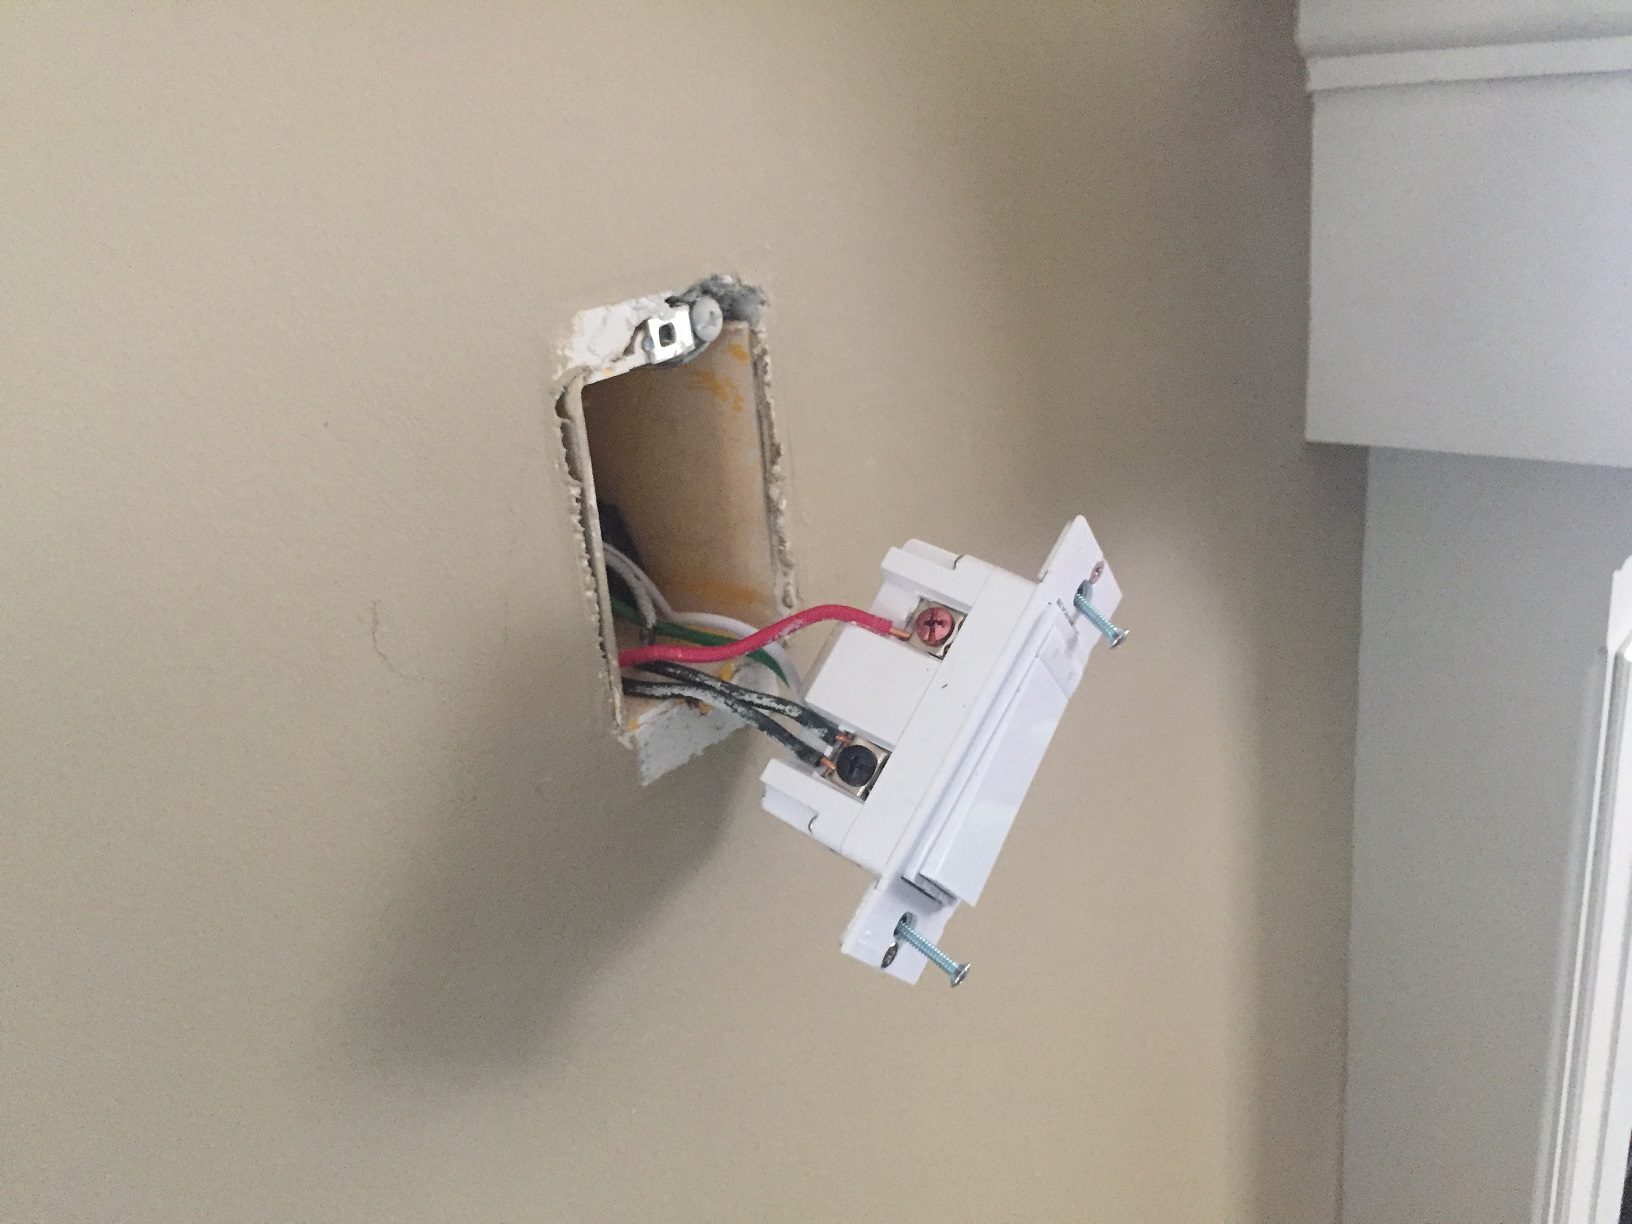 When installing the TP-Link HS220 Smart Dimmer Switch, just like any smart switch, you need to make sure that you’re following the instructions to a tee. You need to ensure you’re installing your switch in a place that has all of the wiring you need (especially a ground wire), and that you are creating a completely closed power loop. If you don’t do this, you will run into a mixture of troubleshooting problems, including your HS220 getting power but not responding to commands, your light fixture not responding at all, or both simultaneously.
Installation itself is a snap, especially if your wiring is colour coded properly. If it isn’t, you can easily find videos online that will explain which wires play what role, or, once again, feel free to call an expert.
Installation should only take a few minutes and is no different from all other smart switches I’ve reviewed. If you know what you’re doing, it could realistically take only 5-10 minutes. You just need to ensure that you have shut power off at the breaker. Check the video for a really quick look at installation.
Before you do install though, make sure that you’re using supported bulbs. You can only use dimmable LED or incandescent lights. In fact, some switch users I came across online admitted that they’ve had trouble getting this to work with actual smart bulbs, so you may want to stay away from that potential app-enabled double dip.
Working the HS220 Smart Dimmer Switch
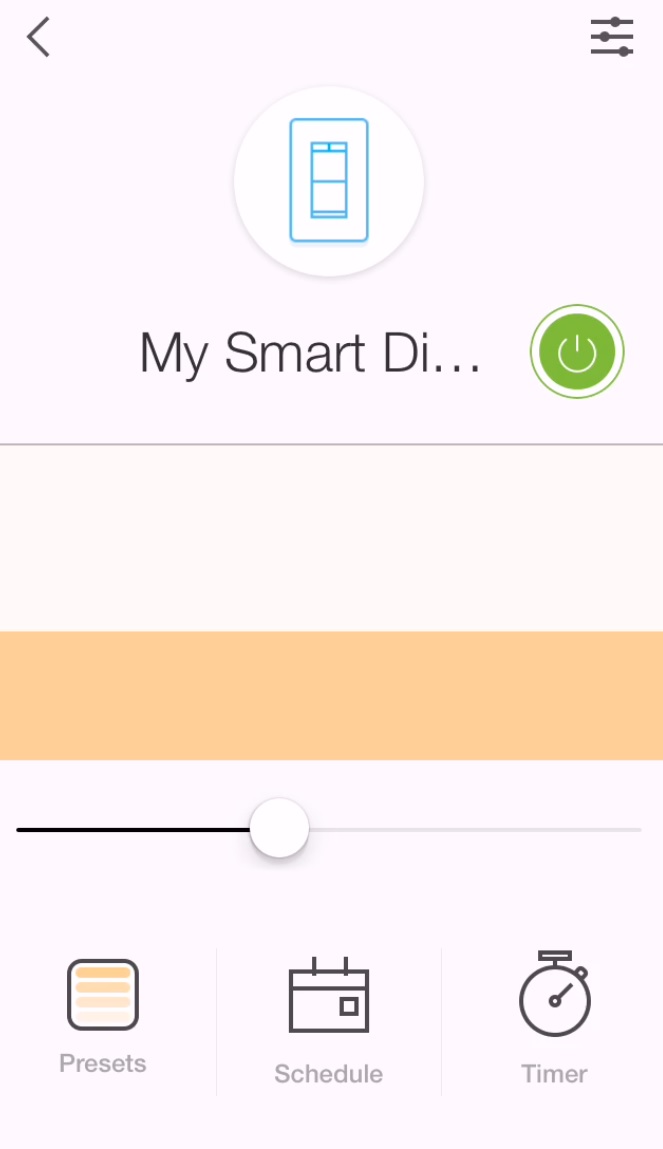 Using the TP-Link HS220 Smart Dimmer Switch is really easy. Once you’ve followed all the installation instructions, the switch operates both manually and through the Kasa App (seen on the right.) Manually, you simply push it on and off like you would any other light switch. The dimmer buttons are accompanied by a light-up display showing you how much your lights are dimmed. I’ve seen other users online reset the switch settings by holding the button down to return it to 100% brightness. While I couldn’t do this myself, I did notice you can press the dimmer buttons to the desired brightness BEFORE you turn the switch on, so that is another good convenience feature.
In the Kasa App, you can also set it from 1-100% through a rising and falling display, or you can do an automatic 25/50/75 or 100% brightness set by touching the available option. The app also allows you to set timers and events as you see fit.
Configuring your HS220 Smart Dimmer Switch with Voice Assistants
Once you’ve installed your dimmer switch and have played around with it, you might want to add it to your Alexa or Google Assistant ecosystem. Many TP-Links products hook up to voice assistants nowadays, and this dimmer is no exception.
In order to sync this up with voice assistants, be sure that you open the Kasa App first and check out the switch’s settings. You need to slide the remote control function on. If you don’t, your voice assistant will not pick this up as a supported device.
The next step is enabling the right Alexa skill, or, in my case, with Google Home/Assistant, locating TP-Link on the list of supported controllable devices. Google Home then requires you to log in to your TP-Link account to authorize the use of Google Assistant. Once this is done, it’s pretty simple. Just follow the instructions to locate your device, tell your assistant where in the home the switch is, and you’re good to go. Should you need to ever access it by voice, you can throw a few interesting commands its way. Here are some examples of things you can throw out at your Google Home if you’ve installed the switch in the living room:
“Hey Google, turn on (or turn off) my living room lights.”
“Ok Google, turn on (or turn off) everything” (This will turn all of your supported lighting on).
“Ok Google, could you turn my living room lights on at 50%?” (This will turn them on at half brightness).
“Ok Google, could you dim my lights please?”
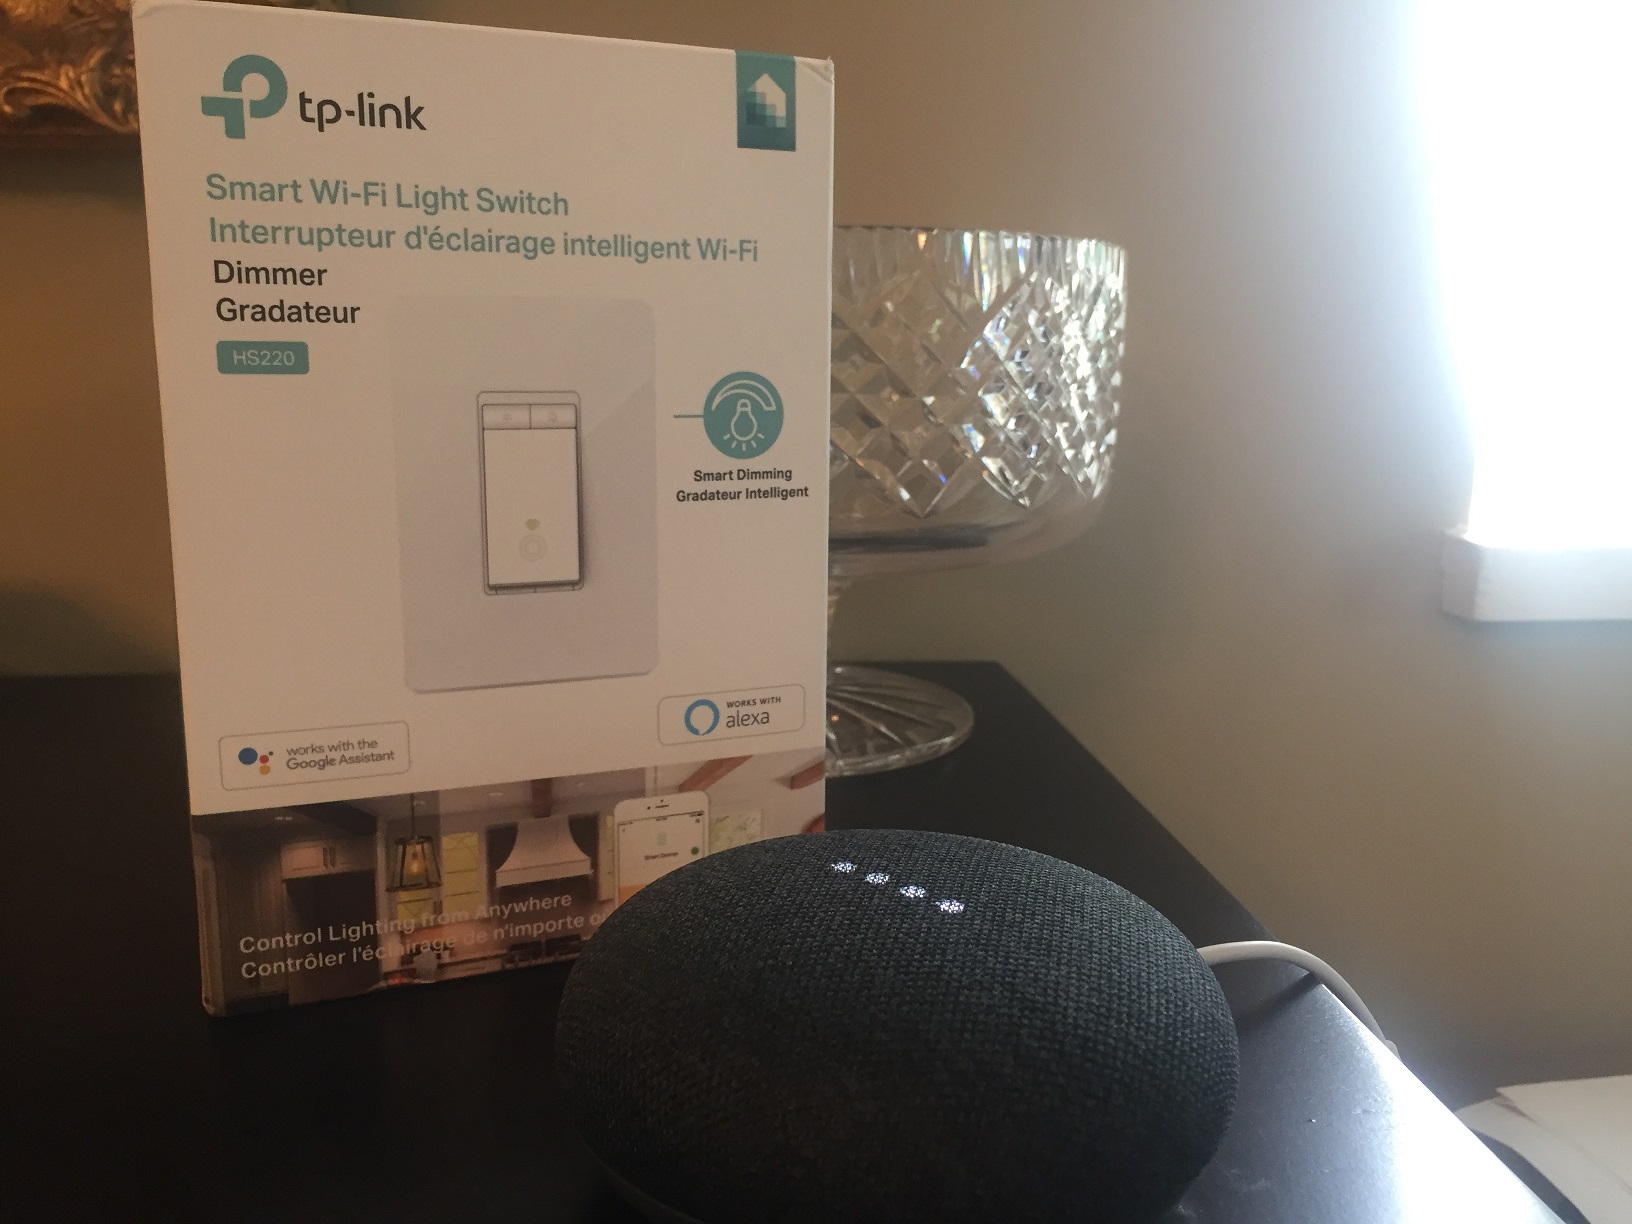
Right now, the voice command feature doesn’t appear to be at the point where it can understand how to set timers or events verbally, but what you can do without reaching for the app or getting off your couch is a pretty decent start. On the video, you will see how the HS220 Smart Dimmer Switch works with a Google Home Mini. If you need help at all with the configuration, comment below and I’ll see what I can do, or, visit TP-Link’s website for step by step instructions (both for Google Home and Alexa) on how to enable your switch (and any other Kasa supported devices) to work with voice commands.
The TP-Link HS220 Smart Dimmer Switch is now available at your local Best Buy and online at BestBuy.ca. I’m hoping the guy that I spoke to about this switch at Best Buy’s Coquitlam, BC store the other day picked it up and can comment below on how it’s worked out for him! Feel free to talk about your life with the HS220 in the comments below, too.


My new HS220 switches are not recognizable to Google Assistant. There is no “remote” switch in the device settings on ANY of my 5 switches.
TP Link customer service even says this product is not compatible, yet the packaging, the user manual & your video claim otherwise! PLEASE HELP!!!
Hi Christopher – Thanks for your comment.
The removal of the “Remote Control” slider must be something that happened with a recent update. TP-Link still shows those instructions (echoing what I say above) as the way to enable the switch to be recognized by Google. Trouble is, this device is now installed at my mother’s home, so I can’t head out there in the next couple days to check on settings locally.
I will be installing another TP-Link Device there in the next week though, so I’ll have a look and see if I can come back with something slightly more helpful
Hi Matt. I am beyond perplexed with my situation. TP Link’s customer service cannot help either. They say this product is not Google compatible, but clearly the packaging, manuals & your video show that it is.
My dimmer switches are not recognizable to Google Assistant & there is no remote switch under the device settings on ANY of my hs220 switches (I have 5). They all claim to have the latest version installed. PLEASE HELP!!
Comments are closed.