
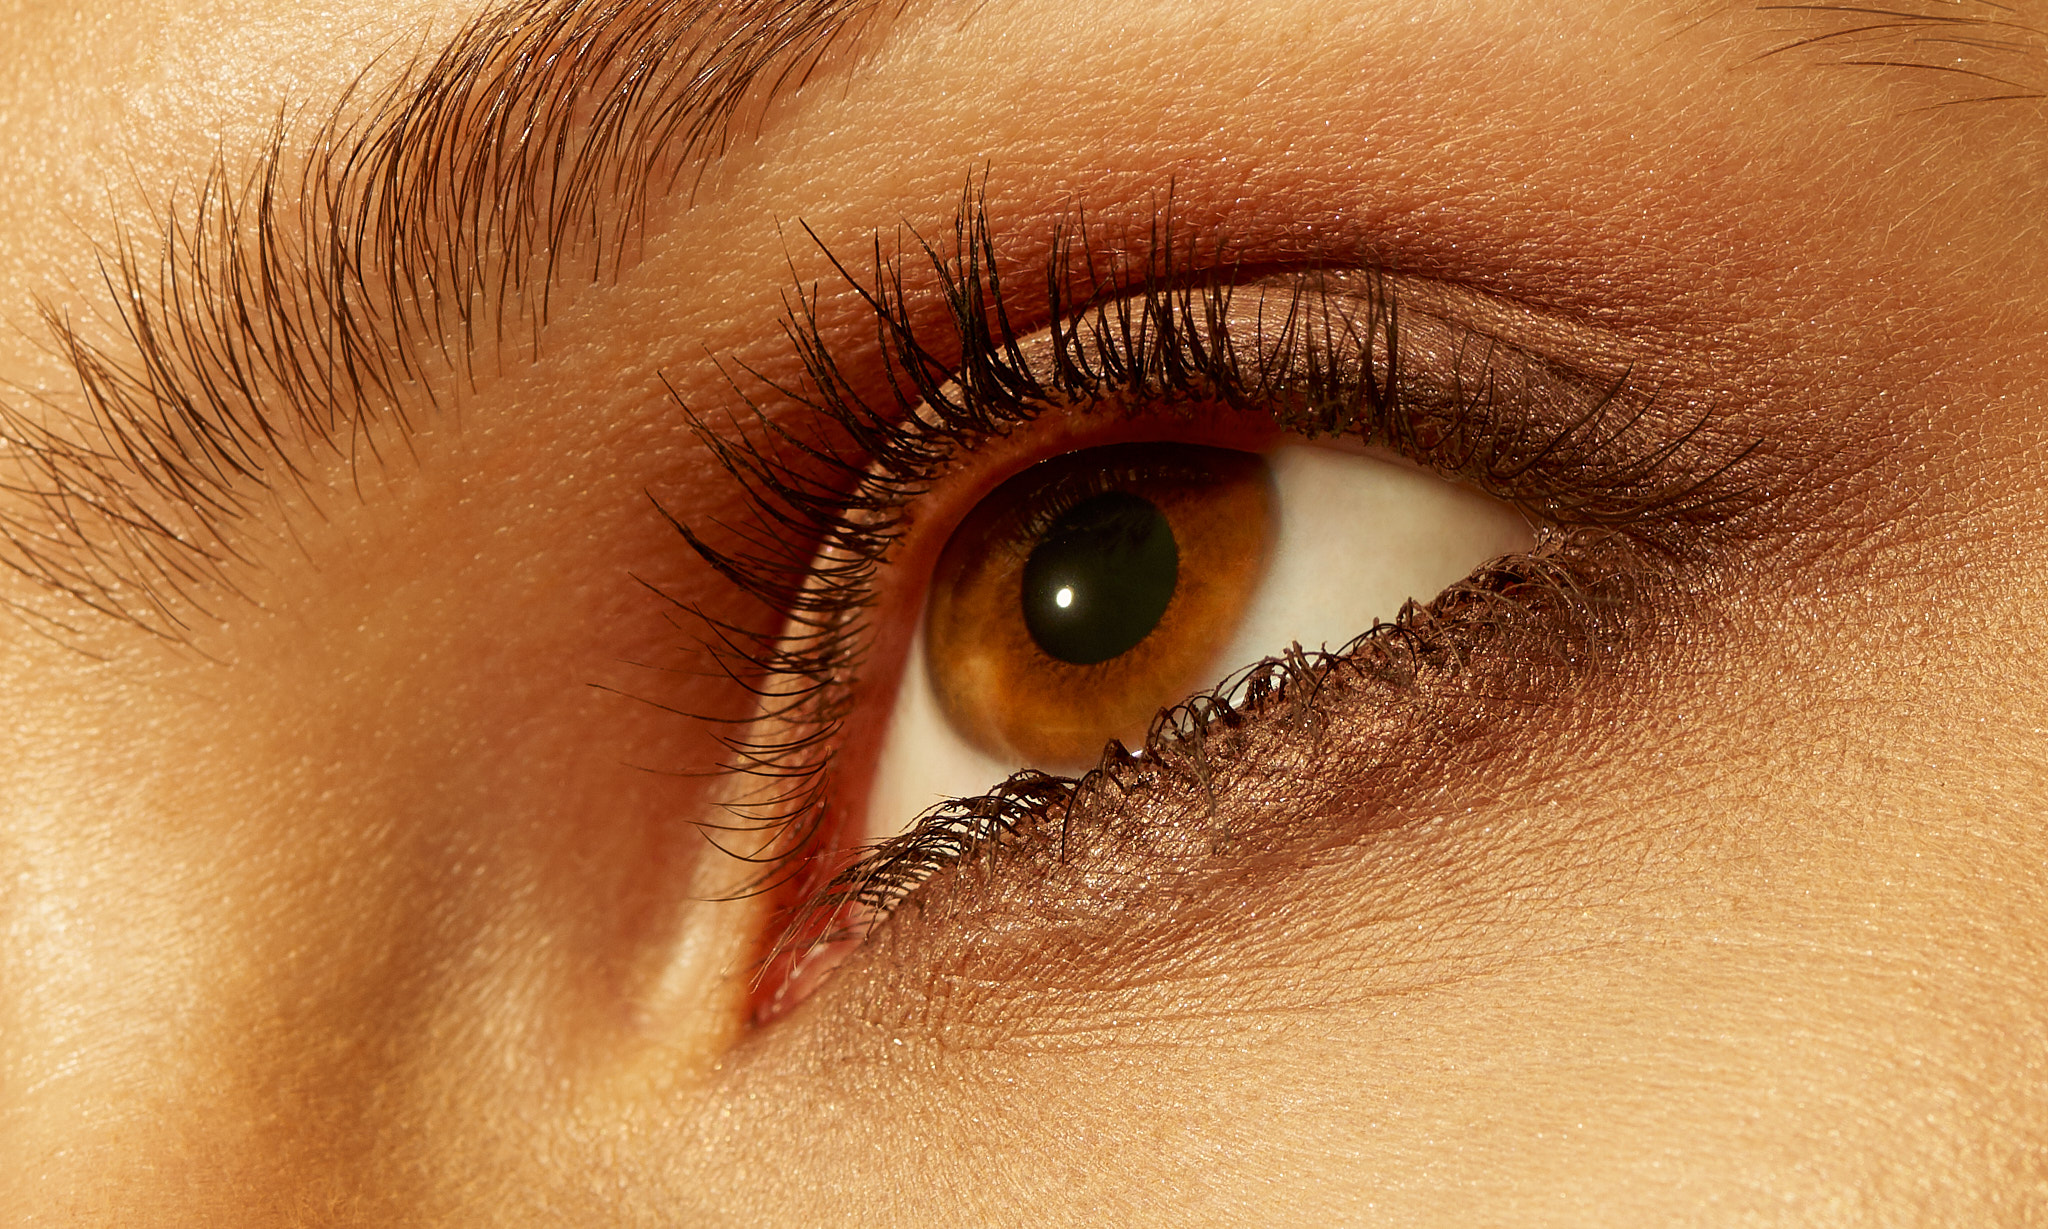
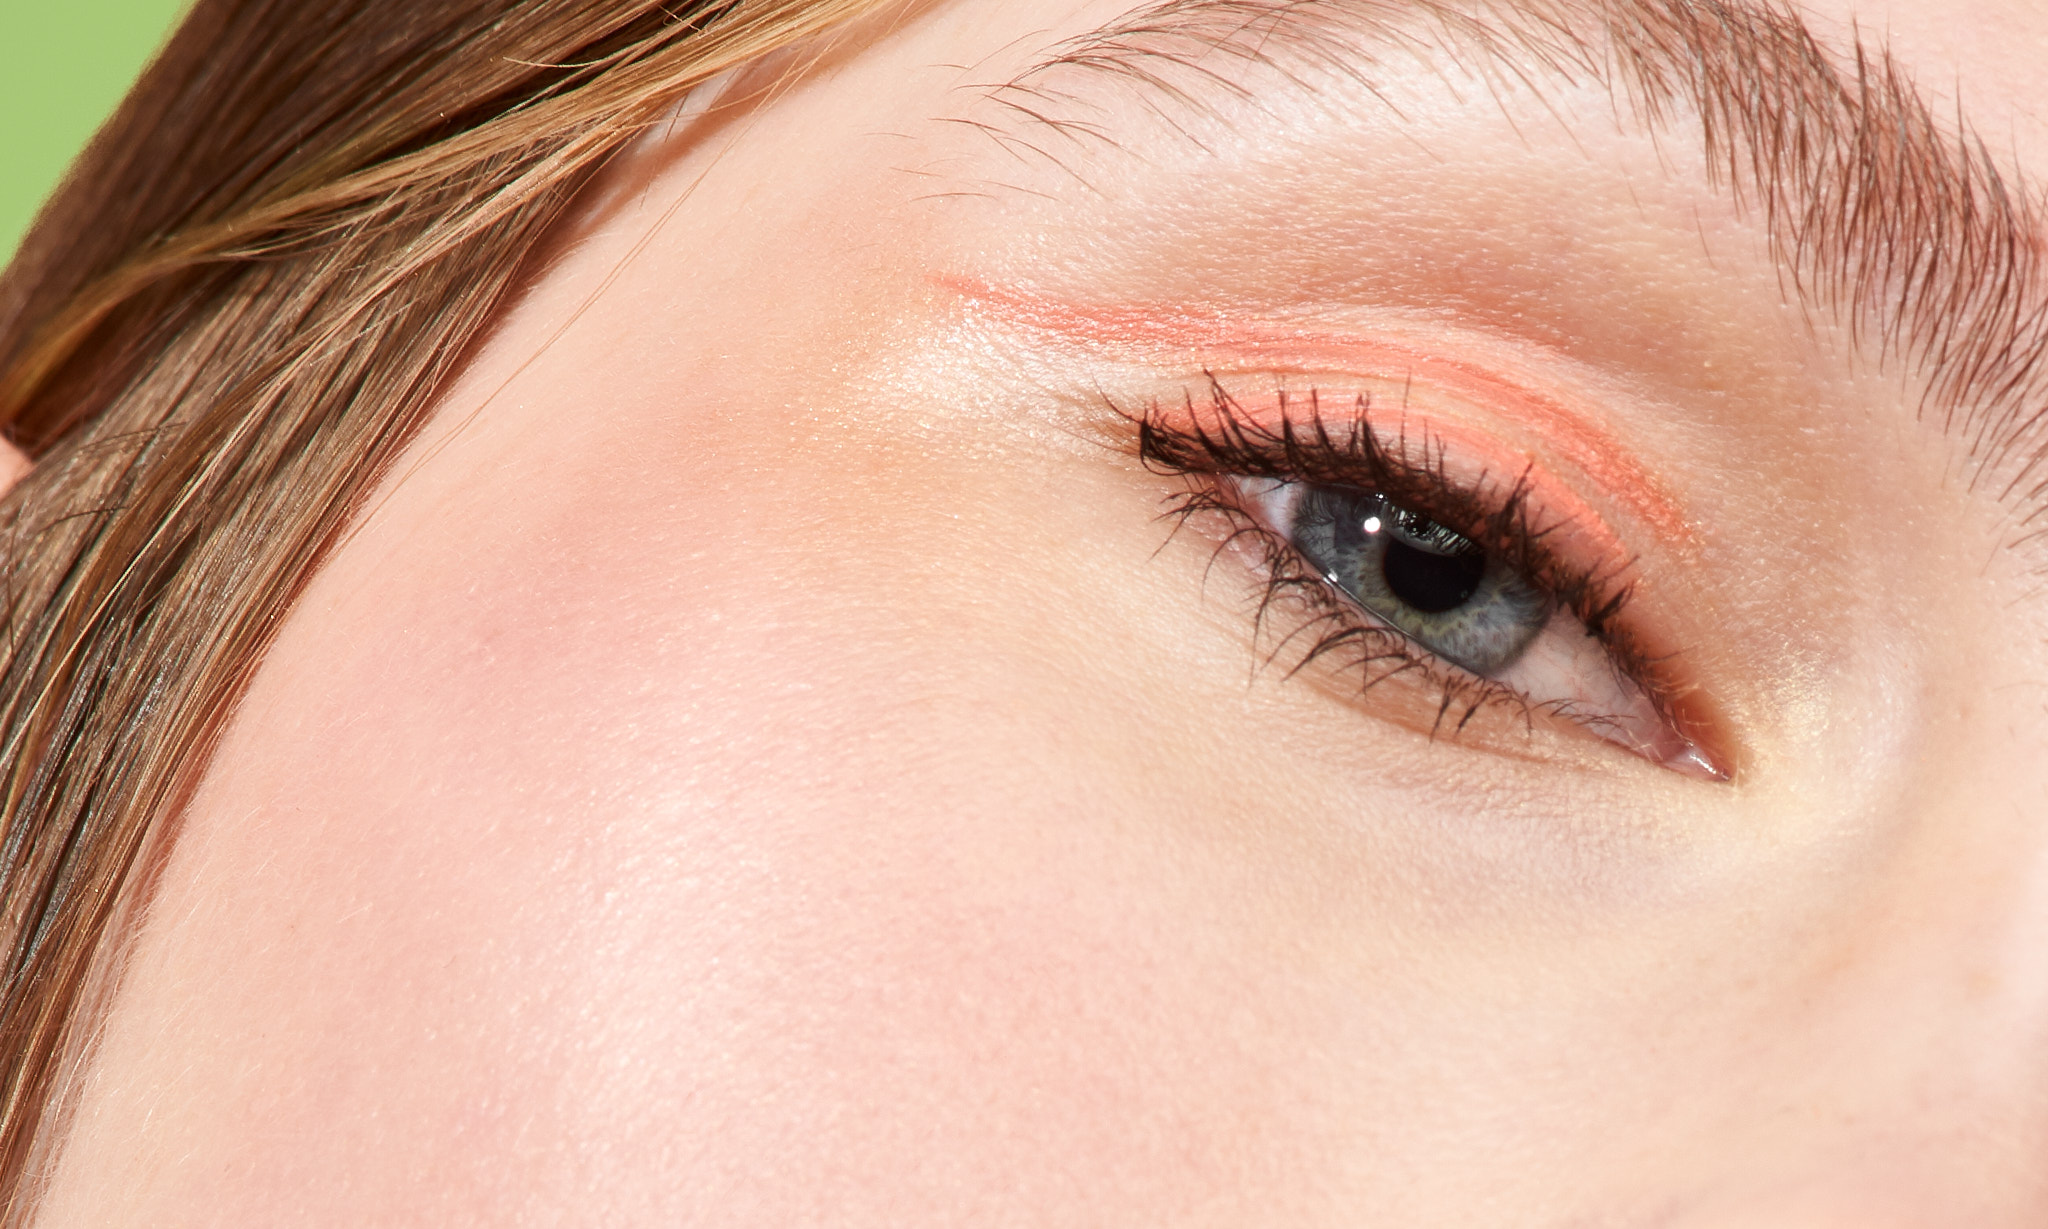
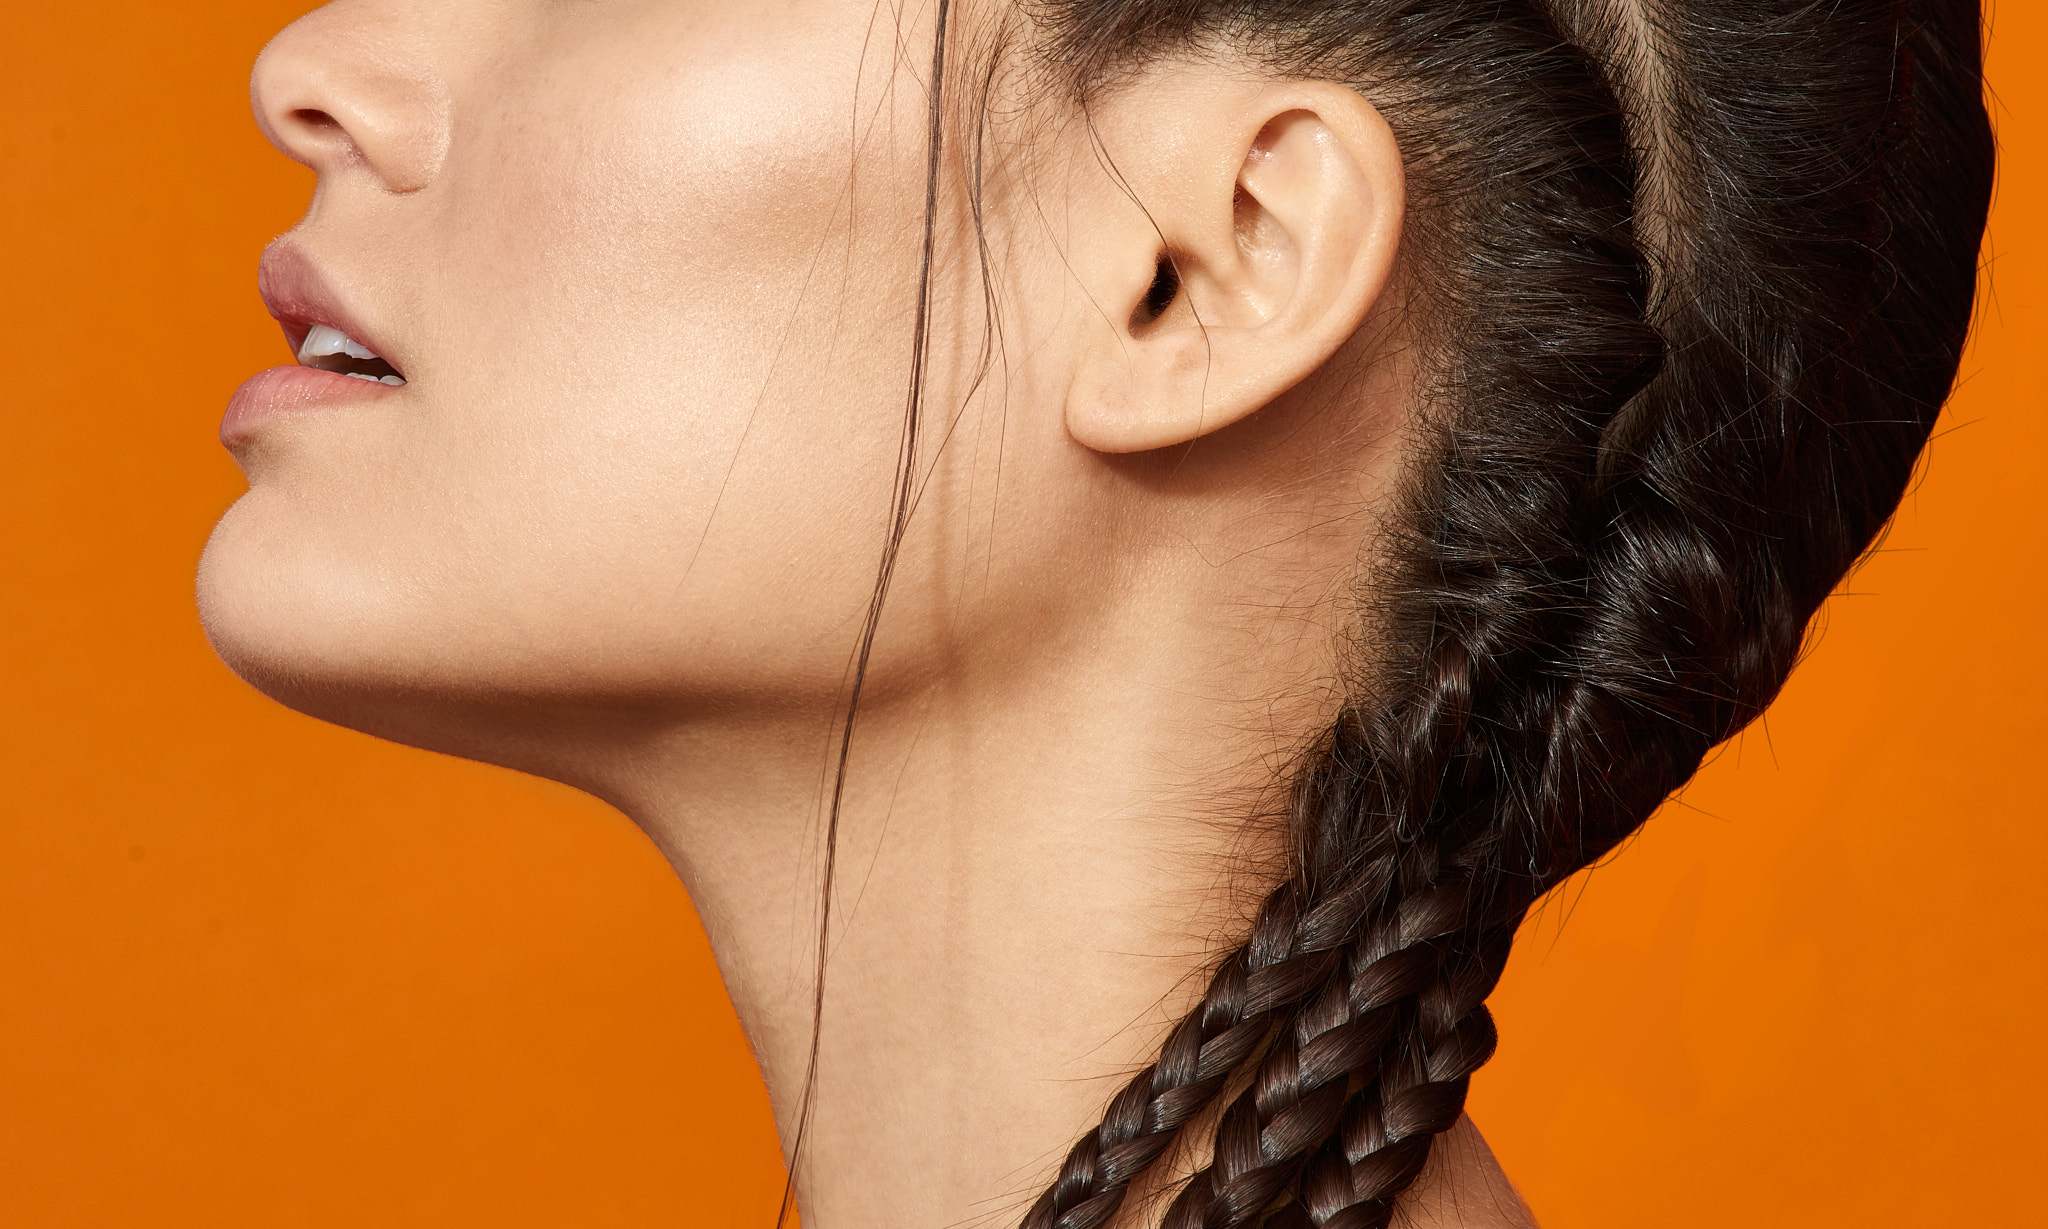
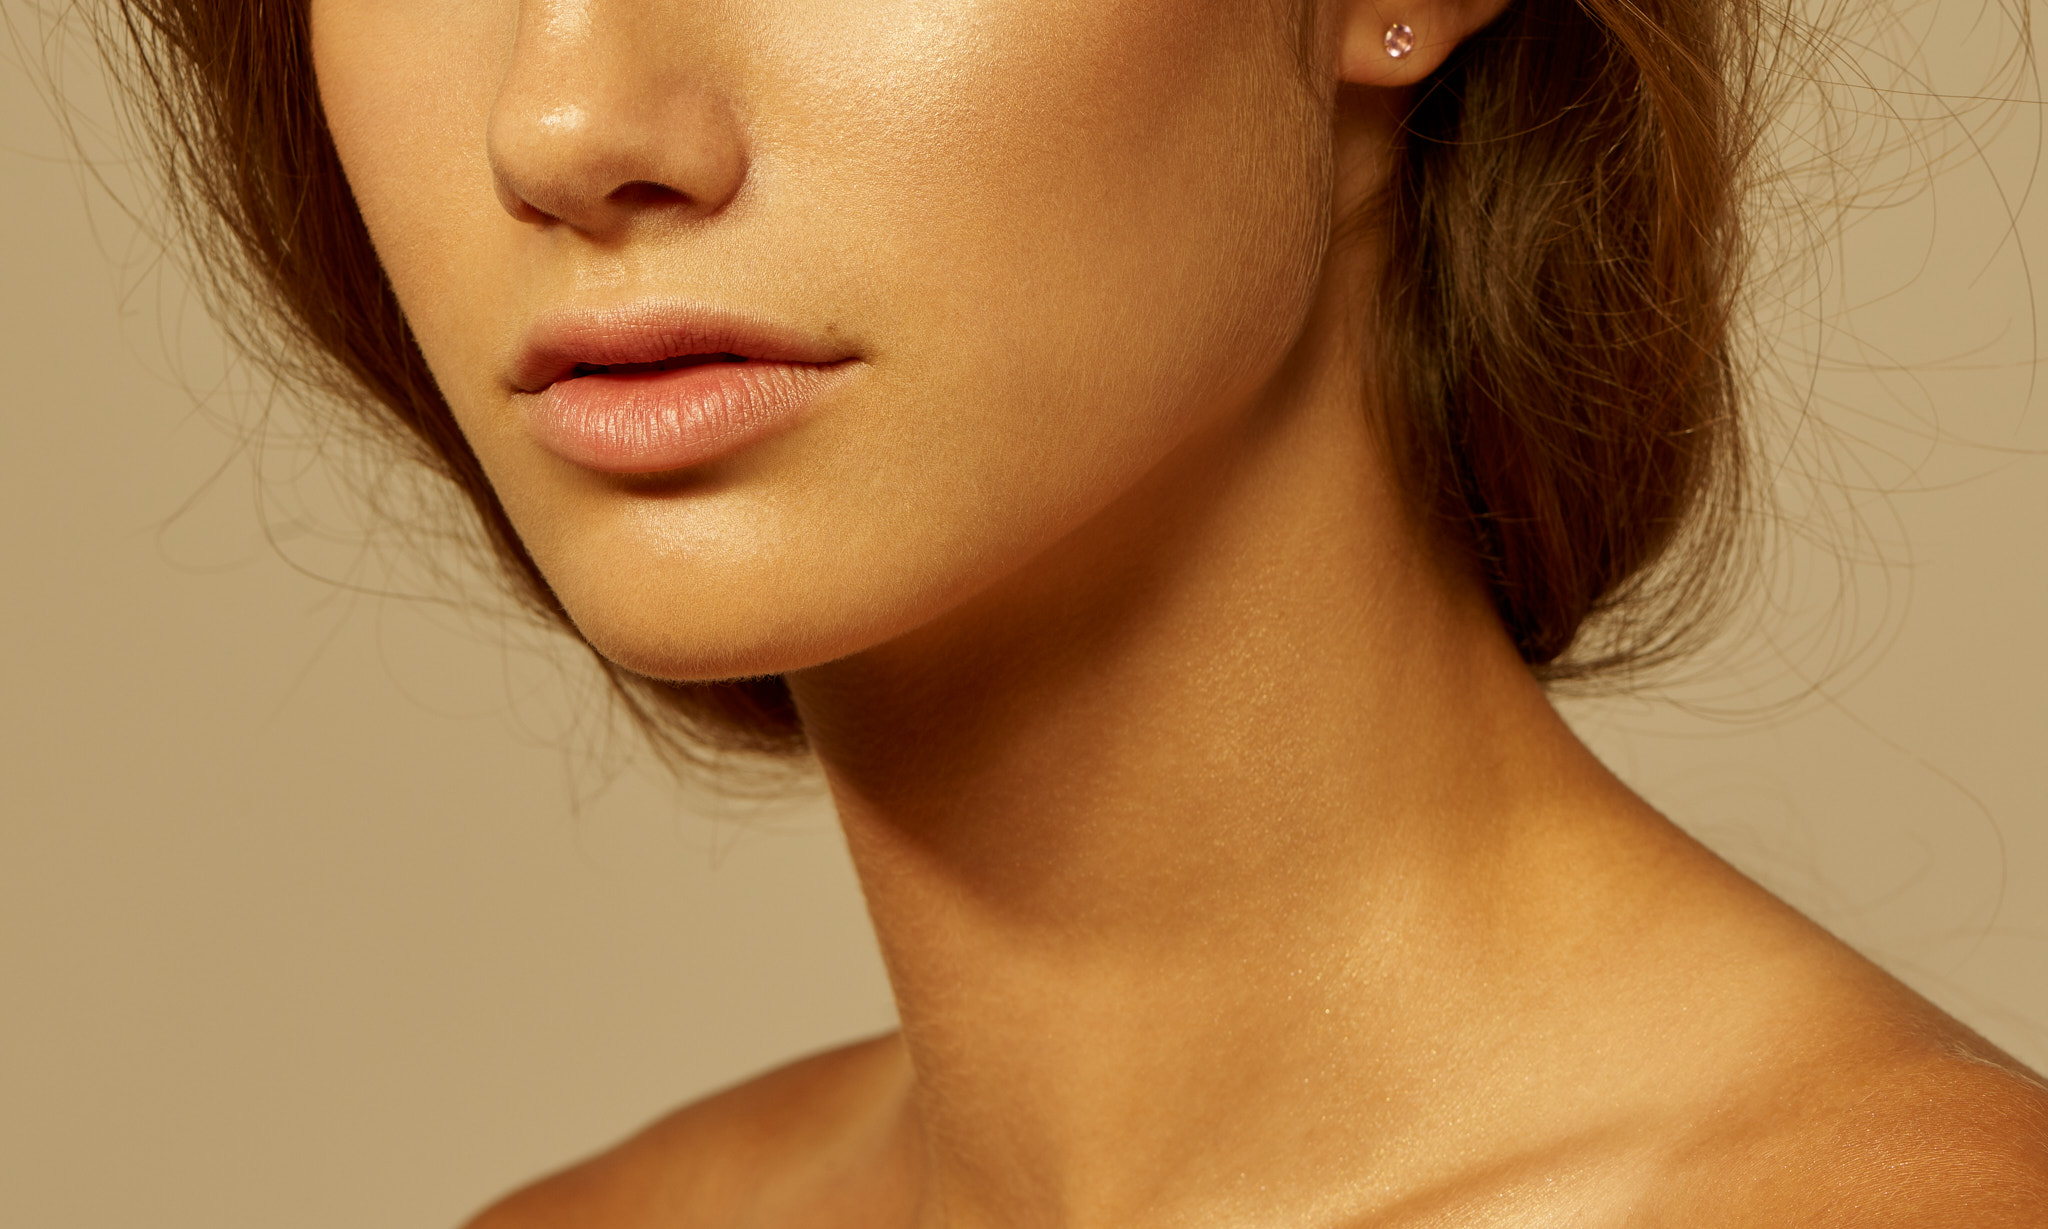
We all love high megapixel cameras. They enable you to show exquisite detail and creatively crop images later. As a portrait and fashion photographer, this makes my life easier, especially when I am shooting for a beauty campaign. But, there’s also a downside: having a camera that can capture every detail means you will see even the most subtle skin blemishes which will have to be retouched later.
Tools you need for photo retouching
Retouching and image editing have become a huge part of photography. However, before we get started I should first discuss some basic items and apps you will need.
Computer
Ideally, something that you can install the necessary programs/apps and have at least 8GB of Ram.
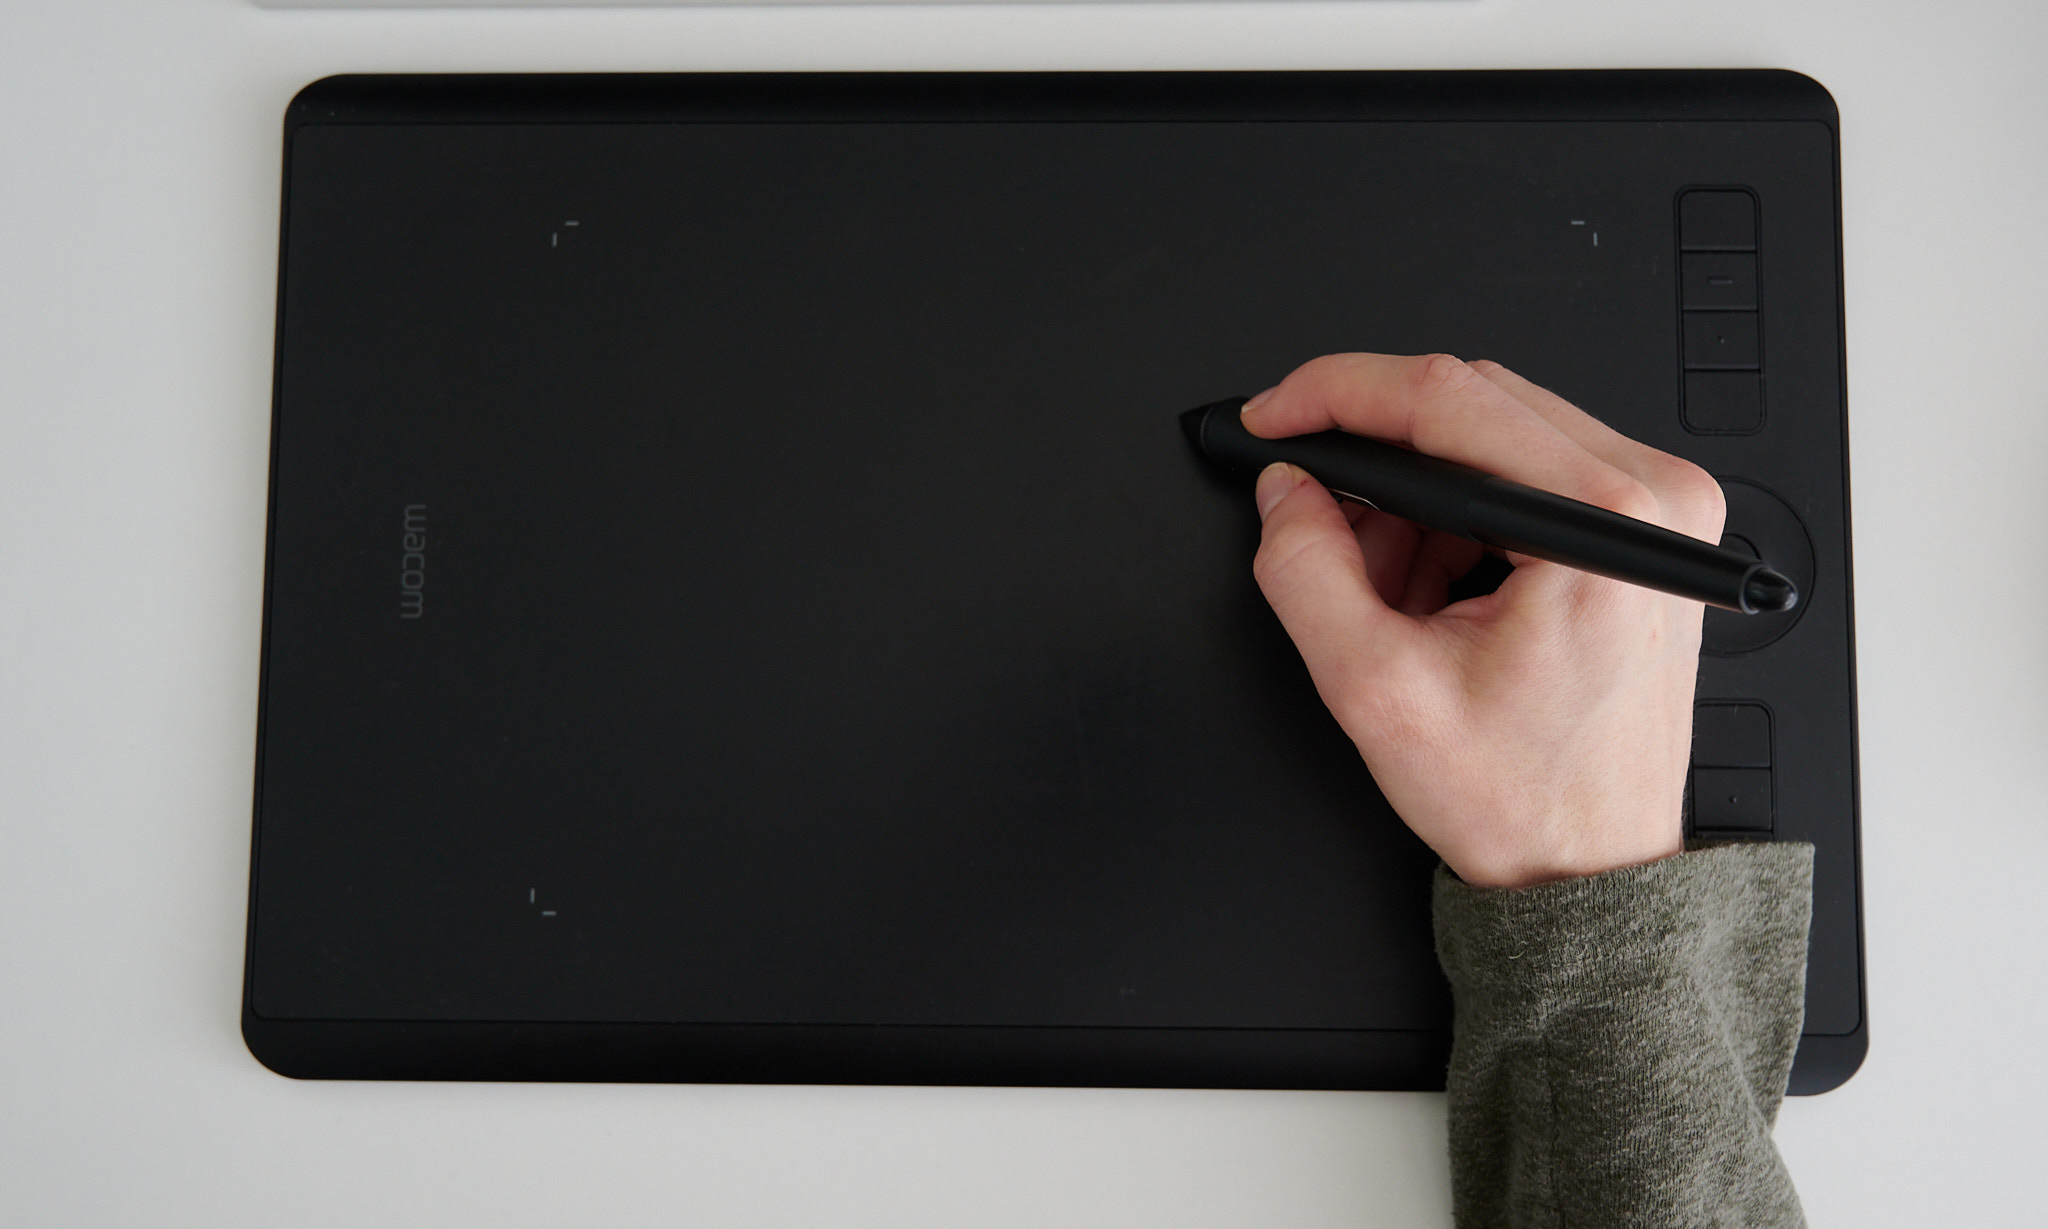
Pen Tablet
There are many tablets out there but most professionals use Wacom tablets for retouching.
Retouching app
There are a few out there that are free like GIMP, Plaint.net, and web version like Pixlr x but there’s nothing as powerful as Adobe Photoshop. Photoshop has been the industry standard for as long as I can remember. Fortunately, there are tons of video lessons on YouTube to get you help you learn how to use this powerful application quickly.
Editing apps
This is not absolutely necessary, but it’s a nice to have. Note, don’t get these confused with retouching apps. Editing apps are mainly for colour and exposure adjustments, and batch editing. Although some of these apps are becoming more powerful by adding tools to be able to do quick retouching as well. Some popular editing apps are Adobe Lightroom and Capture One.
Monitor
This another nice to have. I like working with big screens, I usually have 2 monitors when I am retouching. This allows me to maximize my retouching app and have the other screen open for my editing app. This setup really makes my workflow faster.
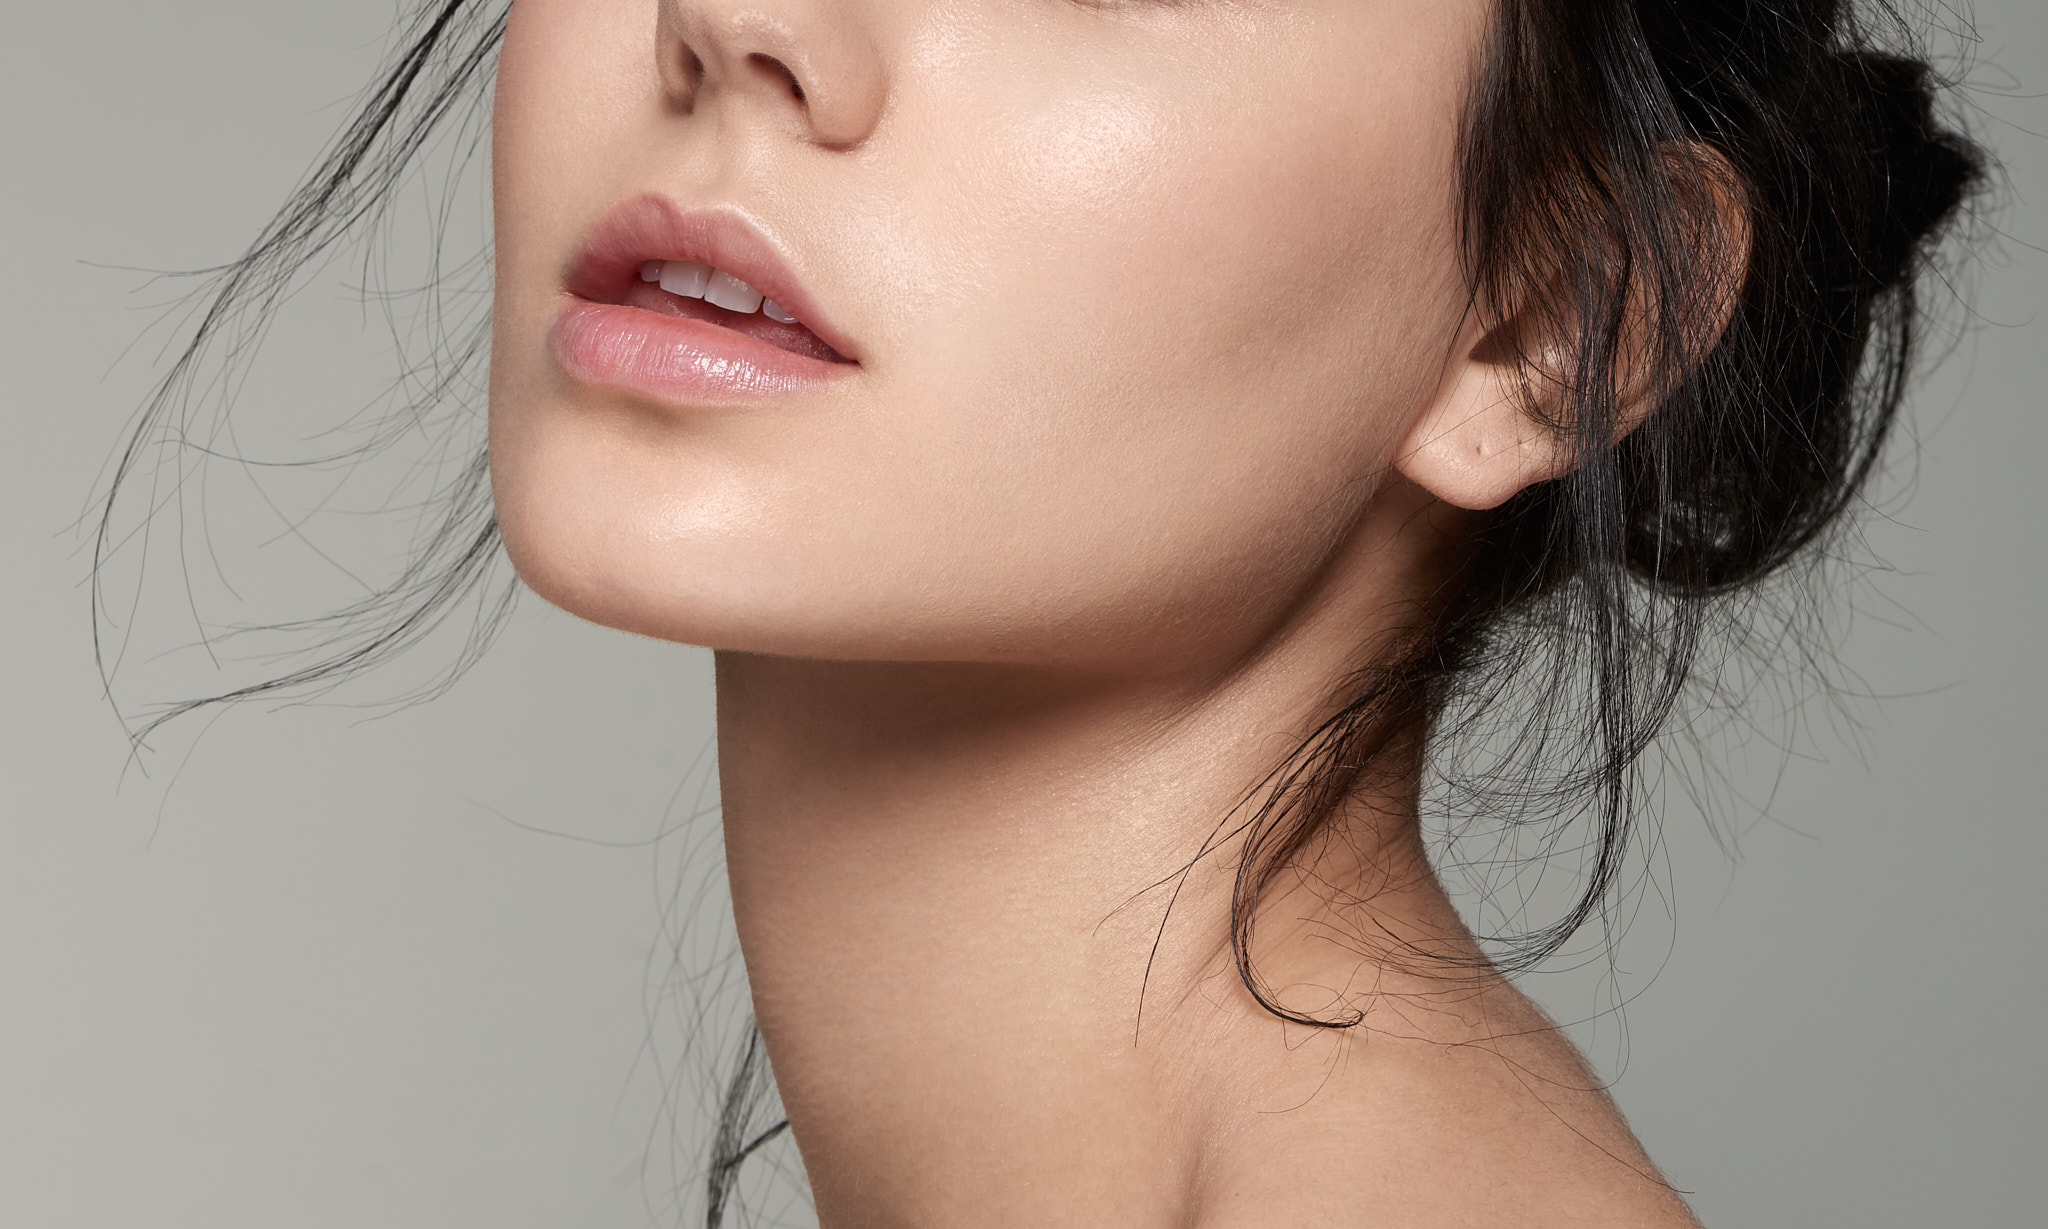
Photo retouching tips to help you create the best images
Now that you know what you need to get started, here are some useful tips to help you with your retouching:
Tip #1: Get your shot 99% there
In a previous article I posted on the Best Buy Blog, I wrote about tips and tricks to improve your photography. It is important that we get the shot as close to the finished product as possible to limit the need for retouching. However, it’s easy to miss something, or worse to get lazy while setting up the shot; what could have been corrected in five seconds might turn into two hours of work in post-production. Trust me, it is easier to move the model’s hair before snapping the photo than to do it in “post” later.
Tip #2: Consider the 20-20-20 rule
This is a rule to help keep your eyes healthy. The rule is every 20 minutes, you take a 20-second break and focus your eyes on something that is at least 20 feet away from you. Try it and you’ll realize the benefits!
Tip #3: Less is more
When retouching it is best not to overdo it. Make sure that the skin texture is there and the person still looks the same after you’re done retouching the image.
Tip #4: Understand lighting
When retouching an image the image must stay realistic. This is why we must understand lighting. If the light source is soft and diffused, we need to maintain that in retouching and avoid creating too many spectacular highlights. The best retouching is done when the audience can’t tell that the image has been retouched.
Tip #5: Invest in a calibrated monitor
This is a really important part of retouching. Having a monitor that you can calibrate helps make sure your colours are correct when you decide to print the images or display them your website. It ensures colours are presented exactly how you wanted them when planing the shot.
Tip #6: Get a pen tablet
Though you might get away with retouching using a mouse or trackpad, I highly recommend using a pen tablet. Take the time to get used to it and your workflow will be faster as will your precision when retouching an image.
Tip #7: Upside down
When you think you are done, it is helpful to put the image upside down on your screen. This changes your perspective and reveals anything that you might have missed.
I believe that with retouching, just like any other art form, there are a million ways to do the same thing. Even with hours of practice and learning, there’s no “one size fits all” solution to apply in retouching. The variability inherent in the images we take, the models we capture, and even clothing options we choose require a needs based approach to retouching.
Also, be sure to protect your work: when retouching your images make sure that you constantly save and backup as you go. I highly recommend investing in at least 2 external hard drives to make sure your work is safe (in case one fails). It sucks to have all your work and the hours you spent disappear requiring you to start over.
Let us know what your thoughts are and if you have any questions in the comment section below.


Perhaps it will be useful to someone.
Find below a new free, and useful Photoshop plug-in for photo retouching:
https://freeretouch.com
It comes with a free retouching video course.
Your few minutes of writing are more insightful than what others possibly would charge us with hundreds of pounds. IMO, Tip #6 was the most exciting tip; Sometimes, I end up over-editing my images using a mouse pad. I admire it saved me hours to search just for details. The time you have taken to support us, I appreciate it. Thanks a lot!!
For retouching, the first thing you have to do is clean up the imperfections. In portrait photography, some of the most common imperfections can be a scar, spots, veins in the eyes, age spots, and hair loss in the face or redness.
Comments are closed.