
In this blog post, I will review the Vocaster One solo podcast interface from Focusrite. Podcasting, video creation, and streaming are more popular than ever. Audio equipment is evolving to match the needs of the content creators, allowing us to achieve professional-quality results with great ease. Focusrite is prominent in this field, offering its own range of audio interfaces for podcasting and other media. The Vocaster One is one such interface for podcasting and solo content creators.
Vocaster One promises to be a very useful audio interface for different voice projects. Focusrite suggests podcasting as the primary use for this interface. The Vocaster One supports other types of content creation as well—vlogging, live streaming, voiceover work, and audiobook production are all possible. I also recently reviewed the Vocaster Two, which is very similar to the Vocaster One but allows two live audio inputs.
Vocaster One: great features, great layout
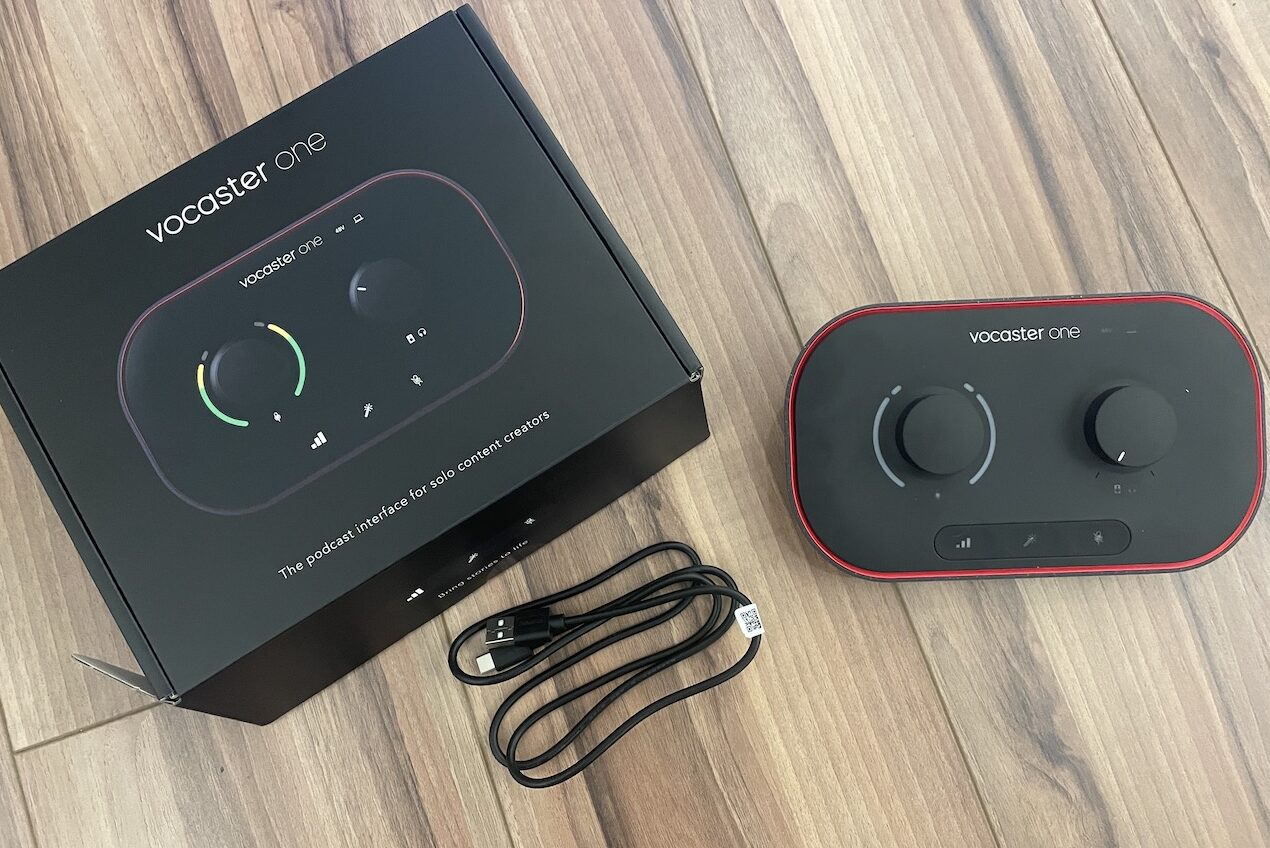
The Vocaster One is a USB-powered podcasting interface designed for solo content creators. It features straightforward audio routing options for a single host but also allows for easy integration of a guest from an external source (smartphone).
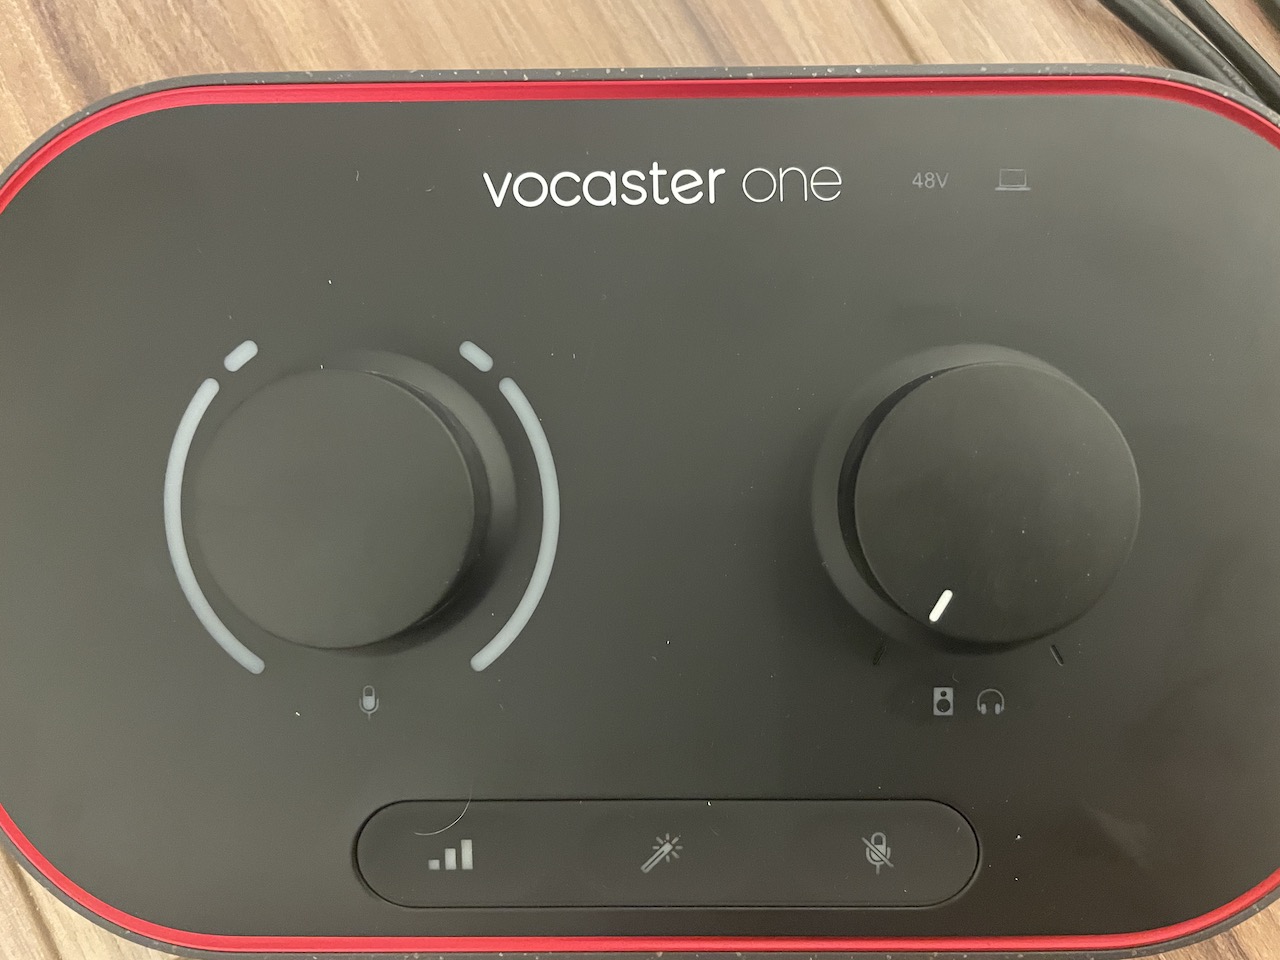
The whole kit is very simple! Inside the box, I find the Vocaster One podcast interface, a USB cable, and some warranty information. My first look at the Vocaster One reveals a simple layout with easy access to many core features of the podcast interface. Two big, easy-to-manipulate knobs are available for gain and headphone volume control. Three buttons are also easy to reach, one each for the Auto Gain, Enhance, and Mute features. These key audio management components help make your content sound great with a natural feel. You will be able to focus more on the value of your work, and less on technical complexities.
Vocaster One is perfect for all microphone types
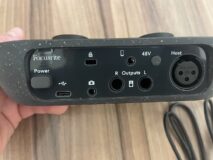
The unit features one XLR microphone channel, marked “Host” and clearly visible on the back panel of the interface. The Focusrite preamp inside provides 70dB of gain, making it a great match for any dynamic or condenser microphone you use. The audio interface also features a 48V phantom power option, to meet the requirements of condenser mics. As always, the preamp is excellent quality, a signature of Focusrite products.
Vocaster Hub app is indispensable
Focusrite includes many apps with the Vocaster One interface. I will talk about these later in the review. To begin, the most important app you will need is called Vocaster Hub. The Vocaster Hub desktop app is a simple control station for everything in your Vocaster One interface. It is an essential part of the Vocaster One experience as it is from the Hub that you will manage the various features, including Auto Gain. Vocaster Hub is also a simplified mixing console that helps you to manage the possibilities of audio routing. It allows control of your and your guest’s audio, playback of audio segments such as a pre-recorded interview, and incidental music or sound effects too.

The layout of the Vocaster Hub is simple. Those familiar with traditional audio mixing apps or small mixing consoles will find Vocaster Hub extremely easy to use. The Hub app supports the management of the Auto Gain and Enhance features, as well as controlling mix levels. It is advantageous, particularly as you add outside audio material and music to your production.
In the Vocaster Hub app, you also have access to two Loopback channels. These are only accessible via the Vocaster Hub app, as there is no physical setting on the Vocaster interface. It is a little bit confusing at first to have the Loopback controlled only within the computer. However, I found it easy to adapt to this detail and discovered that I can control everything in one place via the app.
Auto Gain feature sets your input levels for you
The Auto Gain feature helps make sure you have the right input level for whichever microphone you use. When active, Auto Gain measures your speaking voice for a ten-second period, setting the gain volume automatically. This handy feature helps your podcast or content sound professional with very little fuss. You will be getting to the heart of your content production quickly when you use this feature, with great results.
Enhance presets optimizes your vocal character
The next feature of the Vocaster One is Enhance. Each press of the Enhance button activates digital studio effects that help to make your podcast recording sound professional and slick. There are four different audio presets: Clean, Warm, Bright, and Radio. The presets are a combination of audio compression, equalization (EQ), and a high pass filter (HPF) and are switched using the Vocaster Hub.
The compression controls the volume levels of your voice (which you will have already optimized via the Auto Gain function). The EQ cleans and sparkles your voice and differs according to your chosen setting. Finally, the HPF serves to eliminate low rumble sounds from your recordings. All of these technical processes are standard in the radio industry, and Focusrite does well to make them easily available to you. The “Radio” setting stands out as the favourite for my voice. However, the other settings are well thought out, and you are certain to find the one that best suits your voice.
The mute button is a lifesaver
The front panel of the Vocaster One also features a Mute button. The mute function is convenient for those panic moments during a podcast where a cough, sneeze, or even a burst of uncontrollable laughter threatens to interrupt the flow of your production. With the quick press of a button, the host mic is muted, thus sparing you and your listeners the awkward moment. Similar to a “Kill” switch, it is a brilliant addition to the Vocaster.
Many options for integrating audio with Vocaster One
The Vocaster One interface integrates outside audio sources in your productions in a straightforward and effective manner. Play music or pre-recorded interview material from your iPhone, thus adding interest and entertaining elements to your podcasts. Alternatively, using a TRRS cable (not included), you can connect a guest directly to your broadcast—just as if they were on a regular telephone call.
In this case, a Mono signal is sent from the Vocaster One to the telephone. Your guest hears all elements of the conversation and production. This feature is really valuable, seamlessly allowing you to connect to anyone, anywhere. Your guest can be anywhere, there is no need for a microphone and internet connection for your podcast recording!
Sync audio to your SLR Camera
Integrating audio into your recording SLR camera is also simple and easy using Vocaster One. This option is great for live streaming, as audio and video will be perfectly synced as you broadcast.
The Vocaster One podcast interface features two 1/4” line outputs. The line-outs send sound to powered speaker monitors (left/right). My feeling is that these will not see a lot of use, as I will spend most of my time in my headphones. However, it is nice to have the option for when it is needed. For headphones, the Vocaster One is equipped with a 1/4” headphone output for the Host channels. The volume is controlled by a large, easily accessible knob on the front of the unit.
So far, I find it reassuring that the Vocaster One features so many tools to make podcasting easy with excellent quality!
Accompanying software apps
Once you register your Vocaster interface with Focusrite, you will gain access to additional software apps and user guides. There is one Digital Audio Workstation (DAW), Hindenburg, included. Additionally, entry-level subscriptions to Acast (six-month trial) and Squadcast (three-month trial) platforms are provided. Acast helps to monetize your podcast, and Squadcast is a cloud-based DAW for recording your work.
Furthermore, when you register your Vocaster podcasting interface with Focusrite, you will connect to a helpful and accessible setup guide. The guide includes YouTube videos providing clear and concise instructions to help set up the features and understand the basic usage of the Vocaster interface.
Good tutorial support for setup
During this process, a prompt asked if I would like to use my own DAW (Garageband), or if I would like to use Hindenburg, (Focusrite’s included DAW). For this review, I chose to use Garageband, my regular DAW. Upon selection, the website redirects to a video on how to use my DAW with the Vocaster One. Focusrite’s investment towards helping its new users is impressive, and they offer clear and concise information.
Watching this short video helped me a lot to understand how the various audio signals connect to Garageband. There are many options available for recording. Individual channels can be recorded, as well as a simple stereo “Show Mix” which is the final product of everything happening inside the Vocaster interface. Both simple and more complex options are available to you, and you are sure to find the workflow that fits your podcast needs.
Vocaster One is excellent and easy to use
Overall, my opportunity to review the Vocaster One podcast audio interface was as pleasurable as when I used the Vocaster Two for the first time. Focusrite offers a true gem of a product for solo podcasters and content creators. The Vocaster One is simple to use, and the many features offer great value. This podcast interface sounds fantastic, and the Enhance and Auto Gain features go a long way to making your podcasts sound professional, confident and broadcast-ready. If you are creating solo podcasts, live streams, audiobook sessions, vlogging, or voiceover work, I highly recommend the Vocaster One audio interface.
Are you ready to have professional-sounding podcasts? You can find the Vocaster One as well as a large selection of recording equipment at bestbuy.ca.


