Whether you’re a budding songwriter, seasoned professional, or even an audiobook creator you understand the immense power of a home recording studio. It’s your personal haven, where the magic happens; creativity flows, raw ideas transform, and your sound materializes into polished tracks. This article guides you on how to make your home recording studio even better.
Choosing the right equipment
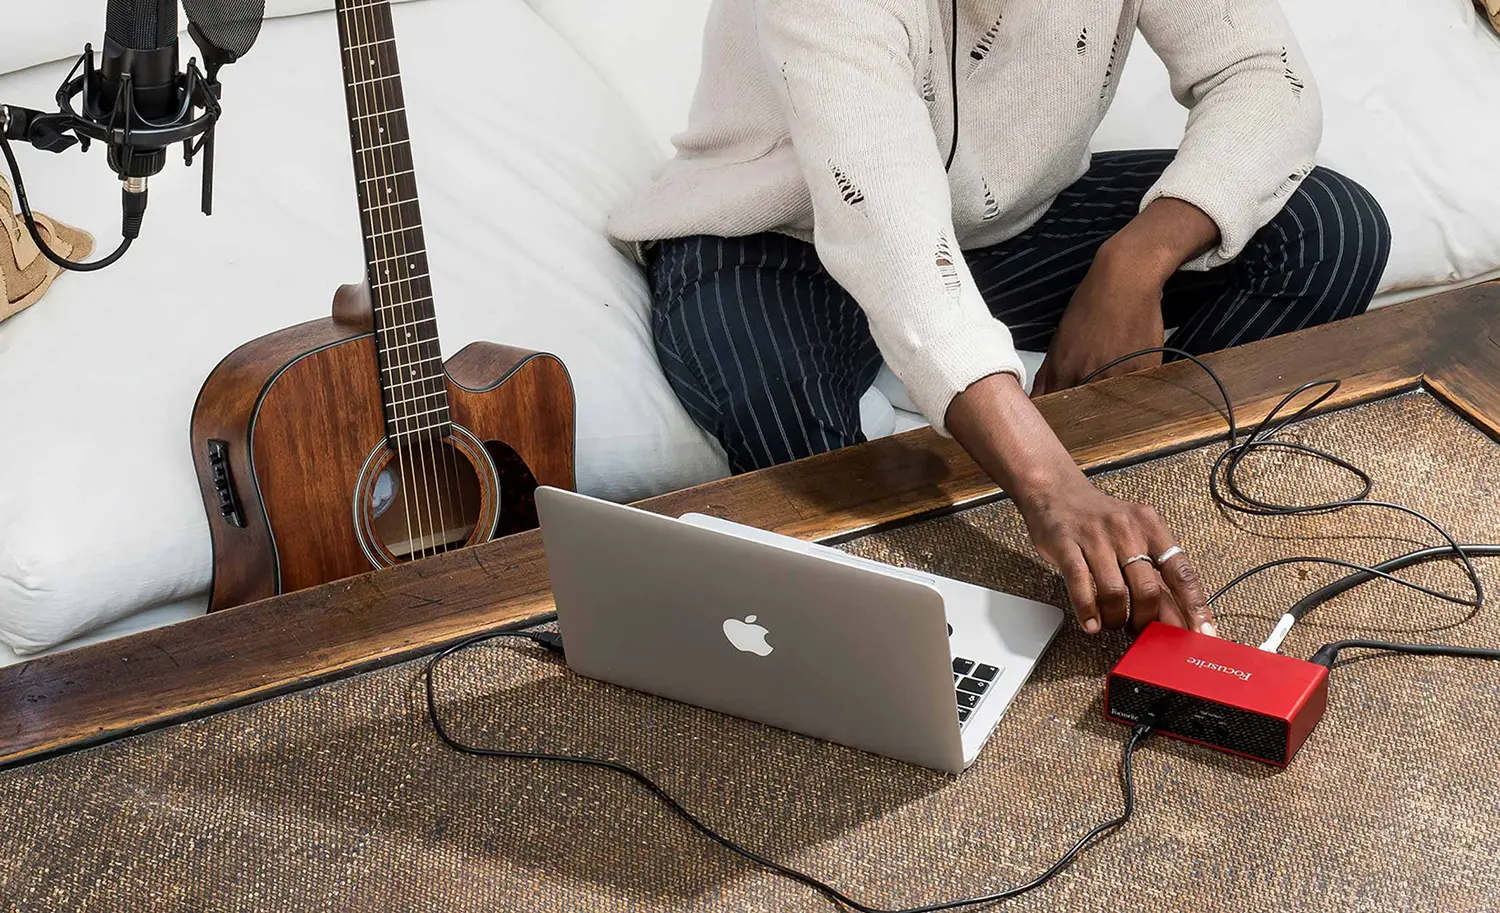
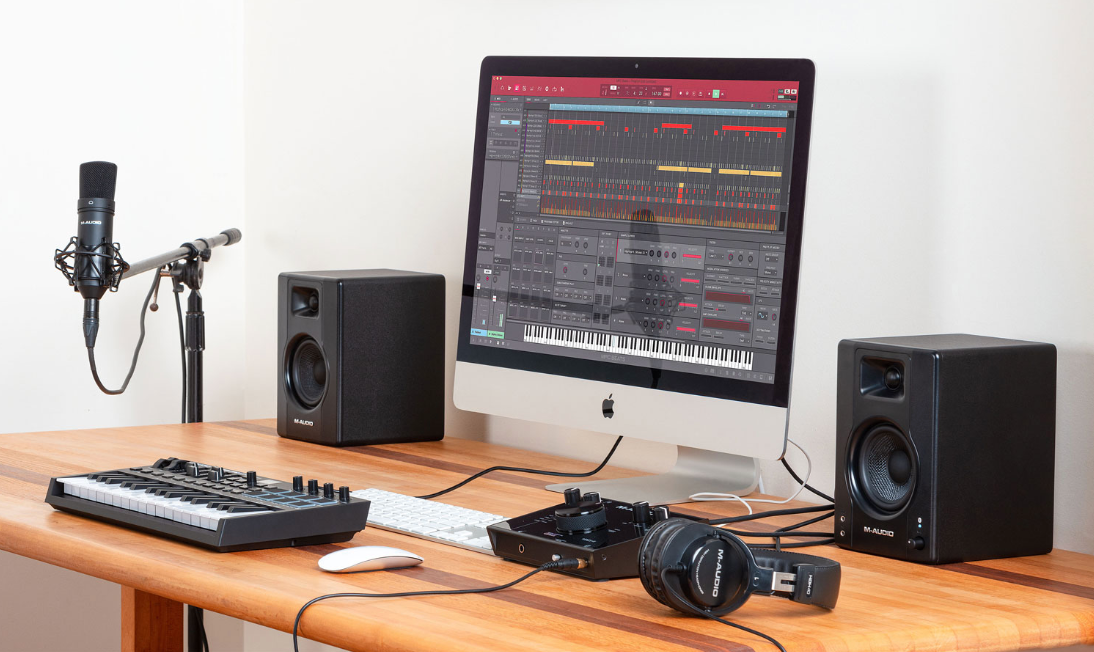
Just like a chef needs the perfect ingredients, musicians need the right tools for their craft. The first step to enhancing your home studio is to choose the best home studio recording equipment.
Invest in equipment that will cater to your specific recording needs. For instance, a pop musician might require a different setup from a classical musician. The gear you choose should help you capture your sound as accurately as possible, and provide a clear and crisp reproduction.
Recording software for your home studio
Having top-notch equipment is just one part of the equation. To take your home recording to the next level, you’ll also need reliable home studio recording software.
Modern recording software provides a myriad of tools that can help you mix and master your audio to perfection. They also offer a range of plug-ins to enhance your tracks, such as equalizers, reverb, and compressors. Spend some time learning your software’s features—it’ll pay off in the quality of your recordings!
Mastering home studio monitors
When it comes to hearing your tracks with crystal clarity, nothing beats studio monitors. Unlike regular speakers, studio monitors offer a flat frequency response. This means they present your music exactly as it is—warts and all. As a result, you’ll be able to pick out any flaws in your mix and correct them, leading to a more refined end product.
Home studio microphone selection
A microphone can make or break a recording. The two main types to consider are the condenser microphone and the dynamic microphone. Condenser microphones are known for their sensitivity and wide frequency response, making them excellent for capturing vocals and high-frequency instruments. On the other hand, dynamic microphones excel at handling loud sound sources without distorting, making them ideal for drums and electric guitars.
If you are recording directly onto your computer, consider a stand-alone computer microphone. These microphones are designed to interface directly with a computer, making setup a breeze.
In-ear monitors & headphones
For musicians and audiophiles alike, sound clarity and precision are paramount. This is where in-ear monitors and headphones come into play. Unlike regular earbuds or headphones, in-ear monitors are designed to fit snugly within the ear canal, offering an unparalleled level of sound isolation. This means they can block out ambient noise, allowing you to hear your music or live performance with impeccable clarity. Moreover, these devices offer a more accurate sound representation, making them an essential tool for home studio recording sessions.
Acoustic recording at home
Acoustic recordings bring out the raw essence of an instrument or voice, and it’s crucial to capture that essence accurately. Beyond the basics, there are some tried-and-tested techniques that can elevate your home studio acoustic recordings.
Here are five tips to help you get the best acoustic recordings:
- Room matters: The environment in which you record has a significant impact on the quality of the final product. Choose a space that’s not overly reverberant. Carpets, curtains, and soft furniture can help absorb unwanted reflections. If your room is too echoey, consider portable acoustic panels or even some DIY solutions like hanging thick blankets. Also, be aware of electronics in the room that may contribute unwanted noises, like a hum or buzz, to the recording.
- Microphone positioning: For instruments like acoustic guitars, placing a condenser microphone about 12-16 inches away from your instrument can capture a balanced sound. Adjust the position to emphasize the bass or treble as needed.
- Stereo recording: Using two microphones in an X-Y or spaced pair configuration can capture a richer, more spacious sound. This is particularly effective for capturing the ambiance of an instrument in a room.
- Avoid clipping: Ensure your recording levels are set correctly. It’s essential to prevent the signal from peaking and causing distortion. Always do a sound check and watch for unexpected loud parts.
- Stay natural: While it’s tempting to add effects during the recording phase, it’s usually best to capture the most natural sound of the instrument or voice first. You can always add effects during the mixing stage for more flexibility.
Lastly, remember that while gear and techniques are vital, the heart of the music lies in your playing. Play with passion, experiment with techniques, and soon, you’ll find the perfect tone that resonates with your musical vision.
In the dynamic landscape of music and sound, the tools and equipment we choose play a pivotal role in shaping our auditory experiences. From the intricacies of home studio recording software to the precision of external or in-ear monitors, every element contributes to the final masterpiece. As technology continues to evolve, so do the opportunities for artists and enthusiasts alike. Investing in quality gear not only enhances our craft but also deepens our connection to the world of sound. Embrace these advancements and let them be the guiding force in your musical journey.
This article was drafted using AI technology and then reviewed, fact-checked, and revised by a member of our editorial team.


