 In the earlier editions of this ‘How To Use Your Camera’ series, I offered some general advice about equipment, light and inspiration. Today I’m going to offer you some advice on a topic I feel is vital for anyone interested in pushing their photography further; shooting in manual mode.
Don’t Fear The Technical Stuff
A lot of people are intimidated by the technical side of photography, but the reality is that it’s not at all difficult to become a competent manual shooter, you just need to wrap your head around a few simple concepts.
Express Your True Intent
In case you’re wondering ‘Why do I need to know how to shoot in manual mode?’, let me explain. When you shoot in automatic mode, your camera makes certain assumptions about the scene you’re trying to photograph, which may not align with your artistic intentions. If you want to override the camera and fully express your vision, you’re going to need to choose your own settings.
It’s All About Exposure
Before I go any further, let me explain the most fundamental concept in all of photography – exposure. When you press that shutter release button, you are ‘exposing’ your sensor (or film) to the light passing through the lens. In order to create a successful photograph, the right amount of light needs to hit the sensor. Too much, and the image is ‘overexposed’, too little and the image is ‘underexposed’. In truth, there’s a sort of ‘window’ of acceptable exposure, and as long as you’re in that zone you can make some adjustments to the image on your computer to get the exposure exactly where you want it.
 Shoot RAW
If you want the maximum amount of leeway, I encourage you to capture RAW files as opposed to jpegs. RAW files contain a lot more information than jpegs, which are compressed versions of the RAW files. In many instances, your image will have areas of deep shadow or strong highlights, with very little detail. If you are working with a RAW file, you can get some detail back in these areas by post-processing. You can read more about the difference between RAW and jpeg here.
The Exposure Meter
In order to measure the amount of light entering the lens, cameras have an exposure meter built into them. The meter works by averaging the exposure of the entire scene to a medium grey. So for example, if you take a photo of a plain white wall, in automatic mode, and fill your frame with it so you’re seeing nothing but white wall, the camera will underexpose it so that it looks grey. If you photograph a black wall similarly, the camera overexpose it so that it also looks grey.
Two Basic Controls
The amount of light that hits the sensor is controlled by two factors: the shutter speed and the aperture number. The shutter speed is a pretty intuitive concept, so I don’t need to say too much about it. Basically you need to keep your shutter speed high enough to freeze the motion of your subject and your hands. In order to prevent camera shake (blur due to the motion of your hands) the rule of thumb is that your shutter speed should be twice the focal length of your lens. So if you’re shooting at 50mm, your shutter speed should be no less than 1/100th of a second. If you’re working with a monopod or tripod you have more leeway, but you do need to watch out for motion blur if your subject is moving.
Bigger Number, Less Light
The ‘aperture’ is a hole through which the light passes, created inside the lens by a set of overlapping blades. The size of this hole can be varied to allow in more or less light. Bigger aperture numbers actually mean a smaller aperture, but just remember: ‘Bigger number, less light’.
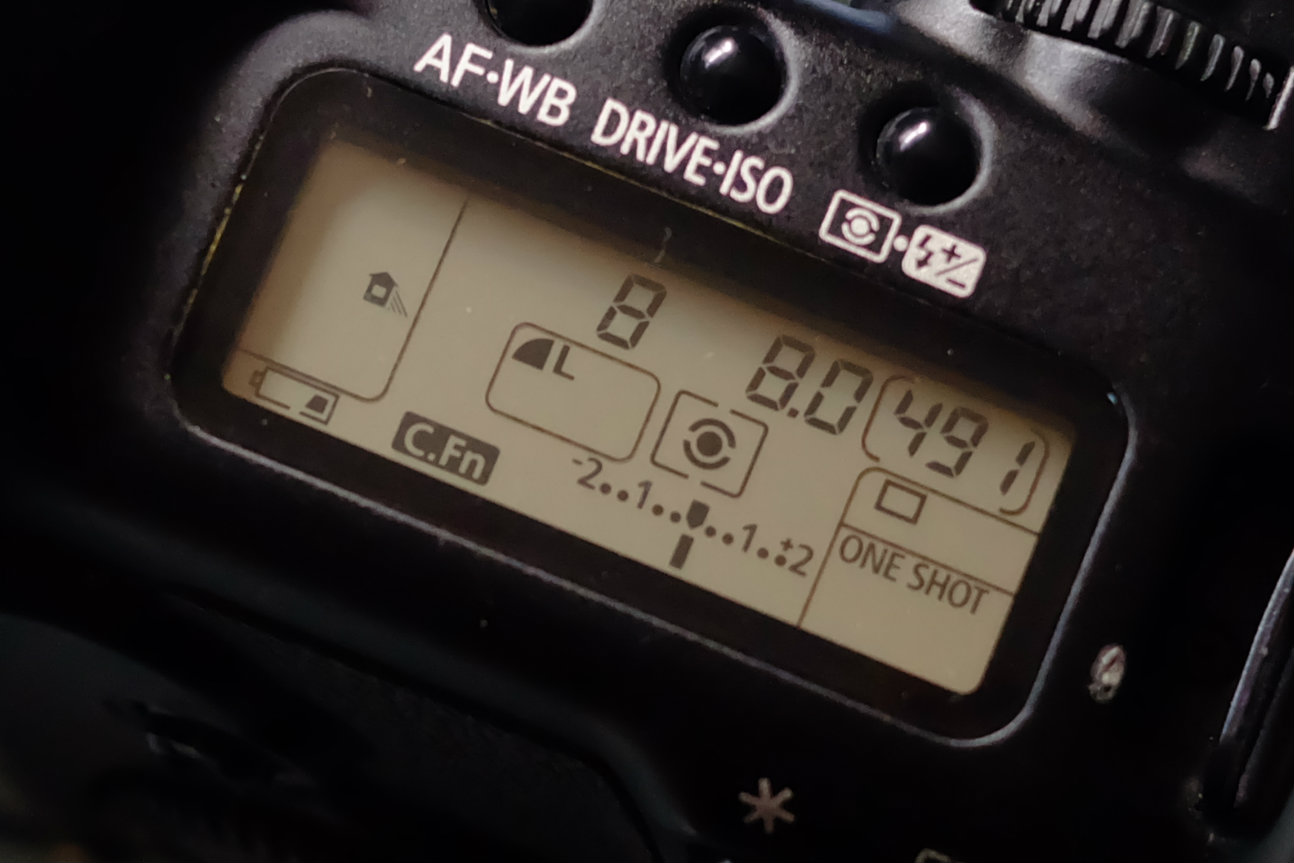 Shooting in manual mode is essentially just balancing the shutter speed and the aperture number so that the exposure meter indicator sits in middle, simple as that. Well, almost. There is one more variable I need to mention; the ISO number.
ISO Meaures Sensitivity
ISO is a measure of the sensitivity of your sensor, or film, to light. If you’re shooting film, your ISO is fixed, based on the roll of film you choose. In the digital world, the ISO can be varied, based on the lighting conditions. The higher the ISO, the more sensitive the sensor becomes. We try to keep it as low as possible though, because at higher ISOs we start to see something called ‘noise’ in our images which reduces the overall clarity of the image. Nowadays, many cameras allow you to set the ISO to ‘Auto’ which means the camera will choose the ISO for you, while keeping it as low as possible.
 Sunset Shots
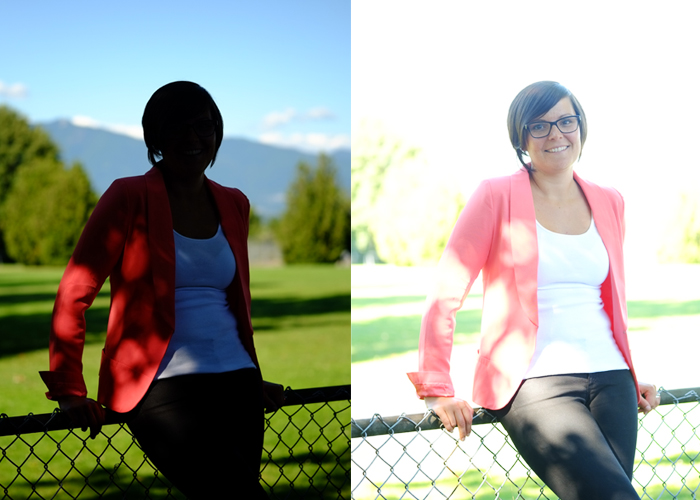
Let’s look at a couple of examples where shooting in manual mode is helpful. Imagine you’re photographing a friend standing with a beautiful sunset in the background. You are hoping to capture the great expression on your friend’s face, but if you shoot in automatic mode it’s likely that your camera will underexpose your subject’s face, so as not to overexpose the background. The result will be a silhouette of your friend against that beautiful background.
The solution here is to move to manual mode and set your aperture and shutter speed so that the exposure meter indicator is pushed to the right, which means overexposed. Now when you take the shot, you’ll see detail in your friend’s face, but the highlights in the background may well be ‘blown out’ (overexposed).
Blurring Your Background
As you lower your aperture number an interesting thing happens; the depth of field (the range of distances within which your subject is in focus) becomes narrower and narrower. This is an optical phenomenon that photographers use all the time to enhance their images and make the subject really ‘pop’ (stand out). The contrast between areas of an image that are sharp and those that are blurry helps to lead our eye to the subject of the image. The more blurry the out-of-focus areas are, the more pronounced the effect.
Unleash The Magic
Your camera, in automatic mode, will not usually shoot at the lowest available aperture, because it wants to keep as much of the image in focus as possible. If your artistic intention calls for the background to be as blurry as possible, you’ll need to move to manual mode and set the aperture number to it’s lowest setting. If you have a lens capable of really small aperture numbers (like the Canon 50mm f/1.8, or the Nikon 50mm f/1.8), you’ll see really magical things happen.
I hope I’ve done a reasonable job of demystifying manual mode for you, but if you have any questions please don’t hesitate to post in the comments section below.

