
 Years ago, my husband went through the agonizing pain of digitizing hundreds of old photos of his late mother and the process was mind numbing slow. He had to lay each photo down one by one and wait for an incredibly slow scan. My husband even got crafty, laying down several photos at a time, scanning and separating the images in post. As you can imagine, this took him weeks if not months to get through it all. So when it came time for me to go through my parent’s old photo albums, I was ecstatic to find out that I was getting the opportunity to review and try out the Epson FastFoto 680w Photo Scanner. Being able to scan up to 36 photos in seconds is a huge bonus and time saver.
Some Quick Details On the FastFoto Scanner
It’s as simple as placing up to 3 dozen (yes, you heard me correctly), up to 36 photo prints into the top of the scanner feed, and you wait about one minute, and all the prints feed through, scanned, enhances, file named, stored in a file in your computer hard drive. You can even upload it to your Dropbox and Google accounts. It is also compatible with Windows and MacOS users. Get ready to be blown away; I am legit not exaggerating about the scan in one-minute feature. You do have to group photos of the same size together and go batch by batch. Photos that are smaller than your standard 3 x 5, or that are extremely curled, ripped or perhaps printed in thinker stock would need to be fed through the photo scanner in the protective cover provided.
Setting Up Your FastFoto Scanner
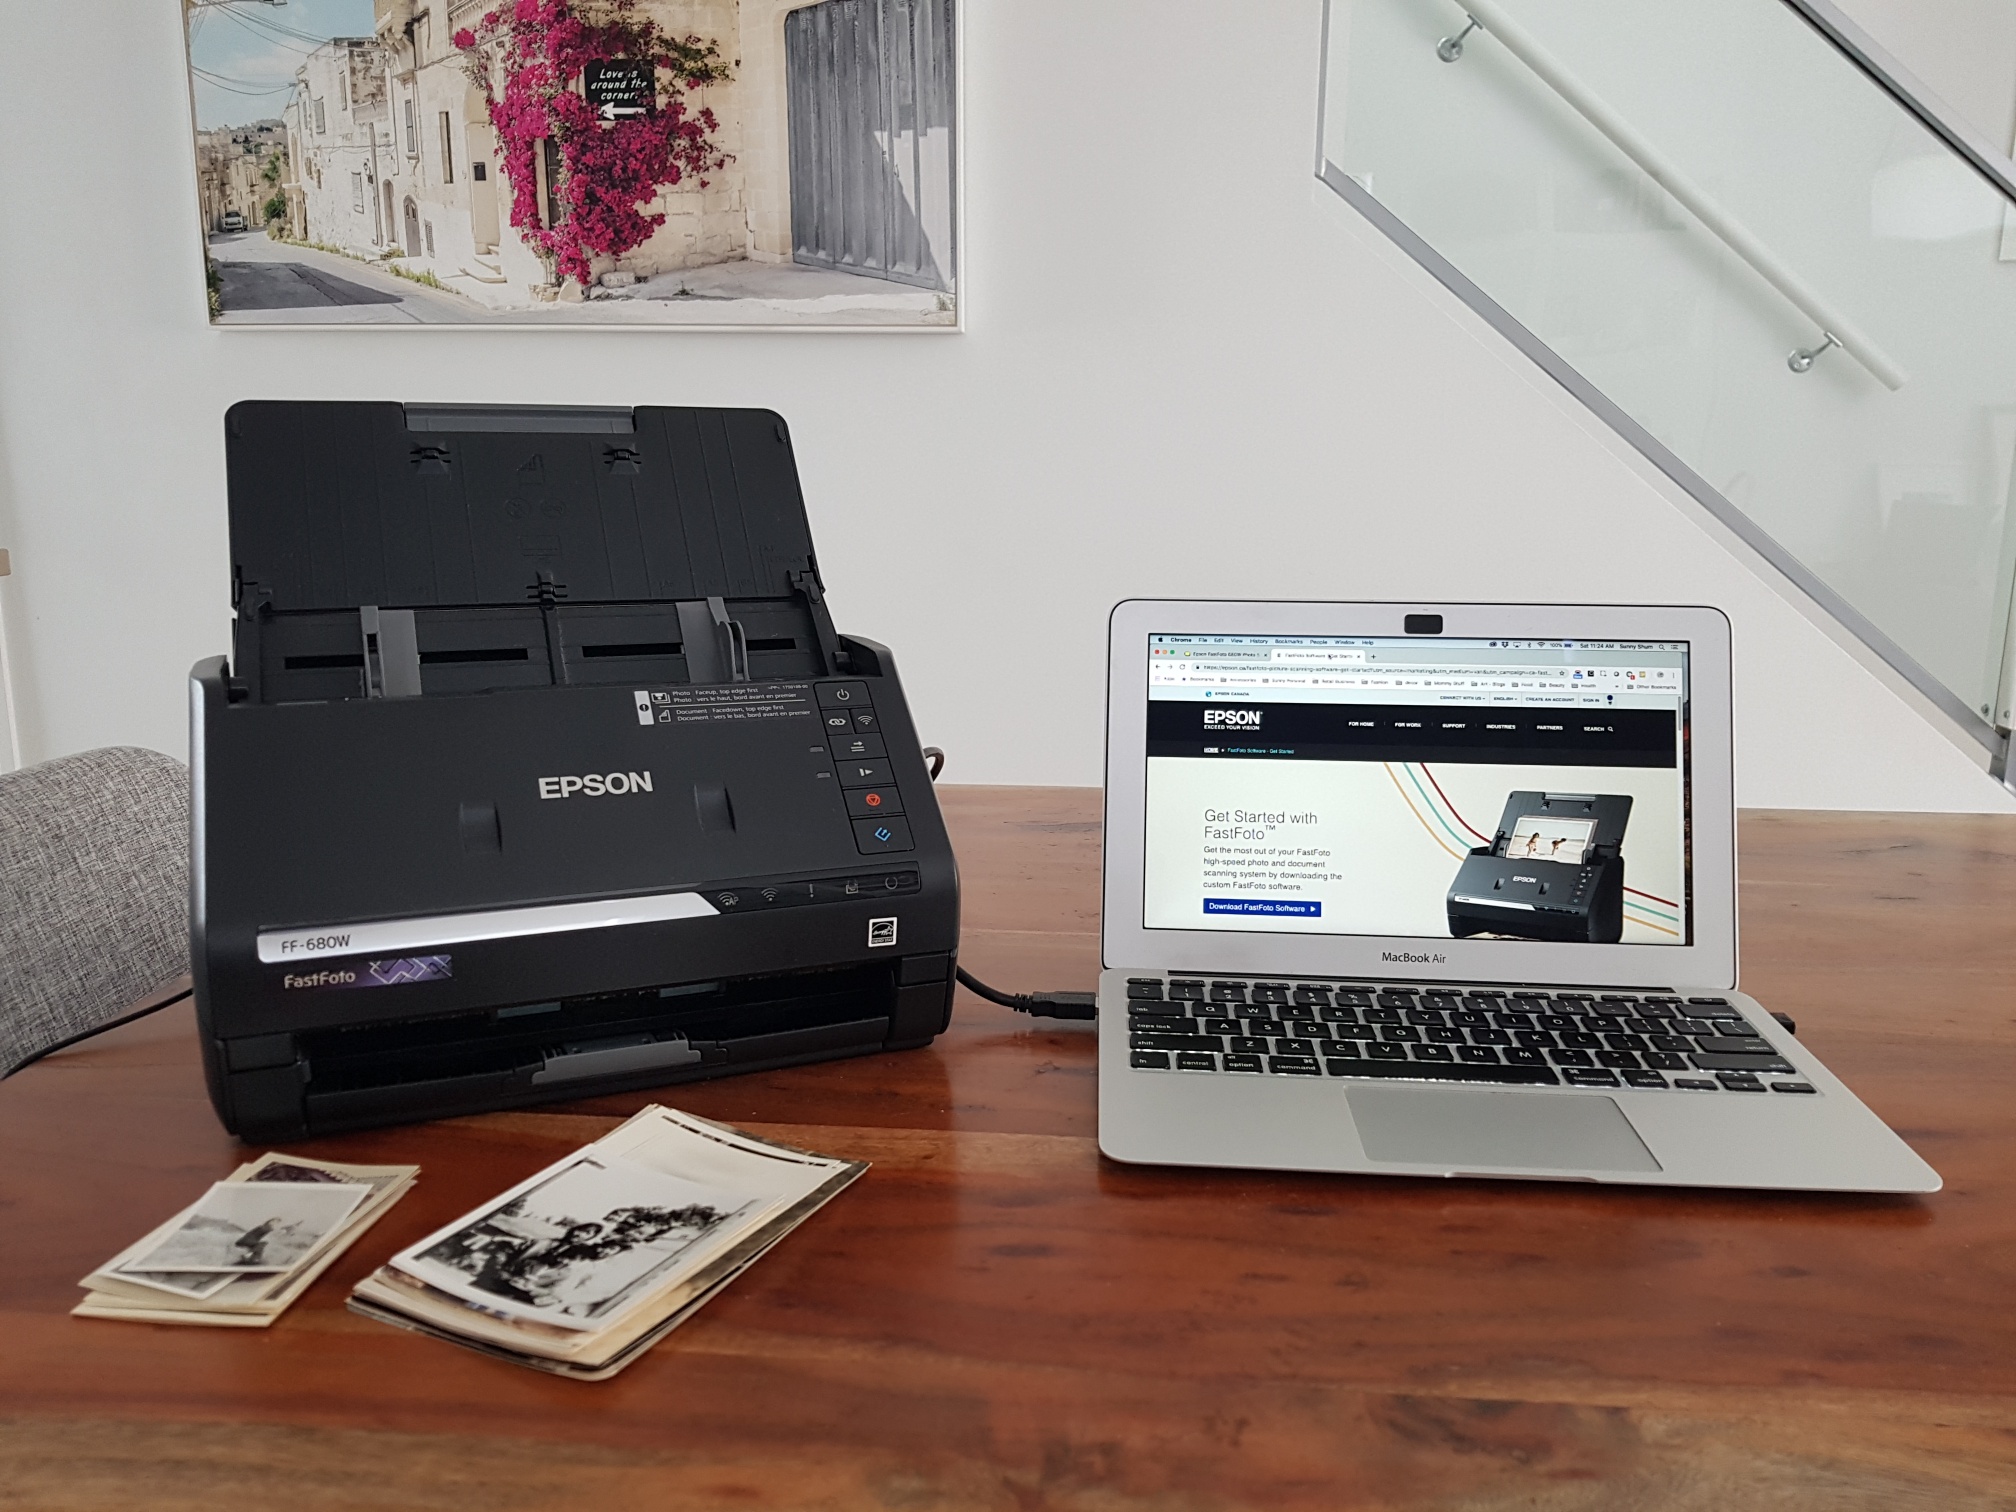
The Epson FastFoto 680W scanner is fairly compact and is smaller than most standard home printers and photo scanners in my opinion. Out of the box it measures approximately 12 x 9 x 8 inches and weighs a mere 9 pounds. Because of its fairly small footprint, it’s super portable and you can easily move it around. Once you are done with it, you can store it away easily, perhaps back in the original box and bring it back out when you need it again. However, if you are in need of scanning documents all the time, you may just want to keep this out permanently on your desk.
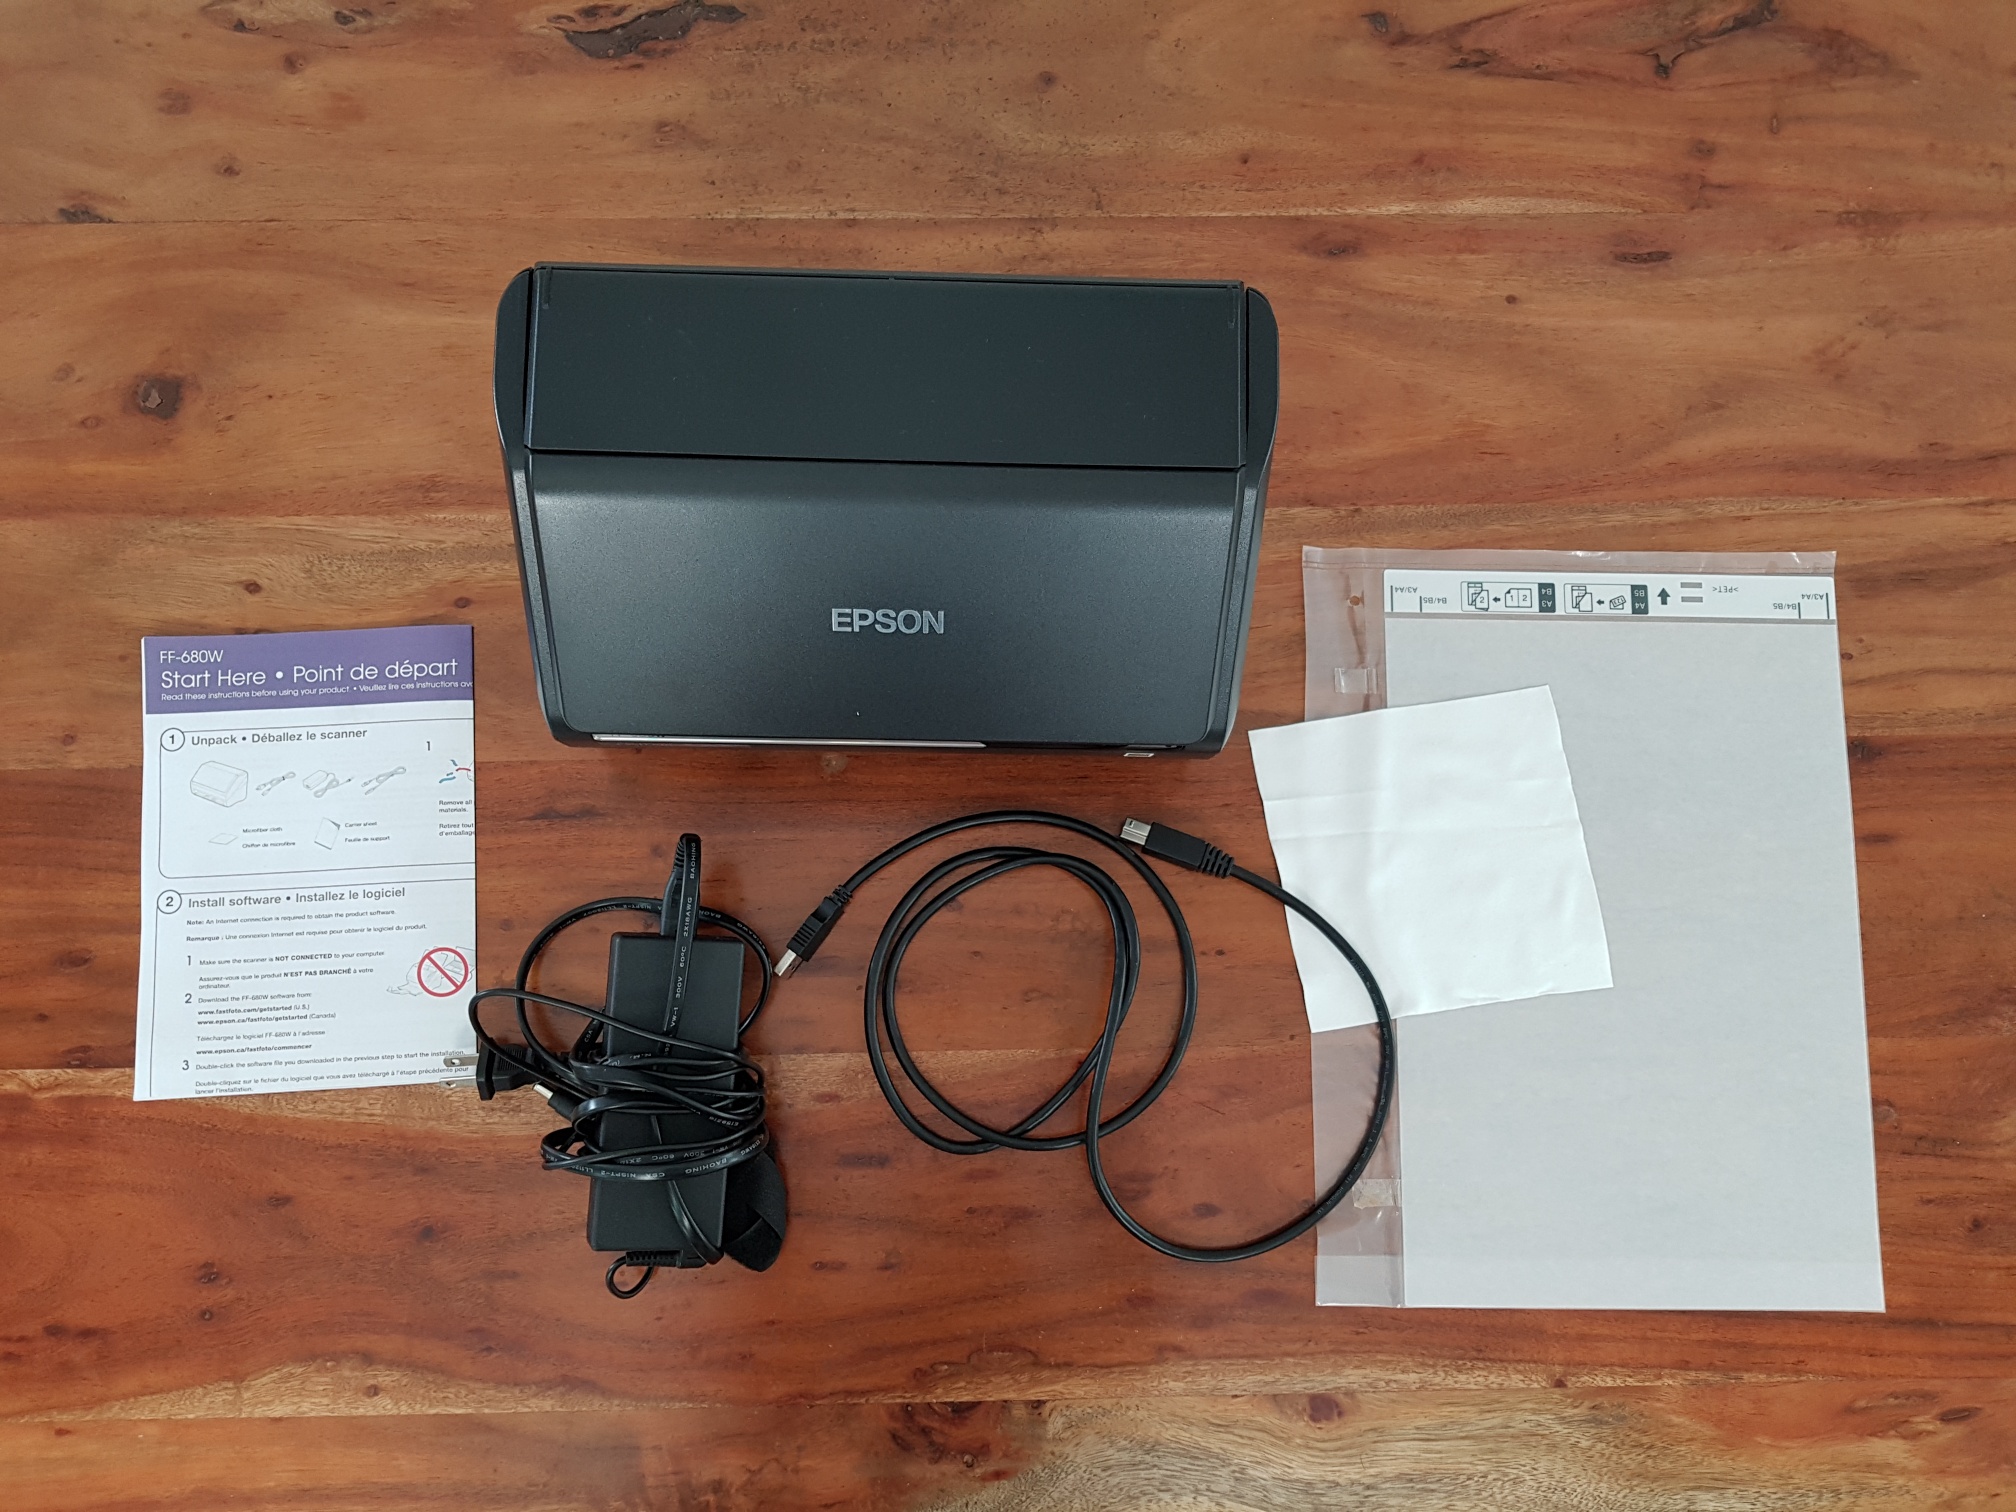
You can connect the FastFoto to your laptop or desktop PC with USB cable or via Wi-Fi. I don’t know about you, but at times I have difficultly connecting via Wi-Fi with most devices in our home so for simplicity and ease, I plugged in with the USB cable. You have to download the Epson Fastfoto Scanner model FF-680W software and double-click the software file that you download in the previous step to start installation. Once that is done, a screen will pop up and you are ready to start scanning.
Using the FastFoto Scanner
Once the photo scanner was ready to go, all you have to do is load your photos in the automatic document feeder. I started with a stack of my parent’s photos, all the same standard size. Before you hit the scan button, there are a few options you can go through by hitting the “setting” button in the upper right-hand corner:
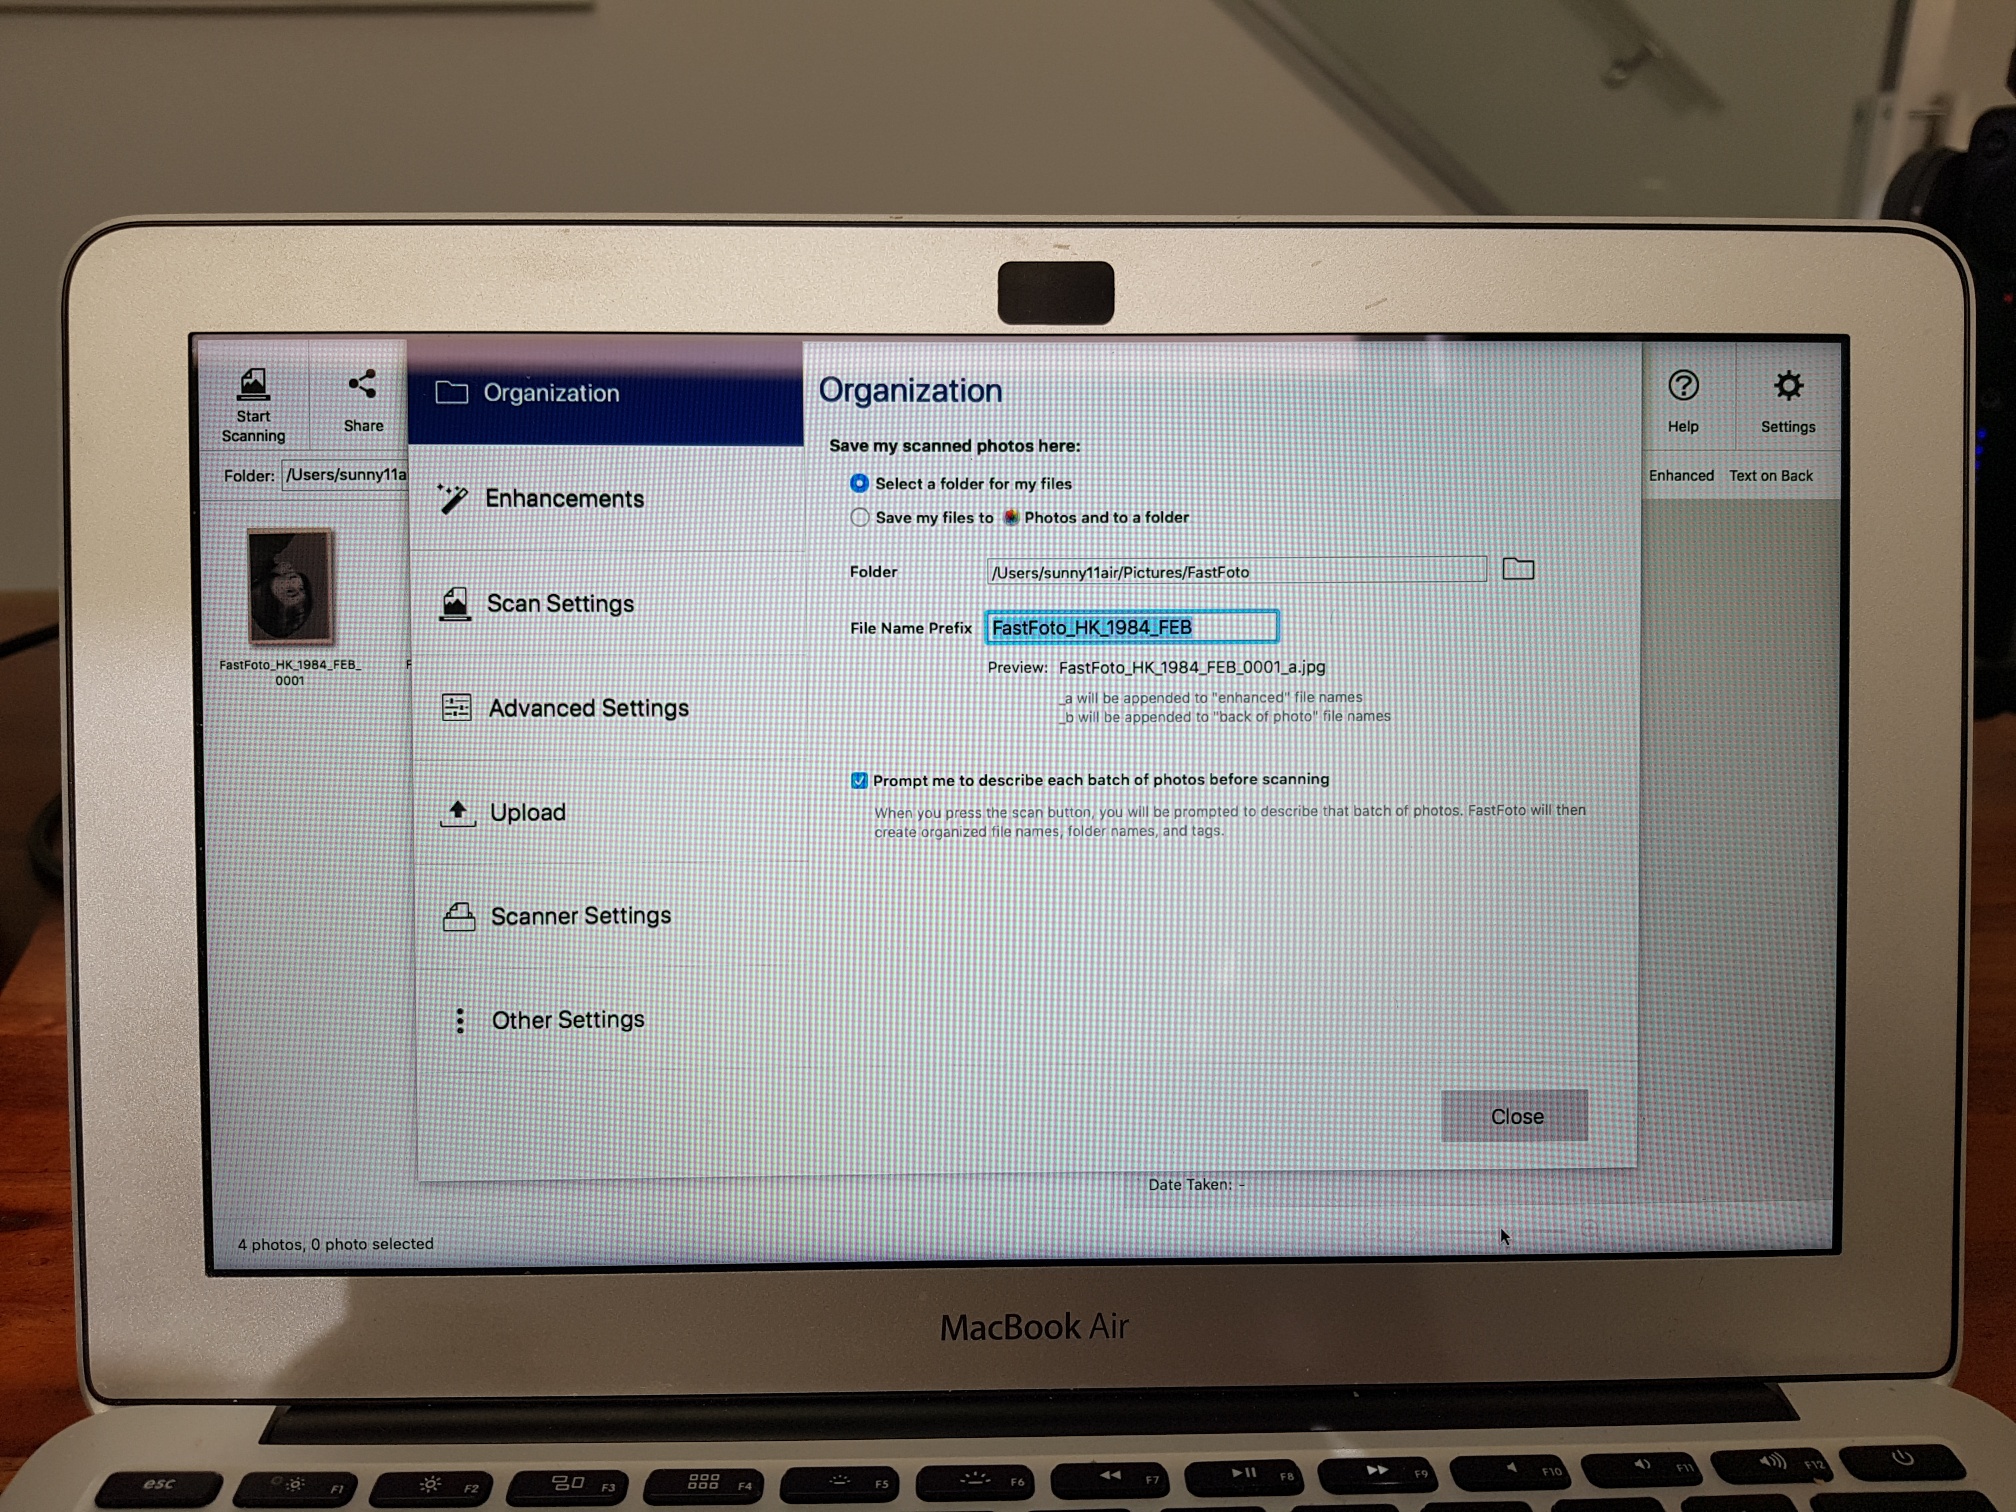
1. Organization – You get to pick where to store your scanned photo images,
2. Enhancements – You can enhance the images to your liking,
3. Scan Settings – You can choose 300 dots per inch (dpi) for fastest scanning, 600dpi for archival and 1200dpi in case you plan on making billboards or need to crop a tiny portion of the photo.
4. Upload – You can choose where to upload your image to Google Drive or Dropbox.

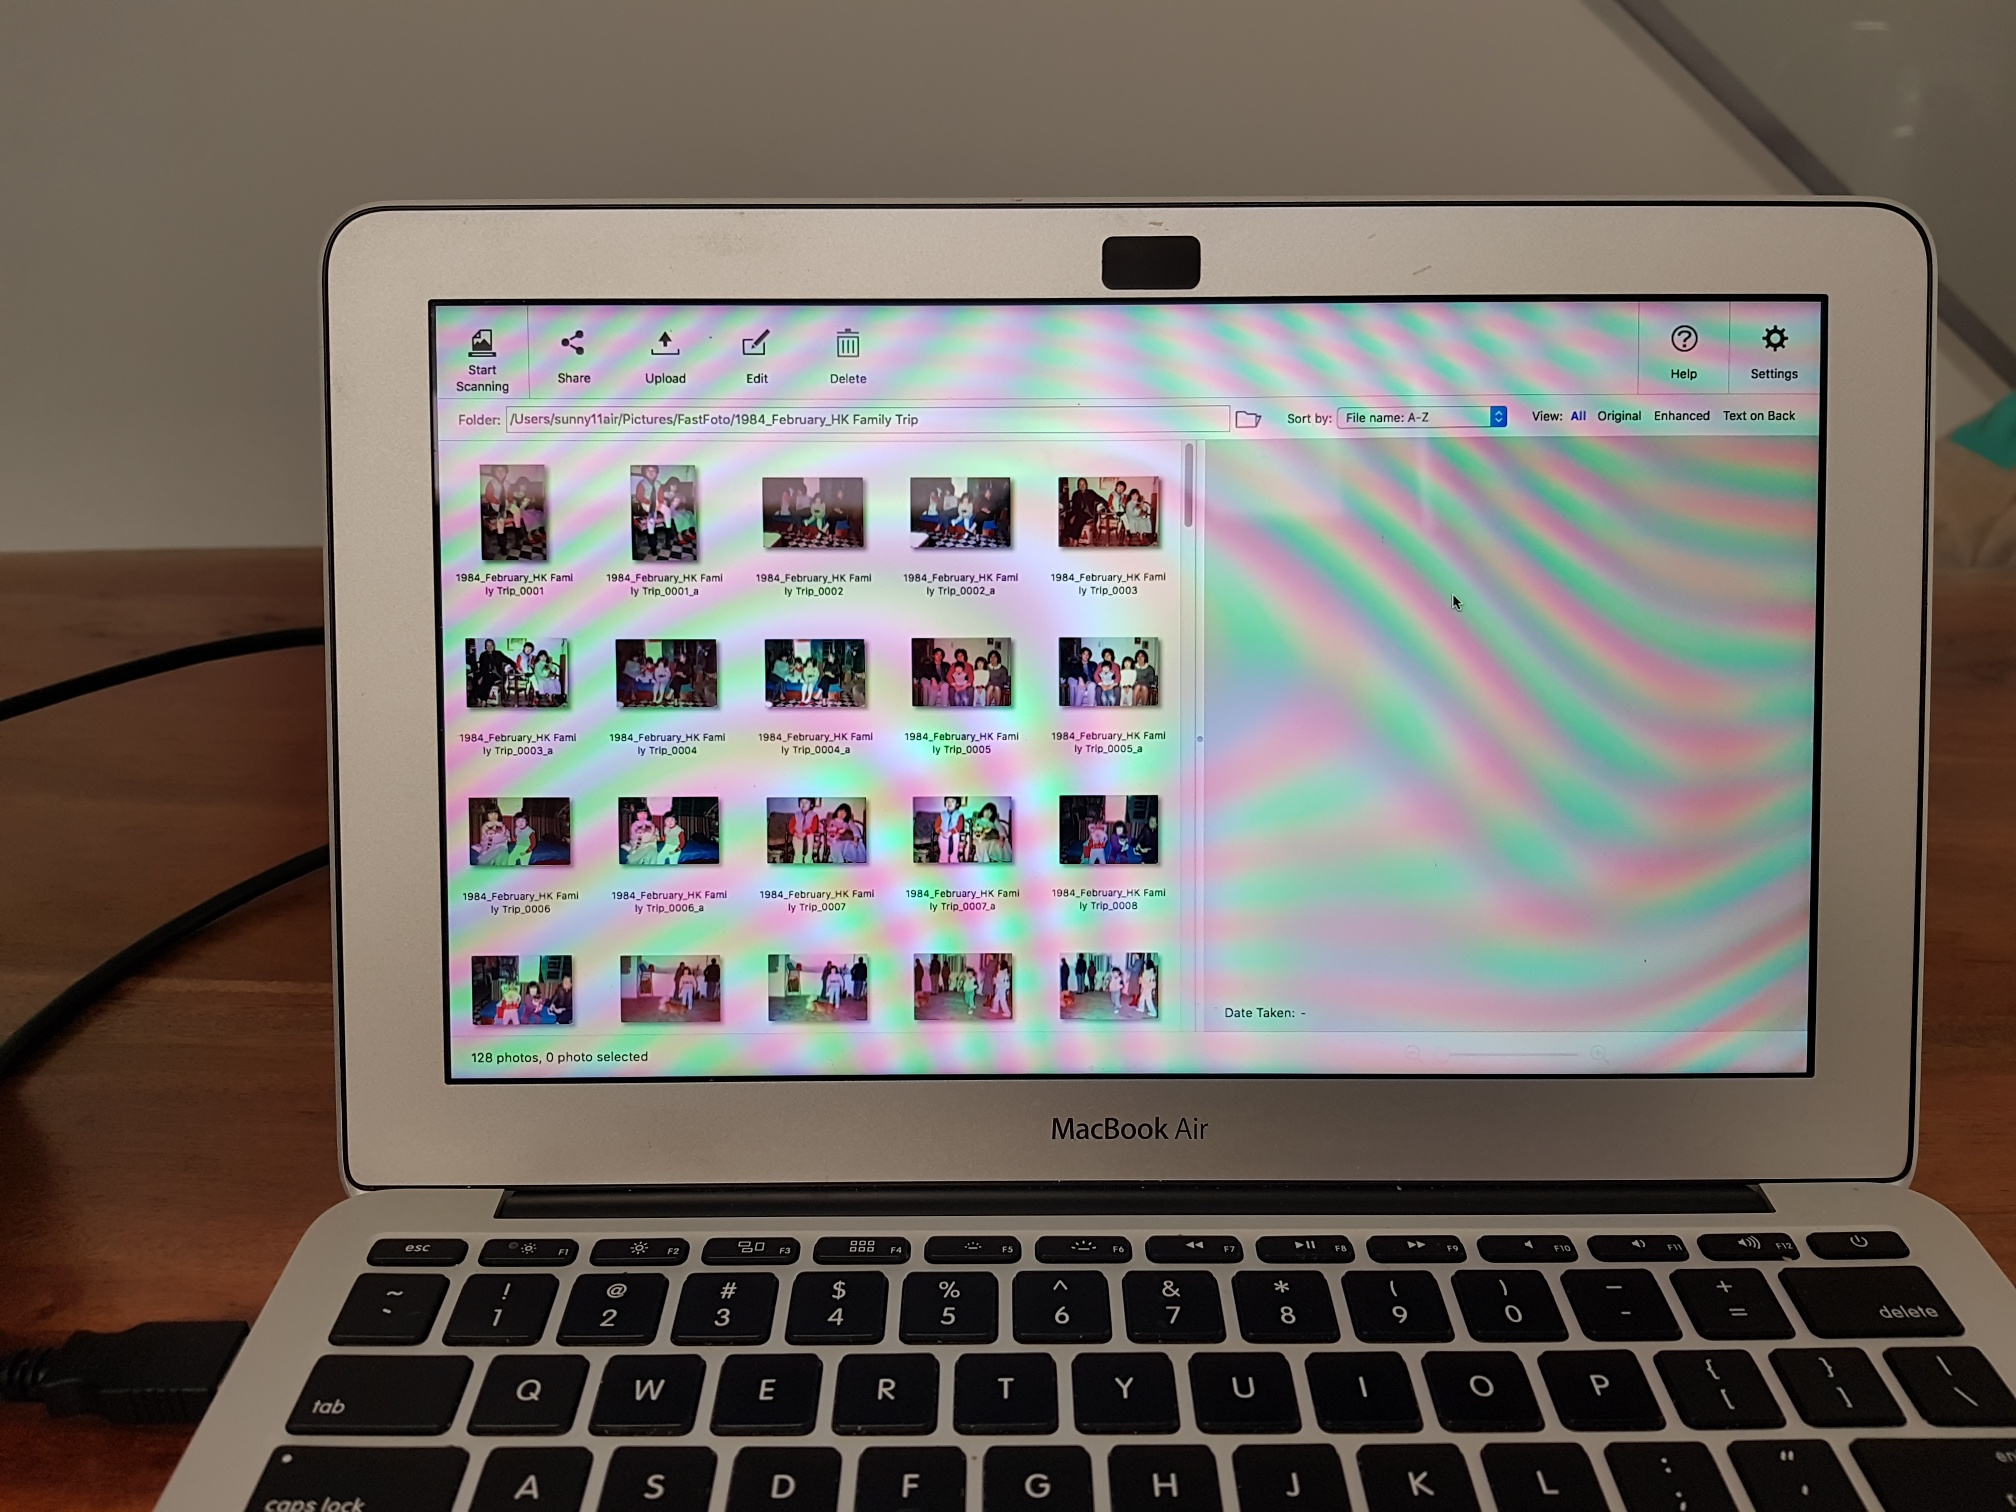
Once you have gone through all the options listed above and checked all the settings are to your liking, you simply press the scan button. A pop up window will come up, asking you for some titling for filing purposes (you can keep it all blank of you like). For the stack of photos I was scanning, they were from 1984, February and it was a “Family Trip”. Each photo file was labelled with all these details automatically and the software automatically assigns and adds file numbers as well. Each scanned photo loads into the FastFoto software window and Epson’s enhancement function brightens, colour corrects and adds contrast to each photo. The software adds the letter “a” to the file name of the enhanced scan, and a “b” for a scan of the rear of a photo (if you decide to also scan the back), so you know which file is which.
My Final Thoughts on the Espon Fastfoto Scanner
My first initial thought was that the price of the scanner was quit pricey for what it is. Especially if you have scanned everything that you needed to, you may not need it any more or use it as much in the long run. However, if you or anyone else in your household still takes photos with film, or perhaps you run a business and are constantly in need of document scanning, this photo scanner will definitely come in handy. At the end of the day, it sure beats having to scan each individual photo one by one, saving hours and days of your precious time. Being able to save all my family’s precious moments and memories is priceless. You can purchase the Epson Fastfoto 680W Scanner online at Best Buy Canada.


