 Automating your thermostat control is a smart green choice; by aggressively controlling how and when your thermostat kicks in you can make your home more comfortable while also reducing your energy costs.
If you have baseboard heaters, it’s most likely that you have a thermostat to control each one; this is handy for moderating the temperature directly in that room, but it makes a networked approach more difficult. Sinopé, a company headquartered in Quebec City in Canada, has come up with a solution: smart thermostats that use Wi-Fi to report back to a central online server, where you can control them from anywhere in the world through a computer, a smartphone, or a tablet. The Sinopé 3000W Wireless Thermostat Starter kit has everything that you need to get started.
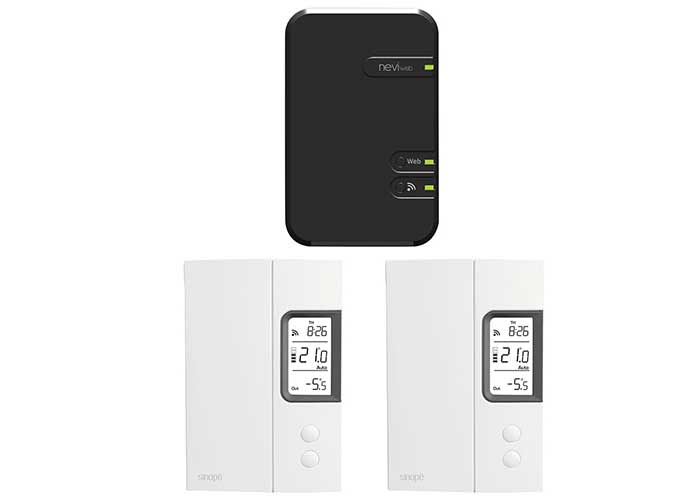
The kit comes with three major pieces – two thermostats and a wireless hub. It also comes with screws and caps for the wiring, and a power adapter and ethernet cable for the hub.
Installation
Please note that Sinopé recommends that you contract a certified electrician for the installation of your thermostats, and as such my recommendation echoes that. I am not a certified electrician and did not follow this recommendation, so this is a record of what I did to install the unit. The below information is provided without warranty or liability, and is purely to record my own process and is in no way intended to be used as a guide.
Removing your existing thermostats is the first step of the process. I began by turning off the power at the breaker. If your thermostat is like mine there’s a cover that pulls off, and two screws affixing the unit to the electrical box. I took the time to test the circuit to ensure it was dead before removing the caps on the wiring. Installing the new thermostat was as simple as connecting the wires on the unit to the mains, attaching it with the screws provided (or the ones that came out of the old thermostat) and then sliding on the front cover.
Getting the slide just right took a few attempts, and there’s a robinson-head screw terminal at the bottom that you give a quarter turn to in order to secure it. From there, I simply flipped the power back on, and the unit powered up after about five seconds.
I repeated all of those steps, starting with shutting the power off, to install the second unit.
Getting the wireless hub setup was quick and simple; I connected it to power and to plugged it into my Apple Airport Extreme router with the supplied ethernet cable. I was asked, when tasked with this review, as to how many thermostats can be connected in one space: the Sinopé GT125 Web Interface (what I’ve been calling the “hub”) can support up to 250 neviweb® devices (the above thermostats are in the neviweb® family).
Setting the units up
 When the thermostats are powered up you can use them as normal thermostats; you’ll see a large number indicating the current ambient temperature, and a number below that which can be used to display the set point temperature (a temperature that you’d like the system to kick-in at if the ambient temperature dips below that). There are two buttons that will adjust that set point temperature, allowing you to turn your heater on manually should you want to.
This display is already a step up from my older “dial”-style temperature controls; knowing exactly how warm it is in a space is extremely helpful. Pressing and holding the bottom button allows you to enter a menu where you can adjust a few things, including the Control Type (short cycle for baseboard heaters, long cycle for fan forced air) but all of these features are adjustable through the neviweb® interface online in a much more convenient way, so I didn’t spend a lot of time playing with these modes.
Getting everything connected online starts with the hub. It begins at neviweb.com where you’ll register your account. From there, you need to add the web interface to that account; there’s a long ID number on the back of the unit that you’ll have to enter into a field online. If you have trouble reading small print you may want to opt for a light and a magnifying glass; the type is really small.
Adding the thermostats to your account is a fairly secure process; you need to tap a button on the web interface hub unit, then tap the two buttons on the thermostat. This prevents other people from adding your thermostat to their account. You’ll see a Wifi icon that will confirm that your thermostat is now on the network.
The Sinopé thermostats create their own wireless mesh network between them, and as such they should be added in order of the closest, physically, to the hub, progressively until you get to the one that’s the furthest away. Both of my thermostats are roughly equidistant to the base, so I couldn’t tell if this made a difference, but in theory it should.
Programming online
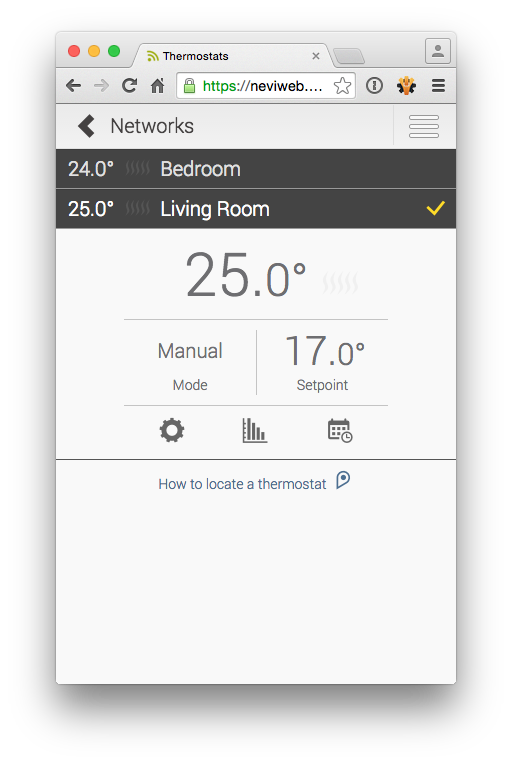
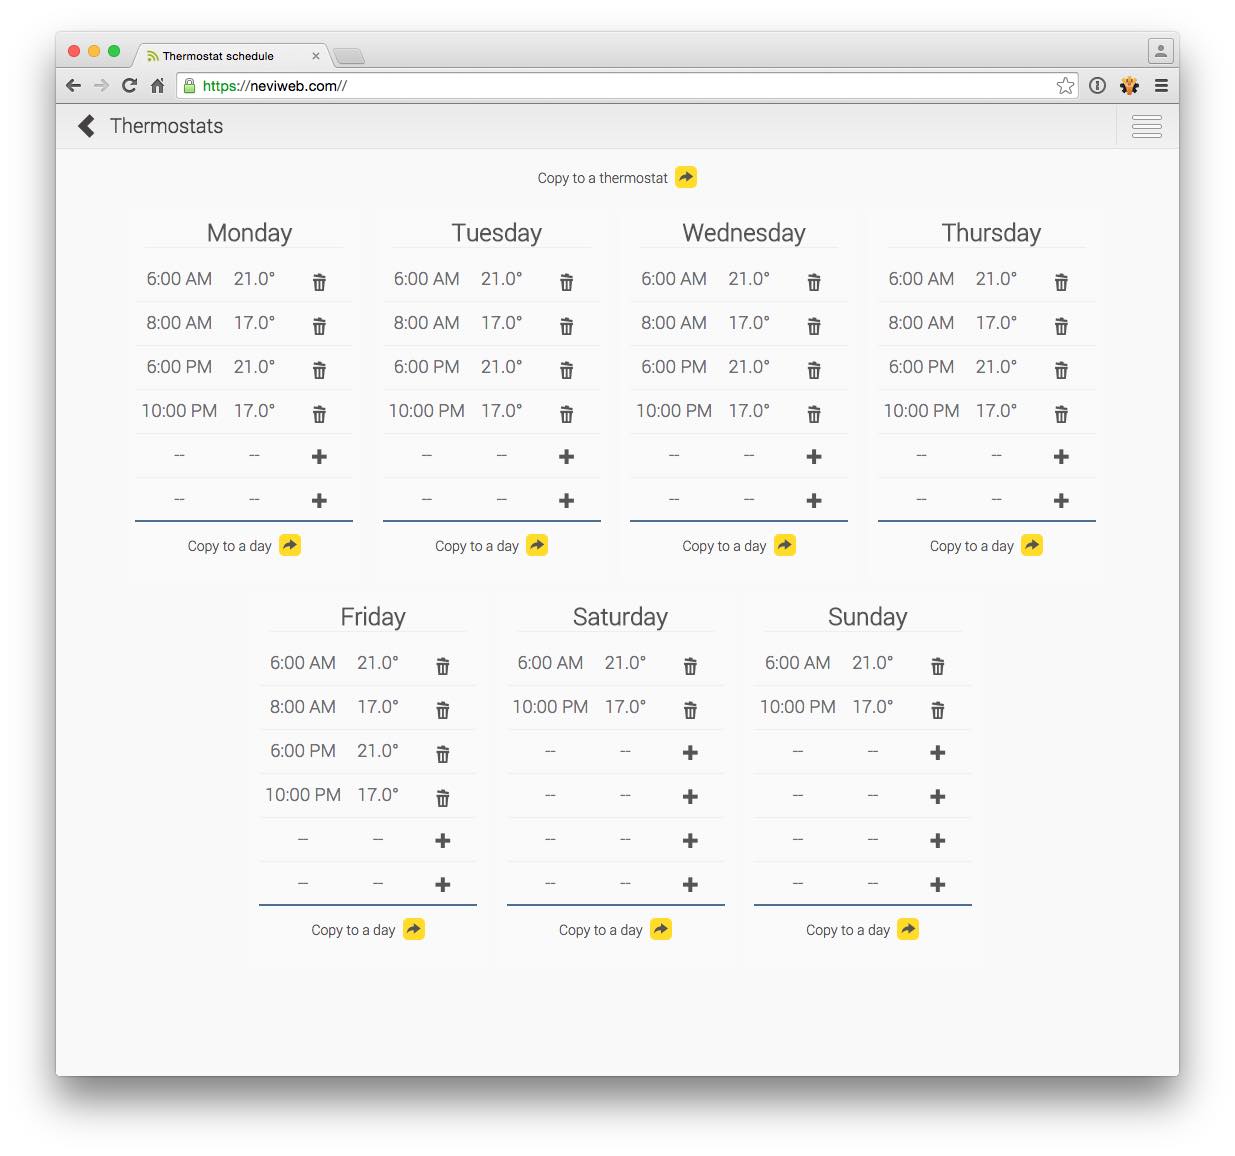
With your thermostats added to the network you’ll find them automatically attached to your neviweb® account; log in and you’ll see them there. I renamed my units to Bedroom and Living Room, and was able to program their set points, along with an “away” set point for vacation, and times of day when I want my apartment to start warming up and when it’s okay to cool down.

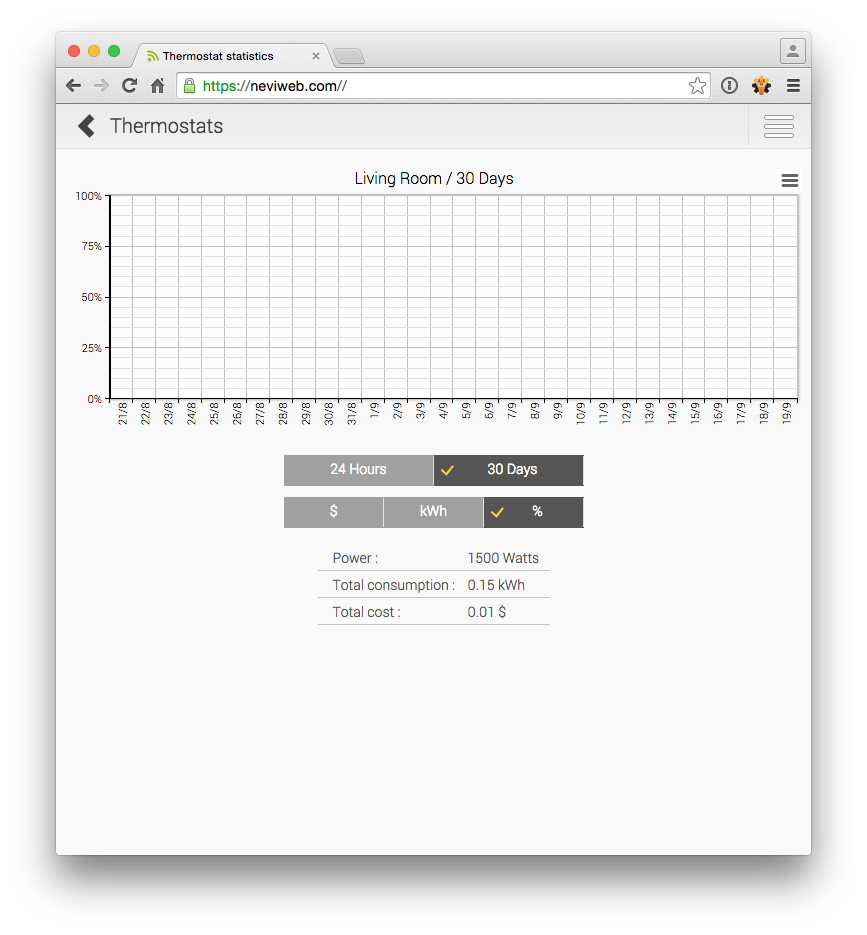
I didn’t get a chance to put many of these features into action because we’ve had a really hot summer in Vancouver, but the actual programming was incredibly simple, and I can confirm that when I bumped the set point up past 24 degrees (the current ambient temperature in my rooms) my heaters kicked in. This means that I was unable to use the built-in energy charting graph; it’s a feature I really like because it automatically pulled my power costs based on my postal code. I’m looking forward to using it to keep an eye on my power consumption in the winter.

Conclusion
There’s not a lot to say here other than this is a smart, simple, effective solution for programmable thermostats for people with baseboard and fan forced air heating. They’re attractive, easy to program, easy to use, and within my limited experience they work perfectly.
Using the interface on a computer was good, but I was concerned as to how well it would work on a smartphone. I add a home screen shortcut on my iPhone 6, and it automatically logs in when I tap that button, giving me performance that feels like a native app. I’d still prefer an app-based solution, but this is the next best thing.
I was asked if there is any scripting functionality built into the web interface, and yes, there is the ability to set a schedule for each individual unit, but no, there’s no included scripting interface. If you’re a bit of a front-end wizard you could whip something up that would control the page in Python, but I’m having trouble thinking about what that use case would like.
As a resident who pays for heating electricity, anything I can do to make my space more comfortable while being more efficient is something I like. The kit gets me about 2/5 of the way to where I need to be for about twenty dollars less a Nest unit, so I need to spend about $150-$200 more to get the rest of my place kitted out with thermostats. It’s a testament to how much I like them that I’m going to drop the money on them to do exactly that.


I’m really interested in seeing what your power savings are through one winter here.
I also have to give props to Sinope for entering the smarthome game for electric baseboards, which is a market that has been pretty overlooked up to now.
This is really the most timely review ever, because I’m in the process of installing my baseboard heaters throughout our house and I was not looking forward to room by room controls. I am incredibly excited to install the Sinope system.
Comments are closed.