
Nowadays the smartphone is the go-to camera for many people. What was once a choice based on convenience—the ease of carrying a slim device in ones pocket versus a bulky camera around the neck—we are now at a point where the quality of the photos we’re seeing from smartphones is pretty astonishing. And the advance in quality is not just down to the phones themselves but also the apps that are dedicated to post-processing. Remember the reason we fell in love with Instagram? It took our mediocre photos and transformed them into something a hundred times better. And I’m willing to bet that AI is soon going to play a bigger role in automatic post-processing. In the meantime however, let’s see if we can take better photos right off the bat.
Today I want to look at some of the areas I see people struggle with their phone-ography, and offer some simple tips to help us get better results.
Know your phone’s limitations
Unfortunately camera phones are not masters of all trades. For example they’re not great for wildlife photography, because the lens cannot zoom in. And they’re not great in low-light situations either, or for that matter in very harsh light, like when the sun is high in the sky. Sometimes you don’t really have much control because the moment is happening in front of you and you can’t wait for the light conditions to improve. Just bear in mind that you don’t have to beat yourself up (or your phone!) over a shot that doesn’t turn out as well as you had hoped. While they often surprise us with their quality, smartphone cameras have limitations that you just have to accept. A big part of that is down to the sensor size. Image quality is directly related to the size of the sensor—the bigger the sensor the better the image quality, especially when you start to make big prints from your images.
Beware of Low Light
As I mentioned earlier low-light situations are tricky for smartphones. One of the major problems you’re going to encounter is noisey. Noise in digital photography is a kind of grainy distortion that is easy to spot when you zoom in on a shot taken at night. It’s a sign that the sensor is working too hard to find some information to record. One of the ways to reduce the occurrence of noise is to manually override the cameras default settings.
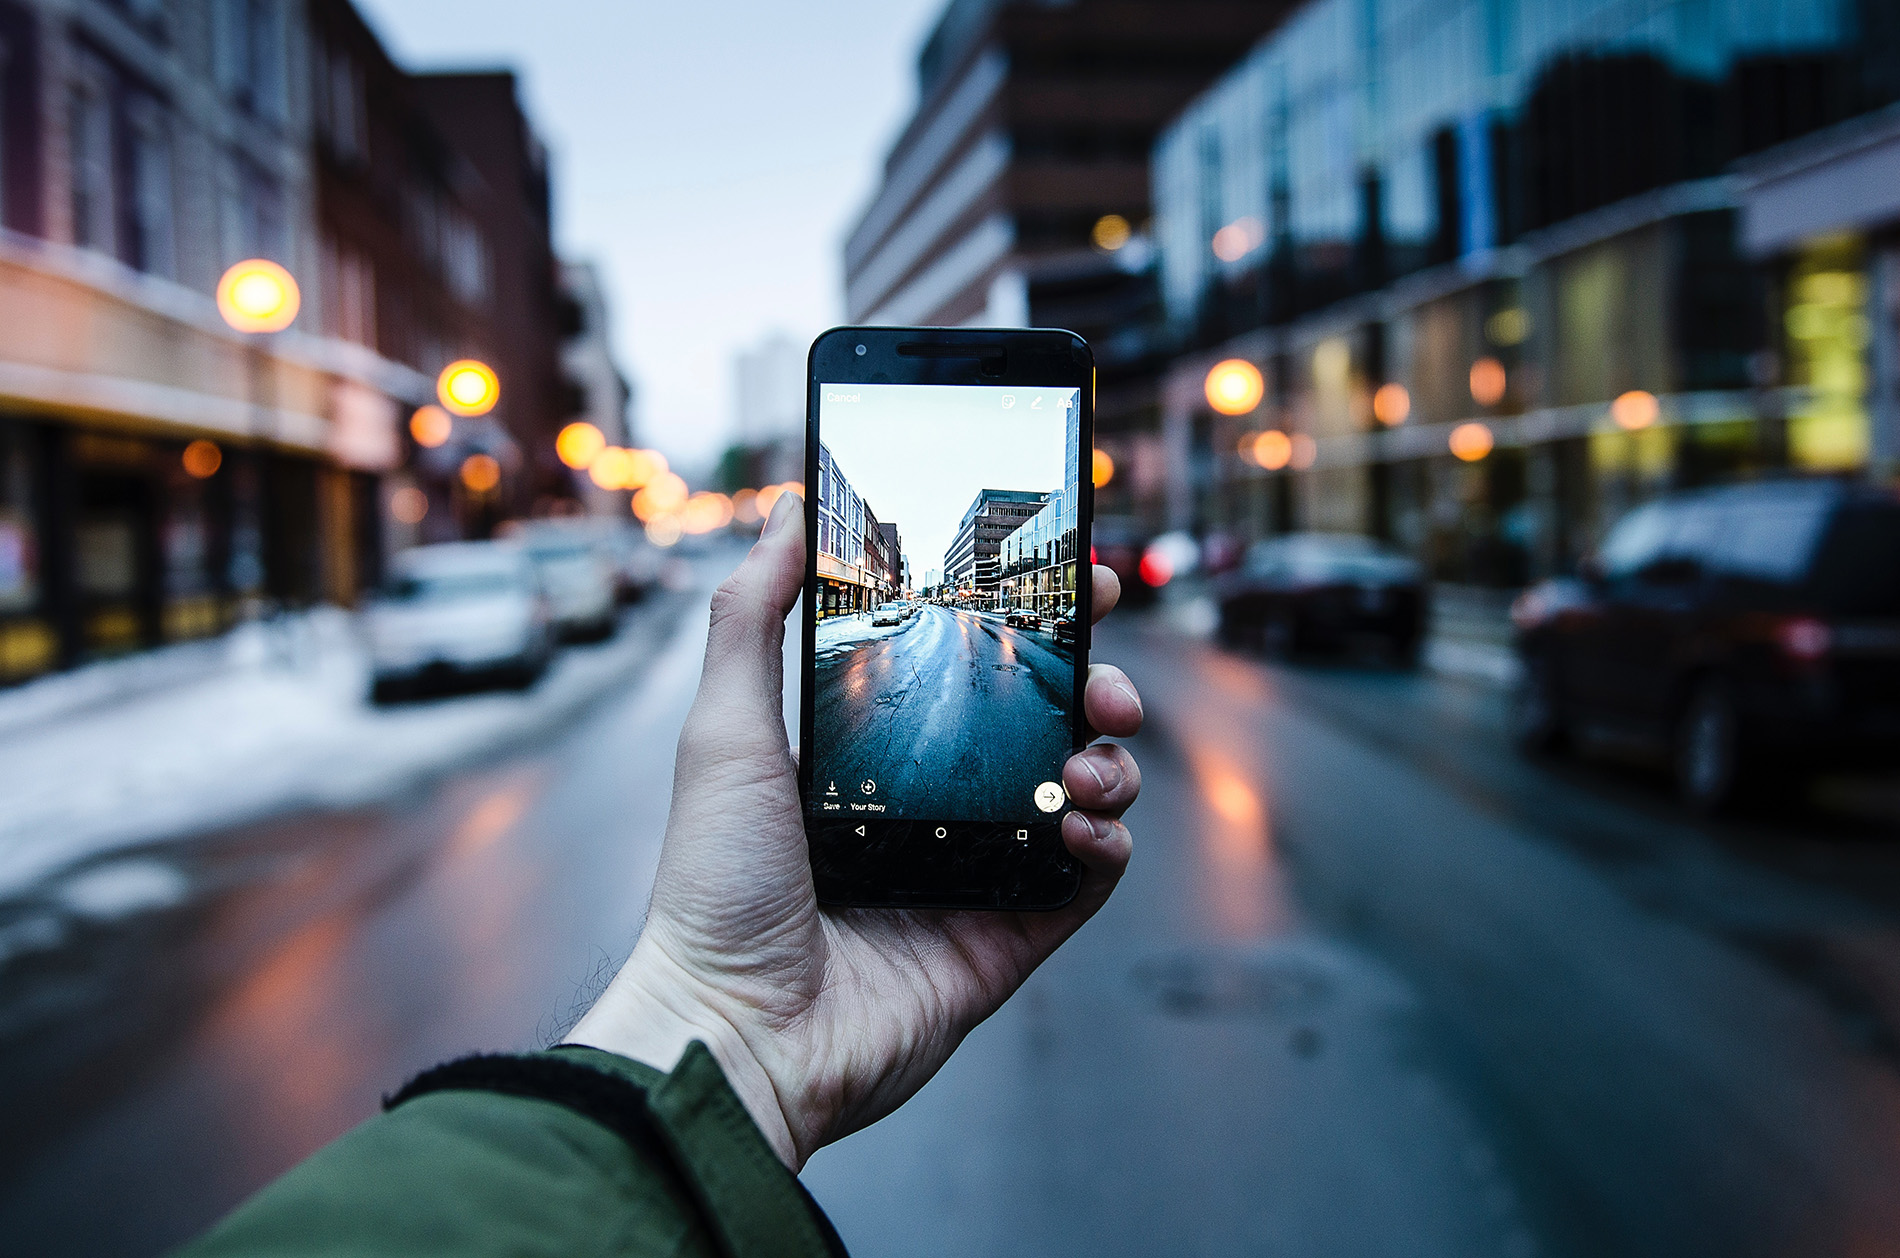
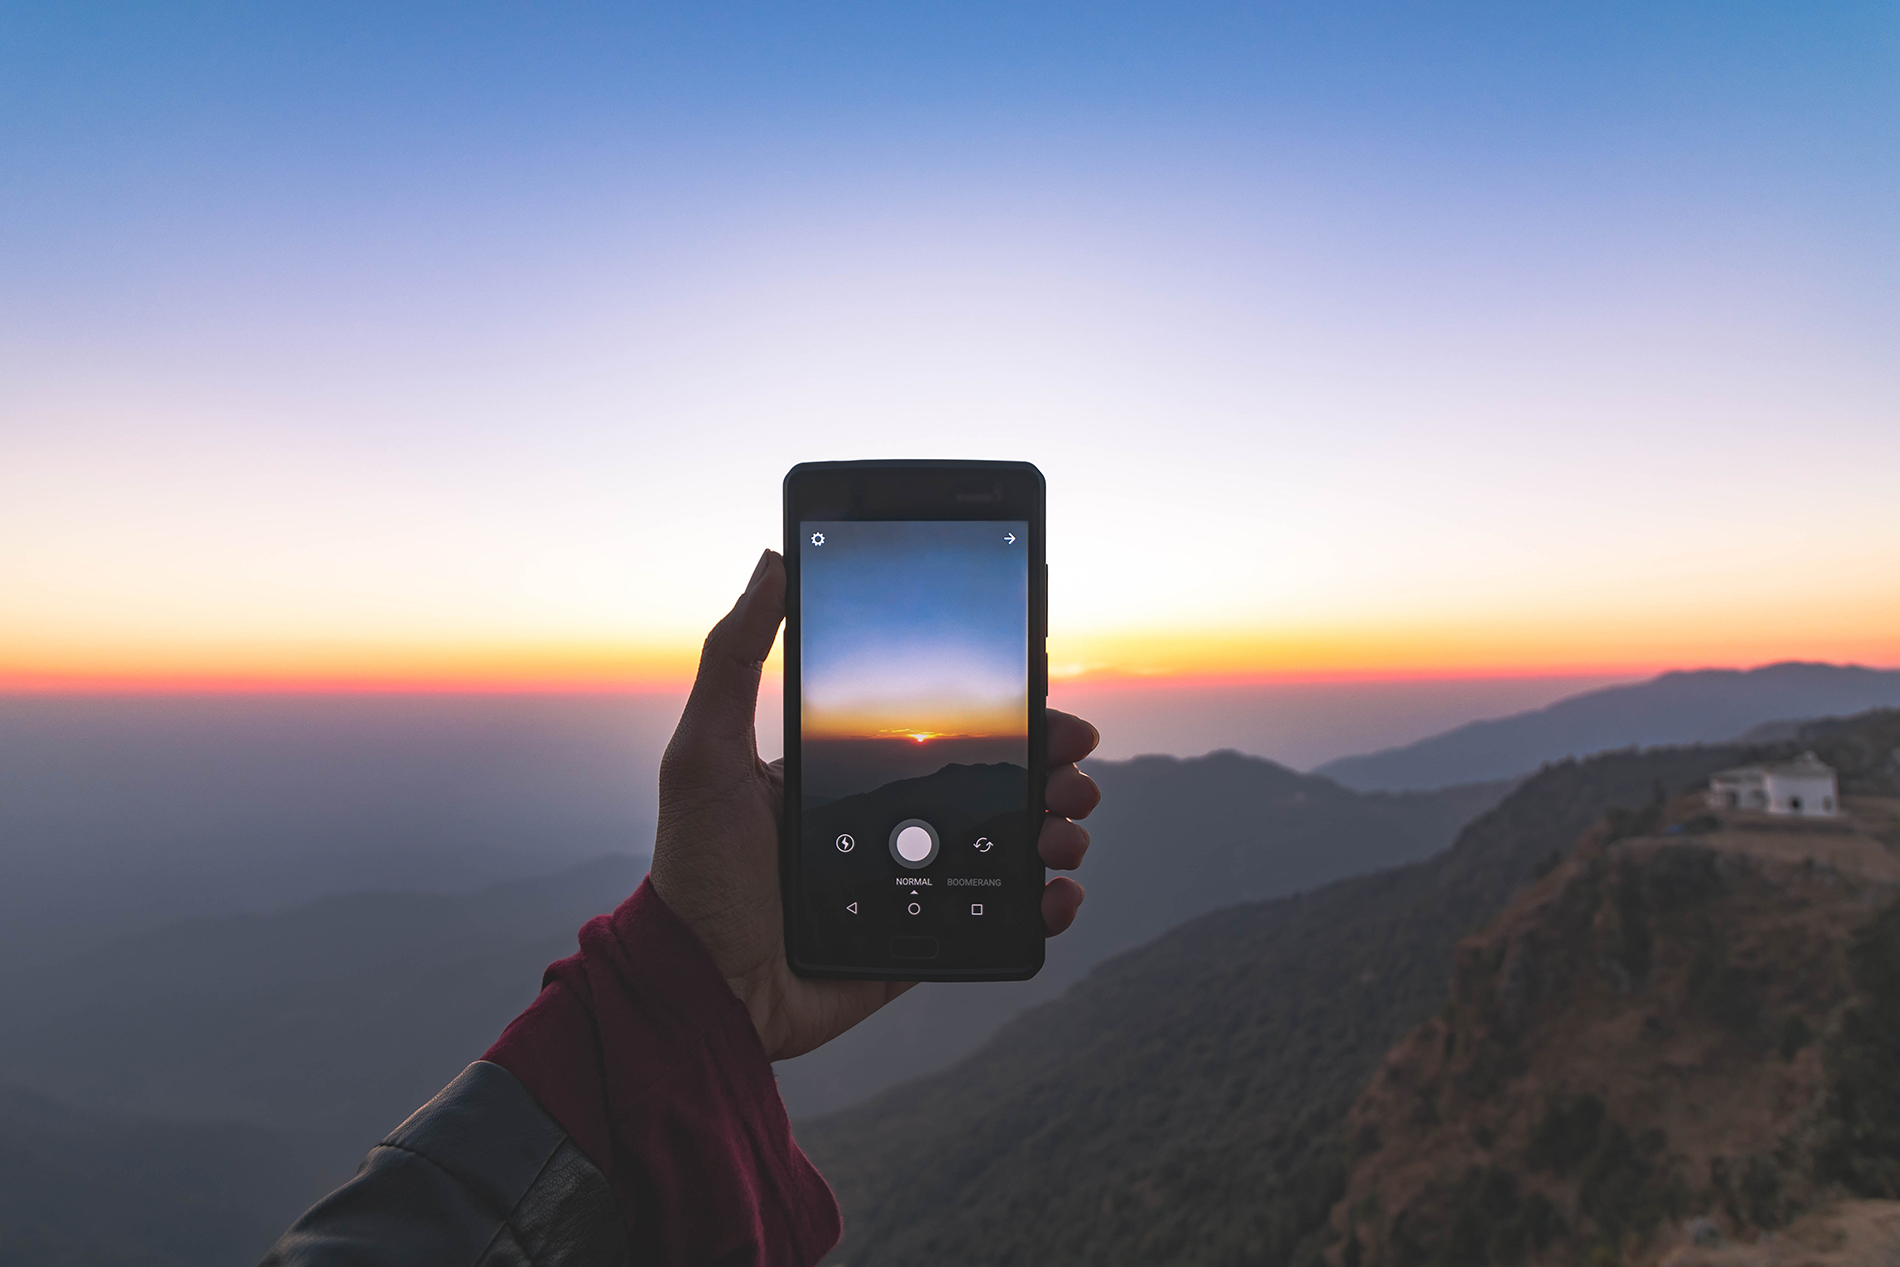
Shoot in manual mode
Your smartphone camera will work in automatic mode by default, choosing all the appropriate settings so you don’t have to. However, it uses a pretty simple algorithm, which doesn’t take into account what it is that your trying to shoot. Newer phone models are now offering ways for you to easily override the settings, and it’s well worth learning how to do so. Often you will find that simply tapping on the subject of your photo will help the camera to create a better exposure, and also lock in the focus. But often in dark situations you’ll want to reduce the exposure a little bit so that the areas that should be black, like the night sky, are actually black. Also you might notice that the illuminated part of your photo is overexposed, and dialing back the exposure will help this too.
Shoot the moon
A friend recently expressed his frustration trying to get a good shot of the moon with his phone, and this is a good example of where you might want to reduce the exposure a bit so that the moon is properly exposed and the night sky is black. You might still notice some blurring in the final shot, and this is due to camera shake which happens because the shutter speed is so low. To counteract this try bracing yourself against a solid object like a tree, a wall or a lamp post. Alternatively you can buy a bracket and mount your phone on a tripod.
Get closer—don’t zoom in
A lot of people think that their phone has zoom capabilities, but more often than not this isn’t true optical zoom, it’s just digital zoom where the camera is doing a live crop of the final image. So the result is just a smaller file, the same as if you took the shot and then cropped it in the editor. There are some phones that have optical zoom, like the Samsung Galaxy Note8 or the iPhone 8 Plus, but you can expect to pay a premium for such phones. If possible, try to position yourself so that you don’t need to zoom at all, and generally speaking we tend not to get as close as we should in order to make the most effective photo possible. Figure out what the real subject of your photo is, and make it fill the frame as much as possible.
Find Your Light Source
Smartphones are great for taking photos of friends and family, and one of the most important steps when photographing people, regardless of the camera you’re using, is to find your light source. Without a light source, there is no photography. When you know where your light is coming from, you can figure out the best place to position your subject. And sometimes you as the photographer can easily change your position so that your subject’s face is getting more light from your light source. One exception to this is bright sunny days, when the sun is high in the sky. In this instance, I recommend positioning your subject with their back to the sun, so that the light on the face (reflected from the ground and nearby objects) is more even, and you don’t have dark shadows in the eyes. You may find that your subject’s face is underexposed in this instance, so as I mentioned earlier, try to figure out how to increase the exposure manually on your smartphone.
I’d love to hear what kind of challenges you are having with your smartphone photography; feel free to leave a comment below!


