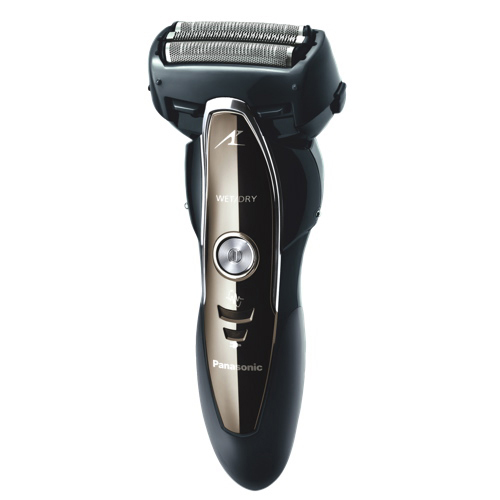
 Since today’s blog is all about how to prepare your face before shaving, I decided to focus mainly on the traditional wet shave. These steps are useful whether you prefer shaving manually or using a wet/dry model electric shaver, though many of them may not be necessary with an electric. In fact, I never do any prep. for a dry electric shave myself, as I’ve just never found it necessary.
As each man’s face, skin, and whiskers are entirely different, some of the steps below may also be omitted on a person by person basis. It must also be noted that this guide is intended to cover shaving in its most basic form. For those with special shaving needs, such as having to shave with severe acne, additional prep. or alternate techniques may be required.
The ultimate goal of this guide is to help you achieve a clean, close, and incredibly comfortable shave, with little to no irritation, every single time!
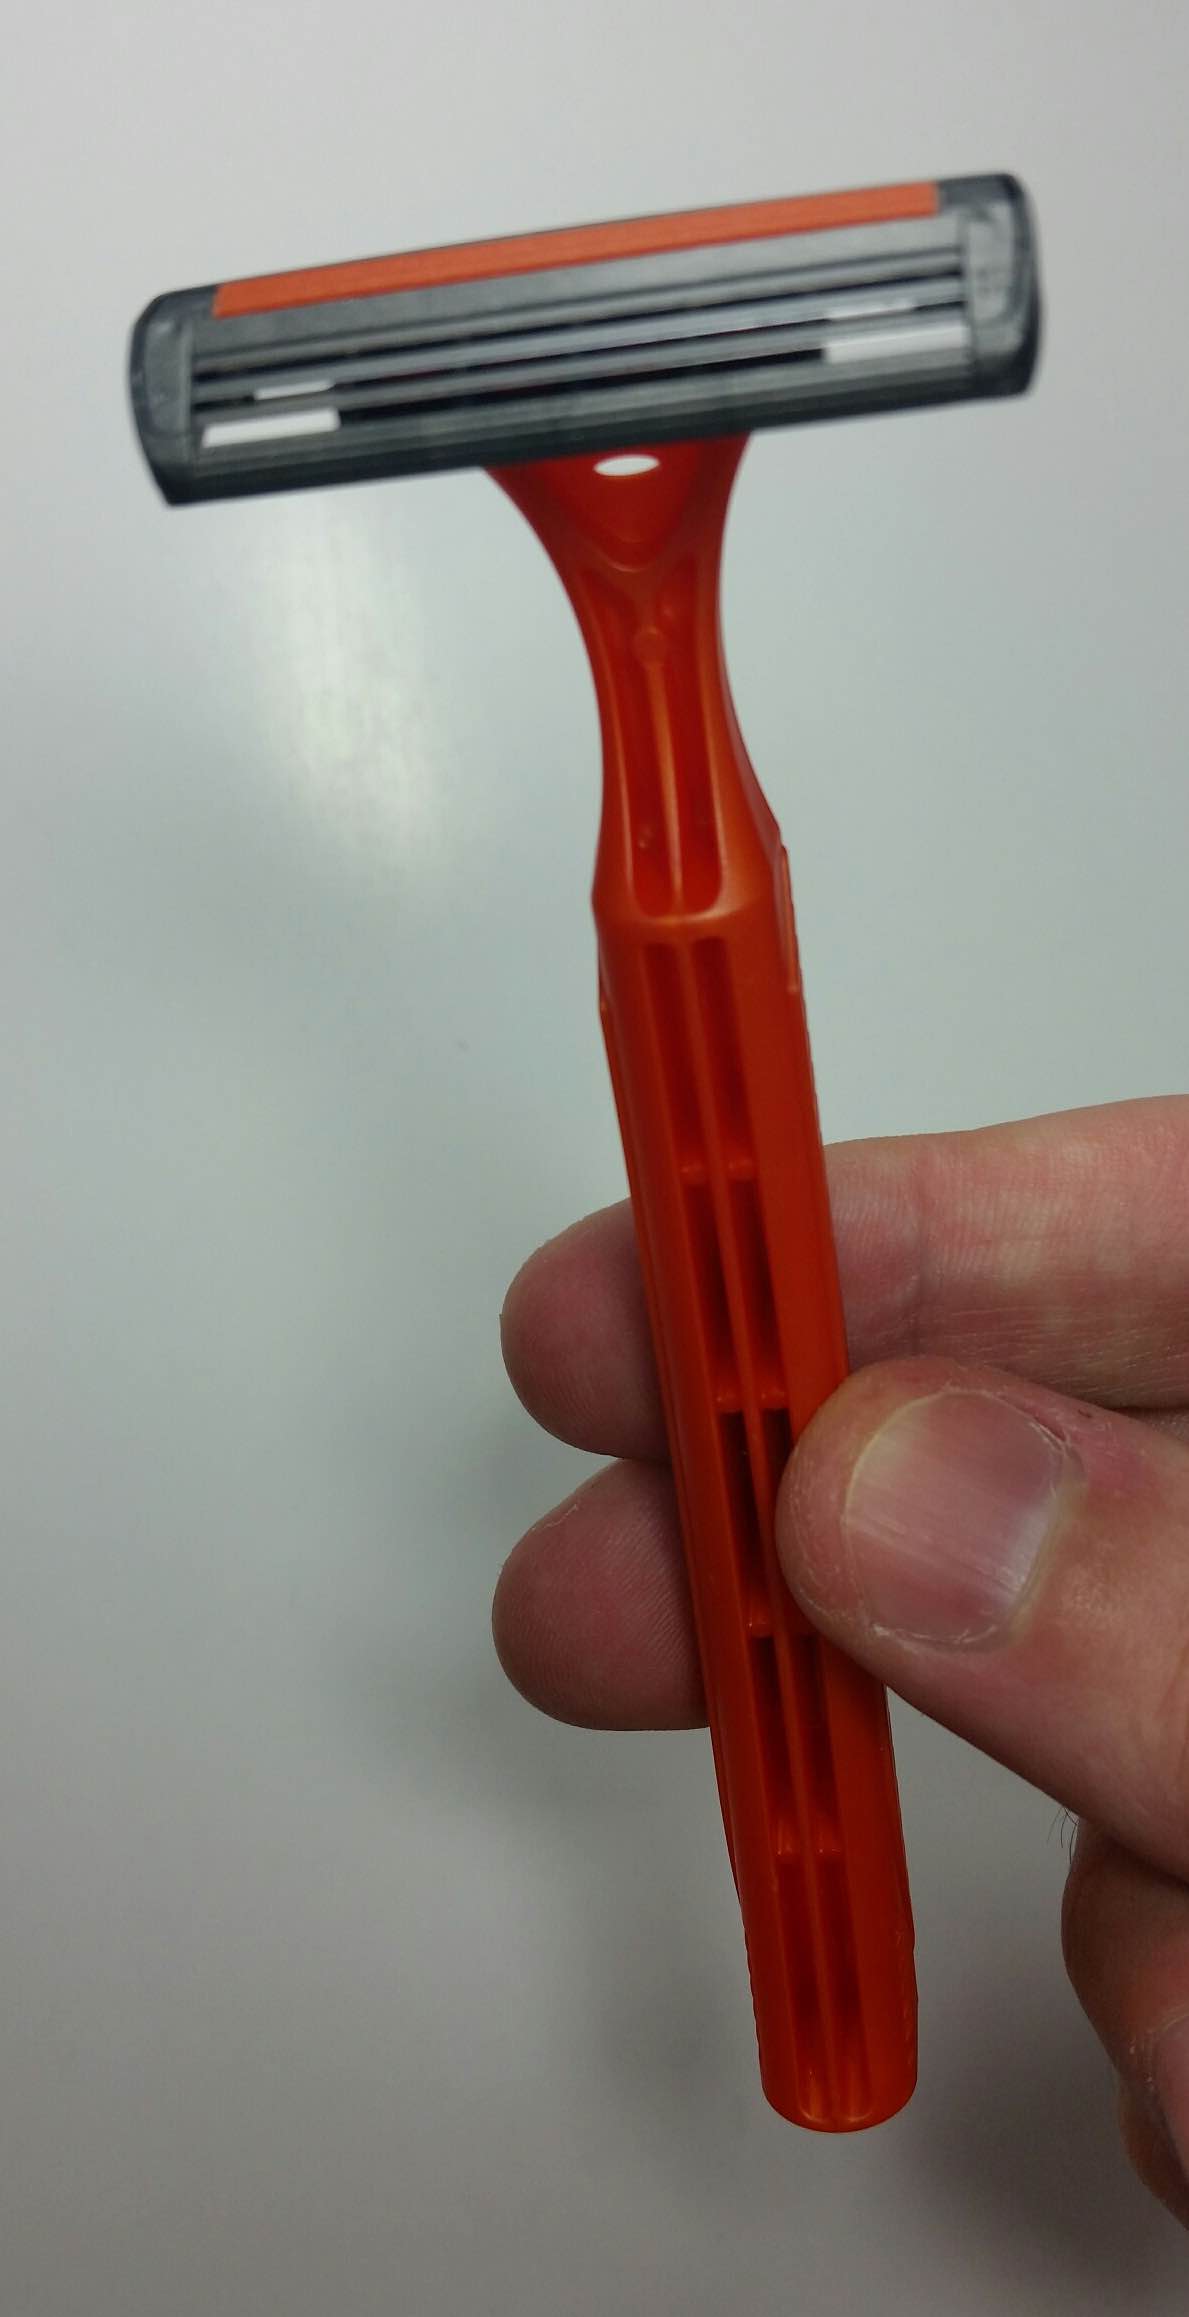 Step 1. Assemble your complete shaving kit and make sure that all necessary components—particularly your razor’s blades, are clean and ready to use. When preparing for a shave, it’s important to make sure that your razor (or other shaving gear) is not past its useful life. For instance, most disposable razors may have a few shaves in them, but once they’ve become dull and worn, it’s important to stop using them. I personally can’t get more than 2 or 3 shaves out of even the best of disposable razors before the blades dull to the point where using them results in my face looking like a minefield of nicks and cuts.
If you use an electric shaver, these blades too need occasional replacement. Typically once a year is advised. And of course, you should always choose the best possible razor for the job. If you’re like me and have a thick beard with tough, coarse whiskers, the more blades your razor can pack in, the better (generally speaking). Always opt for the shaving equipment that works best for you—particularly if you have sensitive skin. Other tools to assemble prior to shaving include all of your post-shave ritual products like aftershave & a clean, dry towel.
Step 2. Always clean your face thoroughly before shaving. Before undertaking a wet shave, it is very important to first make sure your face is completely clean. Of course, even if you don’t have a full beard, giving your face a good cleaning prior to shaving helps to prevent infections in any nicks or cuts that you may receive during the shave.
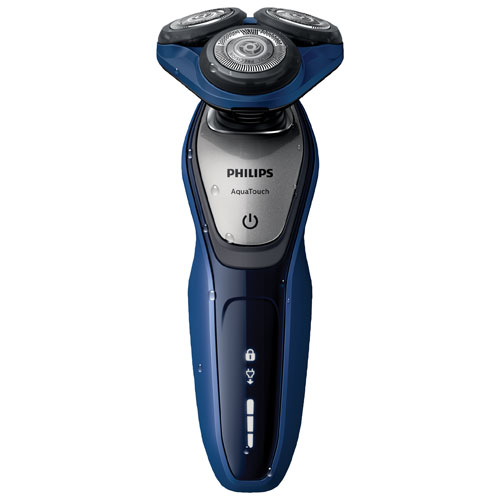 As a quick aside, lets take a look now at one of Best Buy’s fine electric shaver models. Representing the Rotary class of electric shavers is the Philips AquaTouch Plus Wet/Dry Shaver. This razor is ideal for those that enjoy a nice wet shave but don’t want to mess with a manual razor & blades or disposable razors such as those shown above. Boasting innovative features the Aquatec Wet & Dry Seal (which gives you the complete freedom to choose between a quick & dry shave or a leisurely wet shave) and Philips’s patented MultiPrecision Blade (AKA Lift & Cut) System (for an incredibly close shave every single time), this versatile shaver is pure gold. Additional features include 5-direction flex heads (with 5 independent movements), 50 minutes of cordless shaving time per full battery charge (which should get you several quick shaves), and an LED display (that provides useful information to increase your shaver’s performance). There’s even a SmartClick
Precision Trimmer for those times when you feel like indulging in some fancy facial hedge trimming! All in all, the Philips AquaTouch Plus is truly an everyman shaver for every shaving occasion. Now lets get back to our pre-shaving prep. steps.
Step 3. Check your face for anomalies (such as pimples, pre-existing cuts, moles, etc.) that may need to be avoided or treated with extra care during your shave. This may not be a major issue much of the time, but if you do have some kind of injury or an acne breakout (or anything else that may need to be treated with extra care), it is useful to know what to do. For instance, if you have a serious cut in the early stages of healing, it may be best just to shave around the injured area to avoid irritating (or even reopening) the wound. And you certainly don’t want anything getting into your cut that might cause a nasty infection. If there is any chance of something like this occurring, your best bet may simply be to avoid shaving the injured area altogether for a few days as the cut heals. Alternatively, trimming the area with a small pair of scissors could also work. In any case, avoid doing anything that might irritate or worsen the injury.
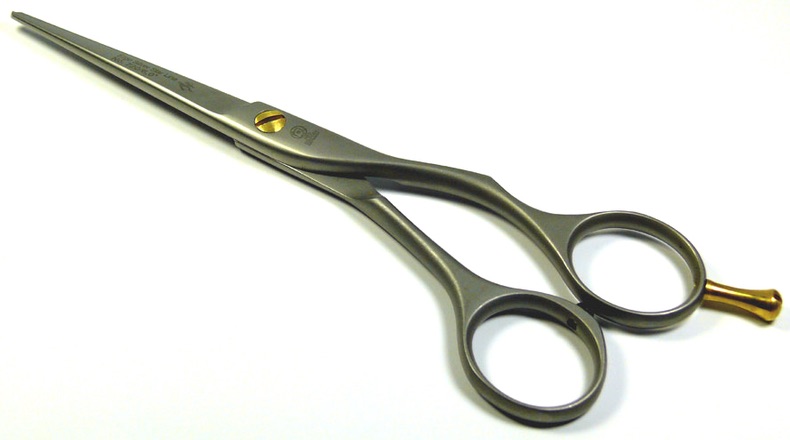 Step 4. If you’re shaving off a full-on beard, first trim all of your lengthy whiskers as close to your face as possible with a sharp pair of scissors. This step is absolutely crucial for those with enough beard growth for scissors to come into play. This is because if you attempt to shave a full beard without first trimming it down to the shortest length possible, you’re in for both significant pain and an utter shaving failure. Of course, this step really only applies if it’s been a good while since your last close shave.
 Step 5. Apply shaving oil to lubricate your whiskers for an extra smooth shave. Some men may find that this step is not entirely necessary for them, but many others like to do all they can to ensure that their razor glides as easily and smoothly as possible over their face. Applying shaving oil not only makes for an extra smooth and comfortable shave, but it also nourishes your skin and helps to reduce nasty razor burn. I have never personally tried doing this myself, but I certainly like the idea of the oil helping the blades to more freely glide over my face. I may just try it one of these shaves!
Step 6. Treat your entire shaving area with a facecloth soaked in warm (close to hot, but not so hot as to burn) water. This step is important for any wet shave (manual or electric) because it softens your facial hair and makes it easier for your razor to cut. Don’t get carried away with the idea of using hot water for the remainder of your shave, though. You should only ever rinse your razor with cold, clean water. This is very important because hot water can expand your razor’s blades and cause them to bend or become dull much faster than they otherwise might. And remember, a dull or bent blade can slice your face to ribbons in a few quick strokes, so you should always do everything you can to preserve the integrity of your blades. (Note: This step does indeed come after applying shaving oil—not before.)
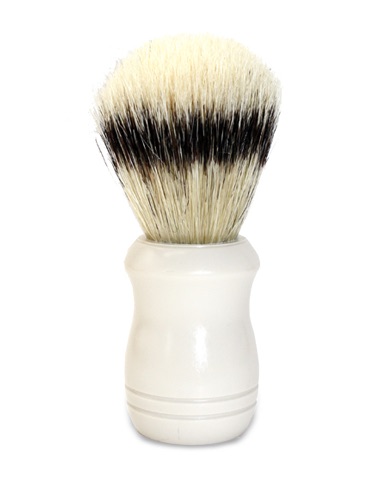 Step 7. Apply your shaving cream (foam or gel) with a proper shaving brush. By using a dedicated brush to apply your shaving cream, you’l not only massage your whiskers into a softer and easier to cut consistency, but you’ll also encourage them to stand up from your face more than they otherwise would. Just remember to make sure your brush is super clean before using it, otherwise something nasty may be living in there! Additionally, do some research on different shaving creams and select the one that best suits your skin and beard type (i.e., sensitive skin, coarse whiskers, whatever). Some sources also say that foams are better for your face than gels, so you may want to look into that as well.
Now you’re ready to begin shaving! Of course, that’s a whole other topic, but at least now you know how to prepare for it. For more shaving related content, be sure to check out some of my other whiskerly writings right here on the Best Buy Plug-In Blog, like last week’s bearded brochure on How to Choose Between an Electric Or Manual Razor. Until next time, shave safely!

