 It’s spring break time again in British Columbia, and that means all four of my kids are out of school. I’ve hung out at home in past years because they only had one week, but this year they have two weeks of vacation!
There’s only one way to stave off the “I’m boreds” before they start. It’s time for a good old fashioned Disneyland road trip!
Although we do a 3-week road trip to Southern California every August, this year we’ve had to change our plans because we’ve got a big move planned. With our house up for sale and showings every day, the idea of heading out for two weeks and leaving it all to the realtors was too appealing to pass up.
Yes, a road trip to Disneyland is 20 hours, give or take 3 or 4 hours for stops, but there are so many reasons why I look forward to heading down the coast to California every year. First and foremost is the destination, but we’ve come to look forward to the pit stops on the way.
 If you do a regular road trip, you probably have your favourite places to stop. Some people have attractions like parks or shopping on the must stop list—for my family it’s eateries and food! That quest for unique eats doesn’t change when it’s just myself and the kids on the road trip either; the only difference is the things we try. When I’m with my husband, we go gourmet. When I’m with the kids, we go for quirky and kid-friendly.
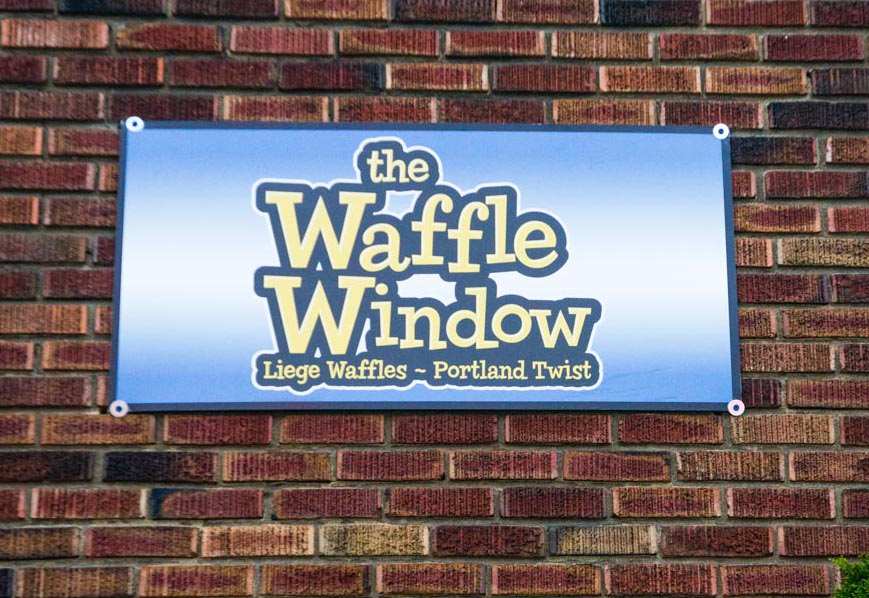
That’s why we kicked off this year’s trip with a first stop in Portland at our favourite place to go for breakfast, lunch, or anything in between. The Waffle Window is literally a window in the side of a building. The first time we went there I drove by it 3 times, only realizing it wasn’t a resturant when I saw someone’s head popping out of the wall. When you do find it, just order your waffle from the window and they’ll call you up when it’s finished. They have picnic tables for outdoor seating under a small tent off to the side of the building.
If it sounds basic, it is, but the waffles you get from the Waffle Window are anything but basic. They’re Leige sugar waffles made with a twist, and you won’t believe some of the toppings.
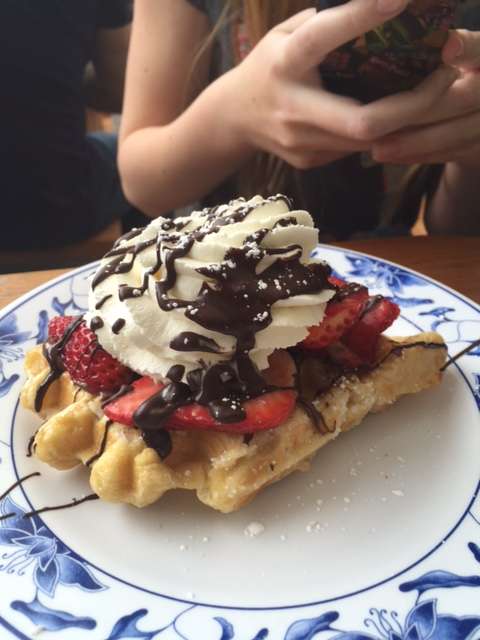
Take the “Luck of the Irish” Waffle for example—an homage to St.Patrick’s Day. The fresh waffle is topped with berries, Irish Cream chocolate mousse, whip cream, dark chocolate, and chopped up truffle bits. It tastes better than it sounds, and I didn’t even think that was possible.
But my favourite is the Bananarumba, and it is definitely worth the trip off the I5. Topped with fresh sliced bananas, banana caramel sauce, real whip cream, granola topping made right on site, this is one outstanding waffle.
The Waffle Window is located at 3610 SE Hawthrone BLVD in Portland, Oregon if you’d like to try it on your own culinary adventure. If you can’t make it to the waffle window but you want to try the Bananarumba, I’ve dug up a recipe from Bakerbettie.com that should come in a close second.
Leige Waffles 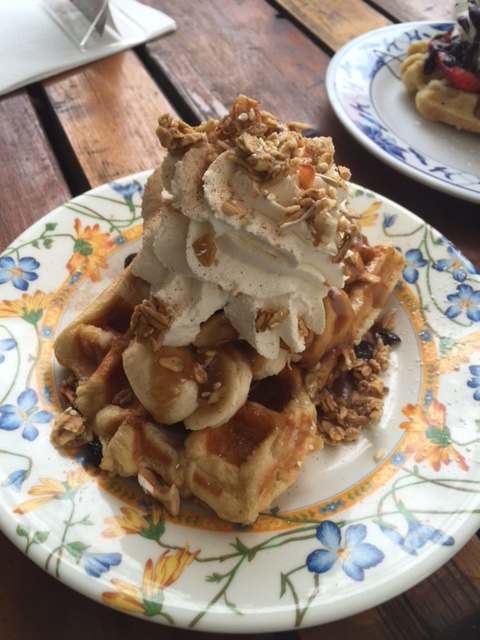
|
Ingredients: ⅔ cup milk 1 package active dry yeast (0.25 oz package or 2¼ tsp) 6 TBSP unsalted butter, room temperature and cut into small pieces ¼ cup sugar ¾ tsp kosher salt 1 large egg 3 cups plus 2 TBSP all-purpose flour 6 oz sugar cubes, broken into large pieces (or pearl sugar) |
Directions
Warm the milk to 105-110ºF. Sprinkle the yeast over the warm milk and let it sit until it begins to get foamy. About 5 minutes.
In the bowl of a stand mixer, stir together the butter, sugar, salt, and egg.
Fit the mixing bowl onto the mixer with the dough hook. With the mixer on the lowest setting, pour in the milk/yeast mixture and the flour. Increase speed to medium and let the dough knead for about 5 minutes until it forms a soft sticky dough. The mixture will seem quite wet at first, but will form a smooth soft dough once kneaded in the mixer for the full time. If the mixture is too wet after kneading, add more flour 1 TBSP at a time until a soft but sticky dough forms.
Place the dough in a clean bowl with a towel or loose plastic wrap over it and allow to rise to double in size. About 1½ hours.(You can make the dough a day ahead of time. Let it rise and then put it in the refrigerator overnight. Let it sit out for about 20 minutes to take the chill off the next day before mixing in the sugar)
Place the dough back into the mixer fitted with the dough hook and pour in all of the sugar cube pieces (or pearl sugar). Mix until evenly incorporated.
Break the dough into small pieces, about 2½ oz each. You should get about 10-12 pieces.
Heat your waffle iron up. Remember, sugar begins to burn at temps above 350ºF. If your waffle iron doesn’t have a temp dial you may have to do trial and error to see the setting that will give you the best caramelization without burning. Most waffle irons heat much hotter than 350. My medium setting was perfect for these, however some other recipes suggest getting your iron hot and then turning it off as the waffle cooks to prevent burning. I had no problems with burning, but test your iron to see what works best.
Remove the waffles from the iron with a spatula (caramelized sugar is really hot!) once the waffle is golden, puffed, and crispy.
Top with sliced bananas, caramel sauce, real whip cream, and sprinkles of granola.
Next stop on our California eating adventure is Disneyland. If you think Disneyland is all about hot dogs and french fries, you need to plan another visit. We go for the fun, but we also love to go on hunts for the best food in the park. Tune in next week and see what we’ve discovered at Disneyland.
In the meantime, check out these small appliances you can use to create your own Waffle Window experience.
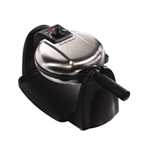 Make Leige waffles at home with a Belgian Waffle Maker |
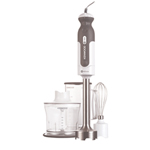 I just reviewed the Kenwood Triblade Hand Blender—the perfect way to make whip cream |
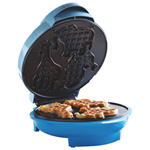 Kids love the cute waffle shapes you can make with the Brentwood Waffle Maker |

