Pizza is one of my favourite foods. It’s perfect for breakfast, lunch, or dinner, as well as after a late night of drinking. I couldn’t imagine having to give it up because of celiac disease or a sensitivity to gluten or wheat. But if this applies to you, have no fear: there are ways to make non-traditional pizza crust so you can continue eating the food you love. (See this article if you’re still learning to live a gluten-free lifestyle.)
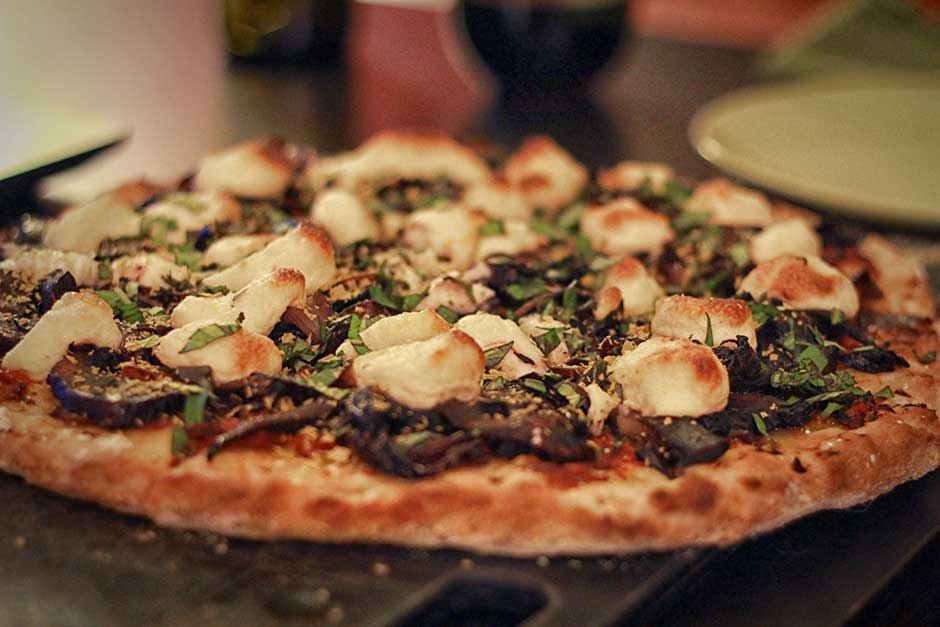
The first option, inspired by a recipe from Julia Child, is to use eggplant instead of gluten-free flour. This is a great choice if you want to cut carbs or are following the South Beach or paleo diets. The key to avoiding any mushiness is to cut the eggplant into pieces and place it on paper towels sprinkled with salt. Let it sit for about thirty minutes so that it draws out the liquid. Then make a flavourful sauce to place on top, and enjoy. This recipe is vegetarian; feel free to add your favourite meats. Bonus: it makes for an awesome appetizer at your next dinner party.
|
Ingredients: 1 globe eggplant, about 8 ounces and 9-10 inches long |
Directions

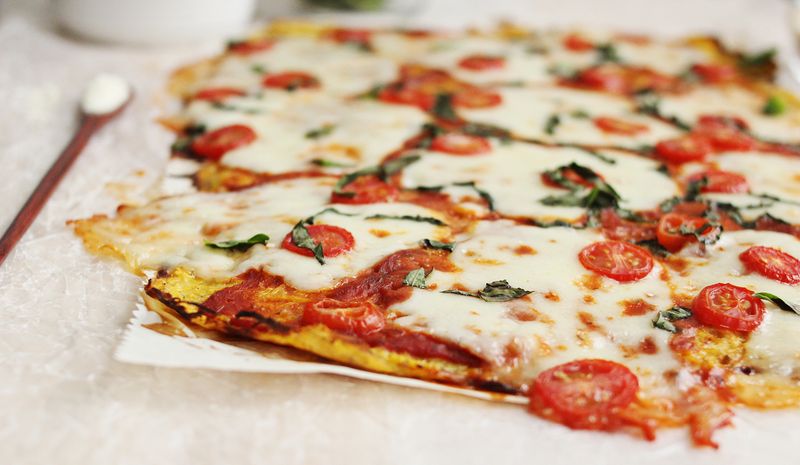
Our next gluten-free pizza crust uses spaghetti squash as its base. Cauliflower, however, is the most commonly used vegetable for pizza crusts. The problem with making pizza out of vegetables is that I will tell myself that it’s okay to have another slice. Check out this recipe from Shared Appetite called Spaghetti Squash Pizza Crust.
|
Ingredients:
|
Directions
- Preheat oven to 400°F. Carefully cut your spaghetti squash in half with a large, sharp knife. Remove seeds and stringy guts, and brush the cut sides of the squash with 1 tablespoon of olive oil. Season with Kosher salt and freshly ground black pepper. Place spaghetti squash, cut side down, on an aluminum-lined baking sheet and roast until tender, about 45-60 minutes.
- To test if your squash is done, scrap the flesh with a fork. If the strands come off easily, it’s done. Let the cooked spaghetti squash cool for about 5 minutes, then scrape all the flesh into a beautiful pile of spaghetti strands. Taste and season with some more Kosher salt and freshly ground black pepper if needed.
- Measure out approximately 3 and ½ cups of spaghetti squash. Reserve rest for another use.
- Wrap measured-out squash in a cheesecloth, clean kitchen towel, or several layers of paper towels. Squeeze out as much moisture as possible. The drier the squash, the more crispy the crust can get.
- In a medium mixing bowl, combine the squash, egg, mozzarella cheese, parmesan cheese, and season with Kosher salt and freshly ground black pepper. Press squash in a thin, even layer on a parchment-lined baking sheet and form into an approximate 10-inch circle.
- Bake at 400°F for approximately 20 minutes. Remove from oven, carefully flip, and cook for another 10 minutes.
- Add desired toppings and bake until done.

I also like this Four-Step Gluten-Free Yeast-Free Pizza Crust recipe by The Vegan 8, because while it uses a little bit of flour, the main ingredient is potatoes. Oat flour, which is what the recipe calls for, can be made easily by grinding up cooking oats. I prefer this option to using the gluten-free flours out there, since they are flavourless and high in calories.
|
Ingredients:
|
Directions
1. “BOIL” It is important to follow each step for the best results. First, add the potatoes to a large pot covered with water. Bring to a boil and boil for 25-30 minutes, until completely tender when pierced. Add them to a large bowl and allow to cool for 15 minutes. Papertowel off any excess water. Tip: While the potatoes are boiling, combine the dry ingredients into a medium bowl well with a whisk: salt, baking powder, garlic powder, nutritional yeast, potato starch & oat flour. If you grind your own oats, make sure to only measure out 1/4 cup oat flour. Set aside.
2. “BLEND” Preheat the oven to 400 degrees and line a pizza pan with parchment paper, do not use foil! Rough chop the potatoes in the bowl and add them to a food processor and blend until completely smooth. Note: you will likely need to do this in 2 batches, if you don’t have at least an 11 cup food processor, otherwise it will overflow. Once smooth, scrape out the potato and measure only 3 cups, in case you have excess. Make sure to level the potatoes off with your finger. Add the almond butter/tahini and prepared dry ingredients to the potatoes and mix very well with a spoon until it all comes together. The dough will be very sticky.
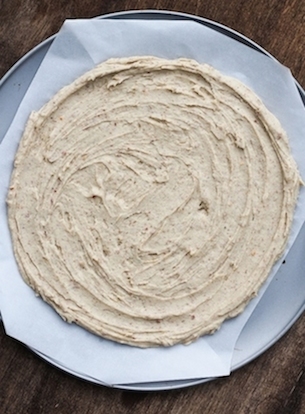
3. “SPREAD” Add the dough to the lined pizza pan and using the back of the spoon, spread it out into a pizza shape around 12 inches or so. Drag the spoon around, focusing on pulling from the center. The key to this pizza is spreading the dough out thinly and evenly, no more than 1/4 inch in thickness, so it bakes properly and cooks evenly. Drag the spoon around the edges to create an indention of sort, so it creates a nice crusty edge. The dough will be very sticky. Alternatively, you could place a piece of parchment paper on top and press the dough that way, it will look flatter and have less of an edge that way, but it’s up to you.
4. “BAKE” Bake for 15 minutes. It will be very golden and still soft, but will crisp up at the 2nd bake. Now that you’ve made your pizza crust, let’s add some yummy toppings! If you add veggies, make sure they are partially precooked. I prebaked my bell peppers at 400 degrees for 10 minutes, just to soften them some. I added BBQ sauce, bell peppers, field roast veggie sausage and olives on top. Bake once more at 400 degrees for another 10-15 minutes until the crust is very crispy and a dark golden color. Enjoy!
Which is your favorite gluten free pizza? What kind of toppings will you include on your next slice?


