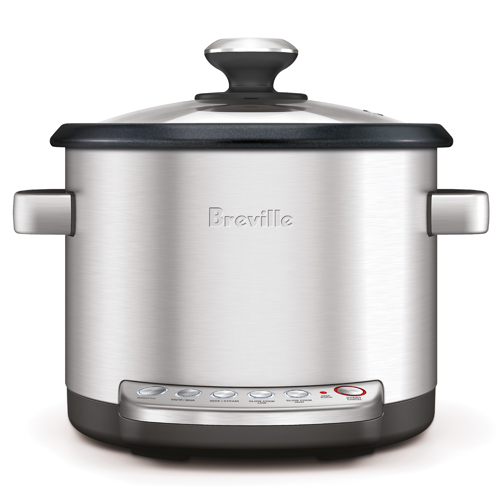
 When I was in Italy a few years ago, I discovered risotto. I had just arrived in Rome and stumbled across a little hole-in-the-wall restaurant where the menu was only listed in Italian, so I knew it had to be authentic! I thought, well, I’m in Italy, I might as well order something quintessentially Italian, so I chose the risotto ai funghi (mushroom risotto) and was immediately in love with the dish. It was flavourful, rich, creamy, and just all-round delicious. Since then I’ve tried to replicate my Italian risotto experience, but with little success. It’s always “ok” but never drool inducing. So when I was given an opportunity to review the Breville Risotto Plus risotto maker, I jumped at the chance.
Unboxing, Design & Set Up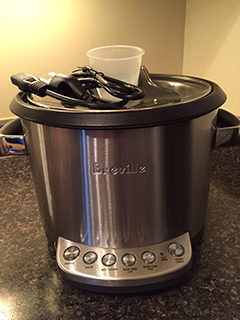
When I first saw the box the Breville Risotto Plus came in, I was surprised it wasn’t bigger. For absolutely no reason whatsoever, I was under the impression it would rival the size of my archaic slow cooker, which takes up an entire shelf in one of my kitchen cupboards, but nope, it’s nice and compact, yet its 4-quart capacity is nothing to sneeze at.
In the box was the housing unit itself, a removable non-stick cooking bowl, a tempered domed glass lid with a steam vent, a special rice scoop, and a serving spoon. As for the unit itself, in addition to its two cool-touch handles, it features a START/CANCEL button and five additional buttons for its various settings: RISOTTO, SAUTÉ, RICE|STEAM, SLOW COOK LOW, and SLOW COOK HIGH. As per the instructions, I gave the cooking bowl and lid a thorough wash and plugged the removable power cord into the wall. I was now ready to tap into my inner Martha Stewart (minus the jail time).
Risotto
F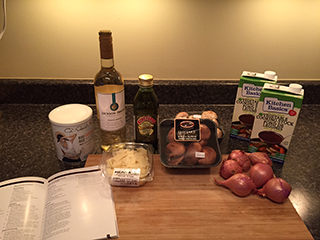 or its maiden voyage I decided to prepare the risotto al a funghi (mushroom risotto) recipe that was included in the instruction booklet. Truth be told, I was a little skeptical when I read that the Breville Risotto Plus made perfect risotto without any stirring required. In my experience, the key to achieving the perfect consistency of risotto (or in my case, a close proximity) is ALL about that constant stirring motion. But I put my doubts aside, collected all the ingredients I would need and started chopping my scallions and slicing my mushrooms.
Once I was ready to start cooking, I was immediately impressed. Because of its multiple settings, I was able to sauté my mushrooms and scallions directly in the cooking bowl on the SAUTÉ setting, and then when they were nice and soft, I simply added the remaining ingredients and switched over to the RISOTTO setting. I didn’t need to use a separate pan to do my sautéing! It was a one-pot wonder.
Now was time for the Risotto Plus work its magic. The recipe said that after 20-30 minutes when the risotto was ready, it would automatically switch over to the WARM setting and alert me that it was ready with a ding. It was a bit difficult to leave it alone without lifting the lid and stirring it, but I knew the Risotto Plus’ electronic controller ensured that the temperature would stay precise through the entire cooking cycle so there would be no need to stir. Instead, the simmering stock agitates the rice grains cooking them to perfection.
After 30 minutes though, I had not yet heard any kind of alert to indicate that my risotto was ready. And when I looked through the glass lid, I was pretty confident I’d be eating some weird risotto soup concoction for dinner, but 13 minutes later (43 minutes total), I heard the ding, lifted the lid, and started stirring. Within seconds I could see that the risotto was perfectly soft and creamy, and it smelled like heaven.
I topped it off with a touch of freshly grated Parmesan cheese and dug in. Honestly, it could have used a little more flavour in terms of spices, but my-oh-my the texture was perfect! If I were to make it again, I’d simply add more sage, cook it with a little cheese, and add a touch of butter at the end, but otherwise, colour me impressed!!
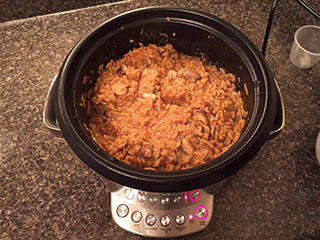
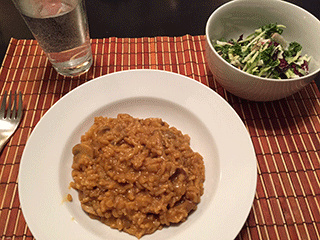
Clean up was a breeze too. I just removed the non-stick cooking bowl, which is feather light, washed it with some soap and a sponge, and I was done. Now, as much as I was impressed with the Risotto Plus’ risotto making prowess, I couldn’t really fathom purchasing an appliance that is so, well, niche! But the Risotto Plus isn’t just a risotto maker. In fact, it doubles (quadruples?) as a rice cooker, steamer, and slow cooker. This appliance is no one-trick pony folks.
Before I get into its other settings though, I feel there are a couple of things worth mentioning:
- In the manual it says that switching settings from say, SAUTÉ to RISOTTO is as easy as pressing the button of the function you want to switch to, but that wasn’t the case for me. Instead, I had to turn the Risotto Plus off and then back on to choose a new setting.
- Reheated risotto is NOT something I recommend. Unless of course you like congealed food.
Rice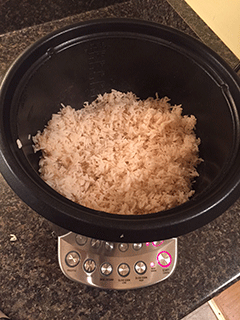
Now that I had made some delicious mushroom risotto, it was time to see what else the Breville Risotto Plus had to offer. Test #2: Rice. I have to tell you, I’m a big fan of rice. In fact, I should probably lay off it a bit because my pants are getting tight, but whatever. Anyway, I’ve found that I simply don’t have the time or patience to cook rice on the stovetop. It takes upwards of 45 minutes depending on the rice, and I inevitably burn at least a quarter of it, so I had high hopes for the Risotto Plus’ rice cooking abilities.
I only had (gasp) white rice in my cupboard, but I scooped out two scoops using the special rice scoop that comes with the Risotto Plus, rinsed it as per the directions, and put it in the cooking bowl. Then I added two scoops of water, pressed the RICE|STEAM button and waited. 12 minutes later I was greeted with a lovely little ding indicating that my rice was ready, well almost. I had to give it a stir and let it sit for 10 minutes with the lid on, but when I was ready to scoop it onto my plate–except for one tiny chunk that was slightly burnt–the rice was perfectly soft and fluffy.
Steaming
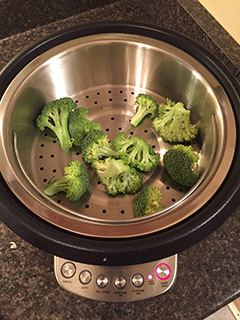
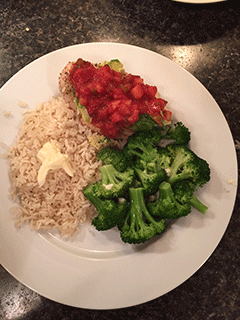
Right after my rice was ready, I scooped it into a serving dish. I then added some water to the cooking bowl (with some rice still in it), and put some broccoli florets in the steaming tray. Based on the cooking times in the instruction manual, I steamed it for eight minutes, and it was almost perfect. I like my veggies a little on the crunchy side, so seven minutes would have been ideal, but bottom line, the Breville Risotto Plus handled steaming as well as it handled sautéing, risotto making, and rice cooking. My meal might not look that appetizing to you, but the rice and broccoli in the picture were made with the Risotto Plus. The chicken is topped with avocado and salsa and is delicious!
Slow Cooking
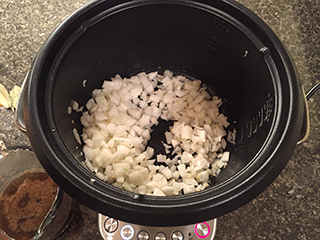
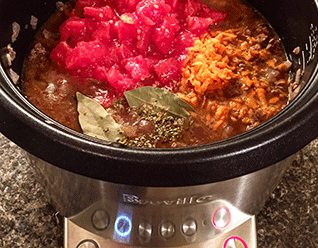
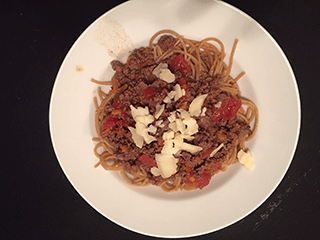
I made two recipes using the slow cook function. One was a recipe in the instruction manual, while the other was one of my favourite slow cooker recipes. The recipe from the manual that I made was the Family Bolognese. I used the SAUTÉ setting to prep the onions, garlic, and ground beef, and then once those were all perfectly soft and browned, I added the remainder of the ingredients and switched over to the SLOW COOK setting. Three hours later, dinner was ready. Like the mushroom risotto, the Bolognese needed a lot more seasoning, but that’s a personal preference and can be adjusted as you create new dishes in the Risotto Plus. But lack of seasoning doesn’t take away from the fact that the same appliance I used the previous night to make rice and steam broccoli, and a few days prior used to whip up a risotto, just slow cooked me a traditional Bolognese. Mind blow.

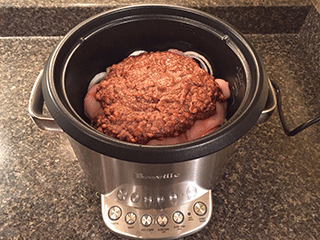
The second recipe I whipped up does NOT look appetizing in the photos, but is a shredded Thai chicken recipe I make every few weeks. It is perfect for wraps, on top of salads, or as a meal on top of rice. I’ve gotten quite used to making it, and the end result is always the same. So I was a little concerned about how it would fare in the Breville Risotto Plus, especially since the instruction manual says “your favourite traditional recipes can awlays be easily adapted to this slow cooker. Simply halve the amount of liquid and increase the cooking time.” I only did one of those two things; I increased the cooking time, and while still delicious, my Thai chicken was very soupy. I should have listened! I still ate most of it though!

Bottom Line
There are very few negative comments I can make about the Breville Risotto Plus. It is a multi-functioning kitchen appliance that does everything it says it can do very well. True, two of my recipes were bland, but that’s not the appliance’s fault, that comes down to seasoning and personal preference. The only real negative I have is that it doesn’t have a built-in timer. True, you don’t need one for risotto, rice, or steaming, but you do when you are slow cooking. That said, using my kitchen timer was NOT the end of the world. Outside of that, I love this thing. In the past week and a half, I haven’t had to use more than the Risotto Plus and my oven (grilled chicken) for my meals. Dishes have been minimal, clean up is a breeze, and I’ve got leftovers in my freezer to last me a month!


