
 If you have a KitchenAid Stand Mixer and you’ve always wondered about the attachments, whether it was easy to use them, and how handy they are in the kitchen, you’ll love what I’ve been up to over the past two weeks. I was sent several of the KitchenAid attachments to test, and I’ve been having a great time with them.
Last week I tested out the KitchenAid Spiralizer, and I was so impressed with how quick and easy it is to spiral and slice fruit and vegetables. This week I popped on the KitchenAid Ravioli Attachment and made some ravioli for the family.
As far as pasta goes, ravioli is a staple in my house. Although I make it all the time, I’ve never made it from scratch before. That’s because it’s a huge process trying to make it by hand, and you need several tools to make it happen.
But with the KitchenAid Ravioli attachment, it’s seriously easy to make ravioli. Although I found it takes a few tries to get a perfect sheet, once you have the hang of it it’s smooth sailing.
Appearance and features of KitchenAid Ravioli Attachment
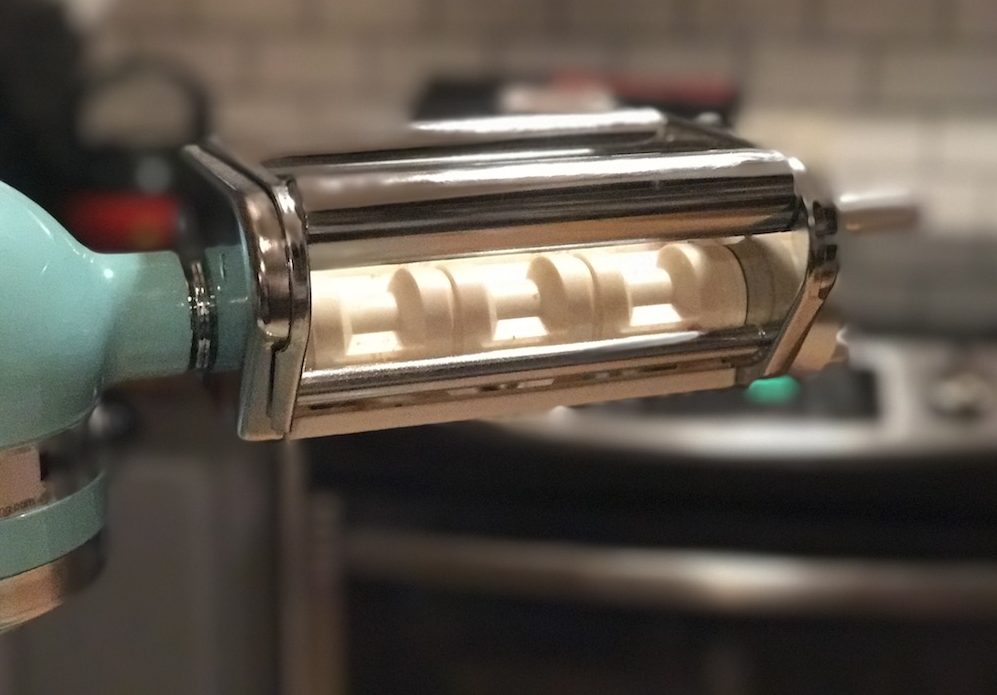
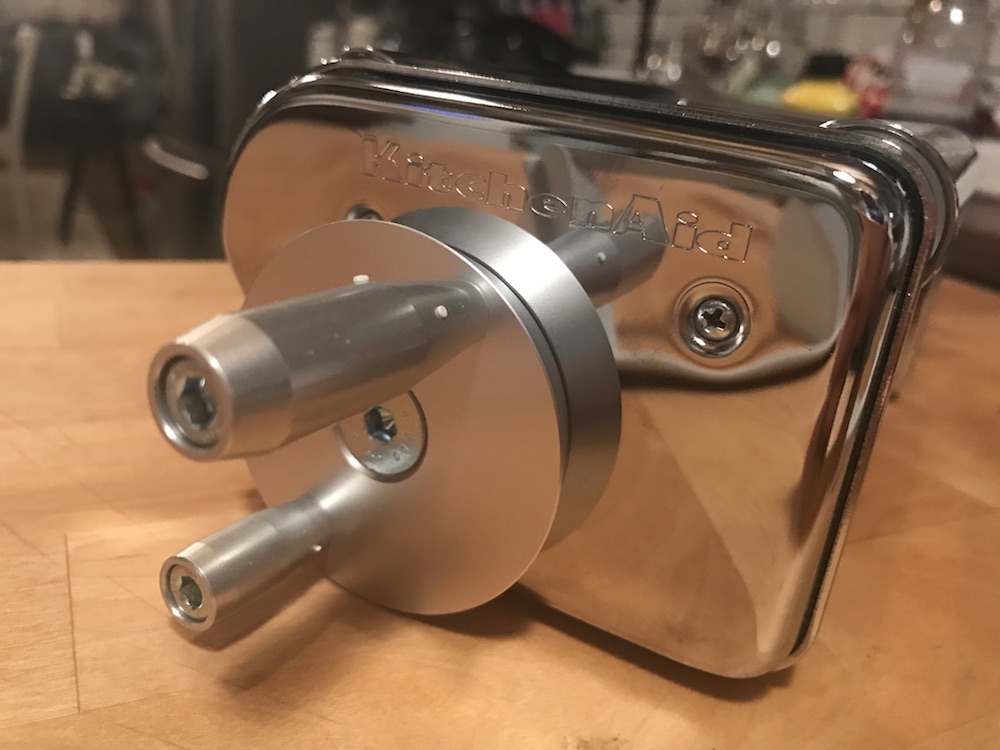
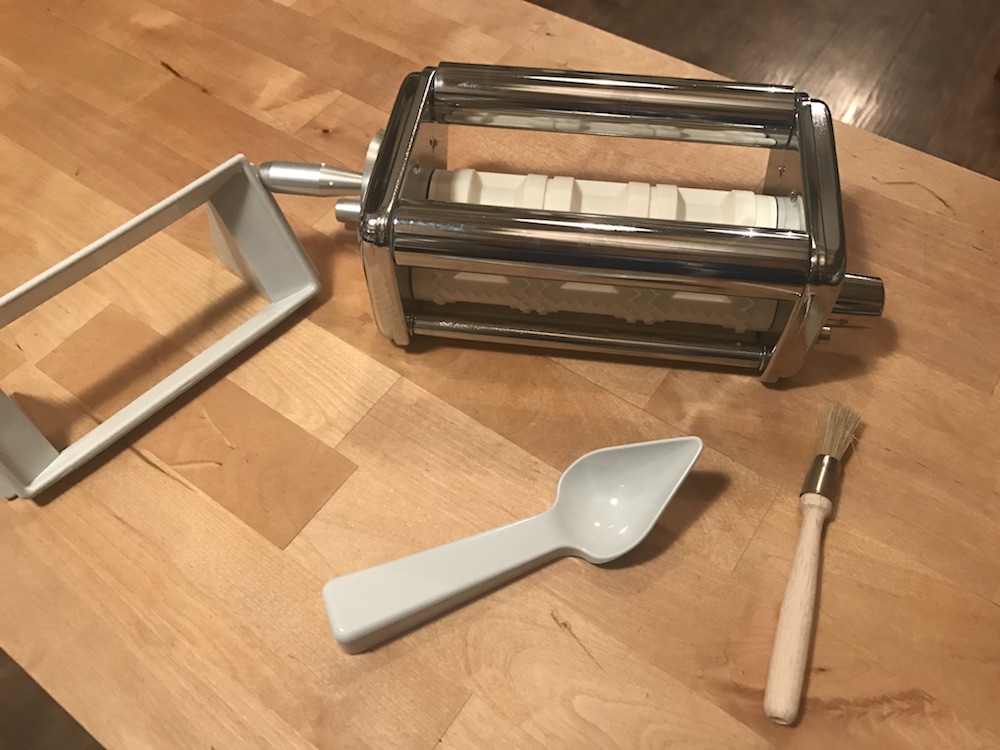
- The KitchenAid Ravioli attachment looks like the KitchenAid Pasta roller, and it attaches to the front of any KitchenAid Stand Mixer.
- It’s actually recommended you use the ravioli attachment with the KitchenAid Pasta roller so that you can get your sheets of dough as thin as they need to be
- Fits 15.2 cm wide pasta sheets and makes 3 rows of large ravioli per sheet
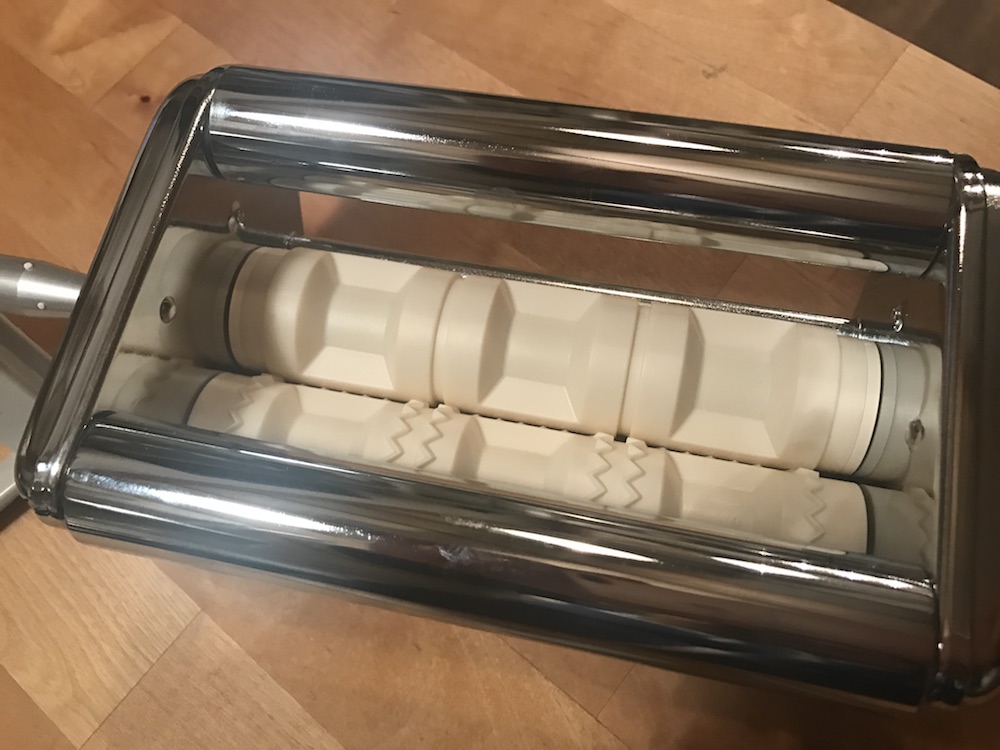
- Rollers seal and pinch your pasta, making it easy to pull apart
- Includes a wide hopper where you can place the filling, a scoop, and a brush for cleaning
- Not dishwasher safe, but cleans up well with brush
 Testing the KitchenAid Ravioli Attachment
There are two things you should know right away about the Ravioli attachment: out of all of the KitchenAid attachments for the stand mixer, the Ravioli attachment is the only one that requires you to manually operate it. It’s also highly recommended that you use the Pasta roller to create your pasta sheets, and that attachment is sold separately.
That being said, it’s a lot of fun and very easy to make ravioli with the KitchenAid Ravioli attachment. All you need is a great pasta recipe like the one I’ve included below and a little trial and error.
The reason they recommend you use the pasta roller attachment to make your ravioli sheets is because it’s very difficult to get your sheets thin enough to feed through the ravioli attachment. It’s not impossible though. I didn’t receive the pasta roller to test out so I used a rolling pin and I was able to stretch the pasta until it was fairly thin.
You need to make sure your pasta sheet is long enough because you have to fold it in half to feed it into the ravioli attachment. Once it’s folded you put the crease inside, turn the handle a half turn, and you’re ready to pop on the hopper.
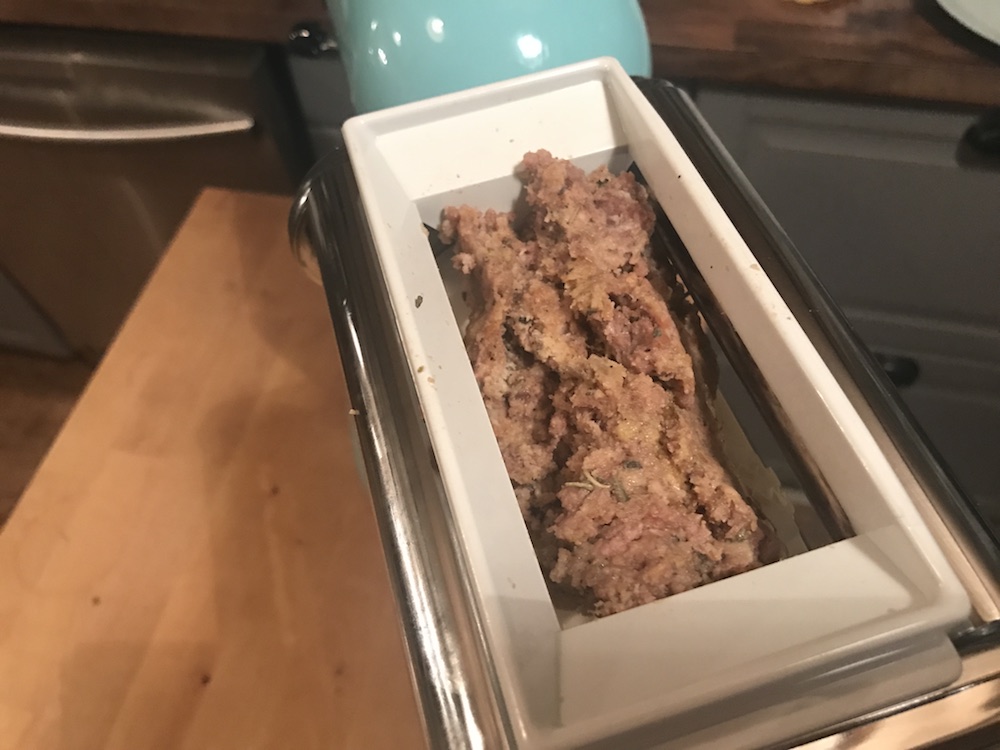
The hopper just clicks into place, and that’s where you put your filling. I choose to make a ground beef filling, and if you do the same I’d recommend you add an extra egg or a tablespoon of water to your ground beef mixture. A cottage cheese filling should be wet enough to easily flow through.
Once you have your filling in the hopper all you need to do is turn the handle to start making ravioli. At first I just turned it without stopping and waited for it to roll out, but the ravioli I made had some empty pockets. After a few tries I found that the trick is to turn it once, pat the filling down firmly, and turn again. You should always make sure the filling is pressed, and that way you’ll be sure it’s filling all the pockets.
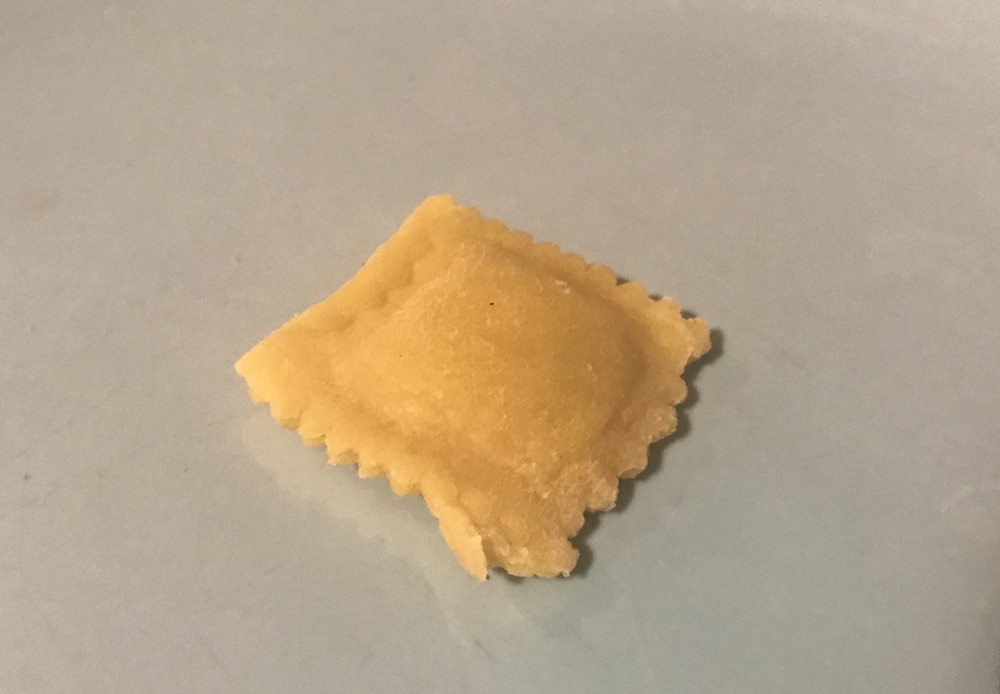
You need to keep turning the handle until the dough has all be processed, and when it’s done you’ll have a nice sheet full of ravioli. I tried to pull a few apart when they had just been pressed, but it’s much easier when you wait until they’ve dried for awhile.
Here’s the pasta recipe from the Food Network that I adapted to make ravioli:
Ingredients
Pasta dough
3 cups unbleached white flour
1⁄2 teaspoon salt
2 eggs
1⁄2 cup water
Ground beef filling
3⁄4 lb ground beef or ground turkey
2 eggs, slightly beaten
2 tablespoons freshly grated Romano cheese (If you prefer a less sharp cheese, freshly grated Parmesan cheese may be substituted for the Romano)
1 tbsp water
MAKING THE FILLING:
Brown beef in butter with the whole clove of garlic.
Remove garlic and let meat mixture cool.
Mix eggs, cheese, and water into cooled meat until well blended. Set aside filling until needed.
MAKING THE RAVIOLI DOUGH: Sift flour and salt together.
Place flour mixture on a board, making a well in the center of the flour.
Drop eggs into the flour well, using your hand or a fork, break the yolks and beat eggs slightly.
Combine the eggs and flour together, gradually adding enough warm water to make a stiff dough.
Knead dough well, until smooth; cover the dough and let it rest for 15 minutes.
Cut dough in half and roll each half of the dough out on a floured board, into a very thin sheet (about 1/16 to 1/8 inch thick). You can also use the KitchenAid Pasta roller.
Prepare the ravioli according the KitchenAid Ravioli attachment directions.
DRYING THE RAVIOLI: Allow ravioli to dry for one hour before cooking.
COOKING THE RAVIOLI: Drop ravioli into 6 to 8 quarts of boiling, salted water and cook for about 10 to 15 minutes, or until dough is tender.
Remove cooked ravioli from pot carefully with a skimmer or a large slotted spoon, and drain well.
Place drained ravioli on a serving platter in layers, alternating layers with your favourite sauce and a sprinkling of grated cheese between each ravioli layer.
Serve hot.
 Cleaning the KitchenAid Ravioli Attachment
Thanks to the included brush, cleaning the KitchenAid Ravioli Attachment is really easy. You just brush the excess dough and filling off the rollers and give it a good wipe down.
This attachment is not dishwasher safe, and you aren’t supposed to submerge it in water either. What I did was use soapy water and rinsed it, making sure to stay away from the main metal parts and only focusing on the rollers.
Overall thoughts
If you have pasta lovers in your family, this is an incredibly handy attachment. Once you have your dough ready it doesn’t take long at all to make ravioli, and this is a great way for anyone who is gluten free or likes to only use organic ingredients to make delicious pasta.
You can find the KitchenAid Ravioli attachment on bestbuy.ca right now. Be sure to check out my review on the KitchenAid Spiralizer and watch next week as I review the KitchenAid Ice Cream Maker.


