
 The Defender 2K IP Camera (similar to this newer version at Best Buy) is designed for people who don’t want to pay for cloud storage, yet still want a good quality, easy to install security camera. This camera stores the captured video on an SD card in the camera itself, then sends that video over the internet to an app on your mobile device. I just spent a few weeks testing this camera. I’ll show you how easy it is to set up (really it is as simple as any camera I’ve installed) and offer some tips to help you get the most from this camera.
Security camera placement considerations
I think most people have a spot in mind where they feel a security camera is needed. Perhaps it’s overlooking an entrance-way or a driveway where vehicles sit overnight. The location may determine what type of camera is right for your needs. For example, I recently reviewed a Defender wired 4-camera system and discussed how it was perfect for people with a weak internet signal coming to their home since the amazing 4K video image captured by the cameras would be saved on the onsite one Terabyte DVR that is part of the system.
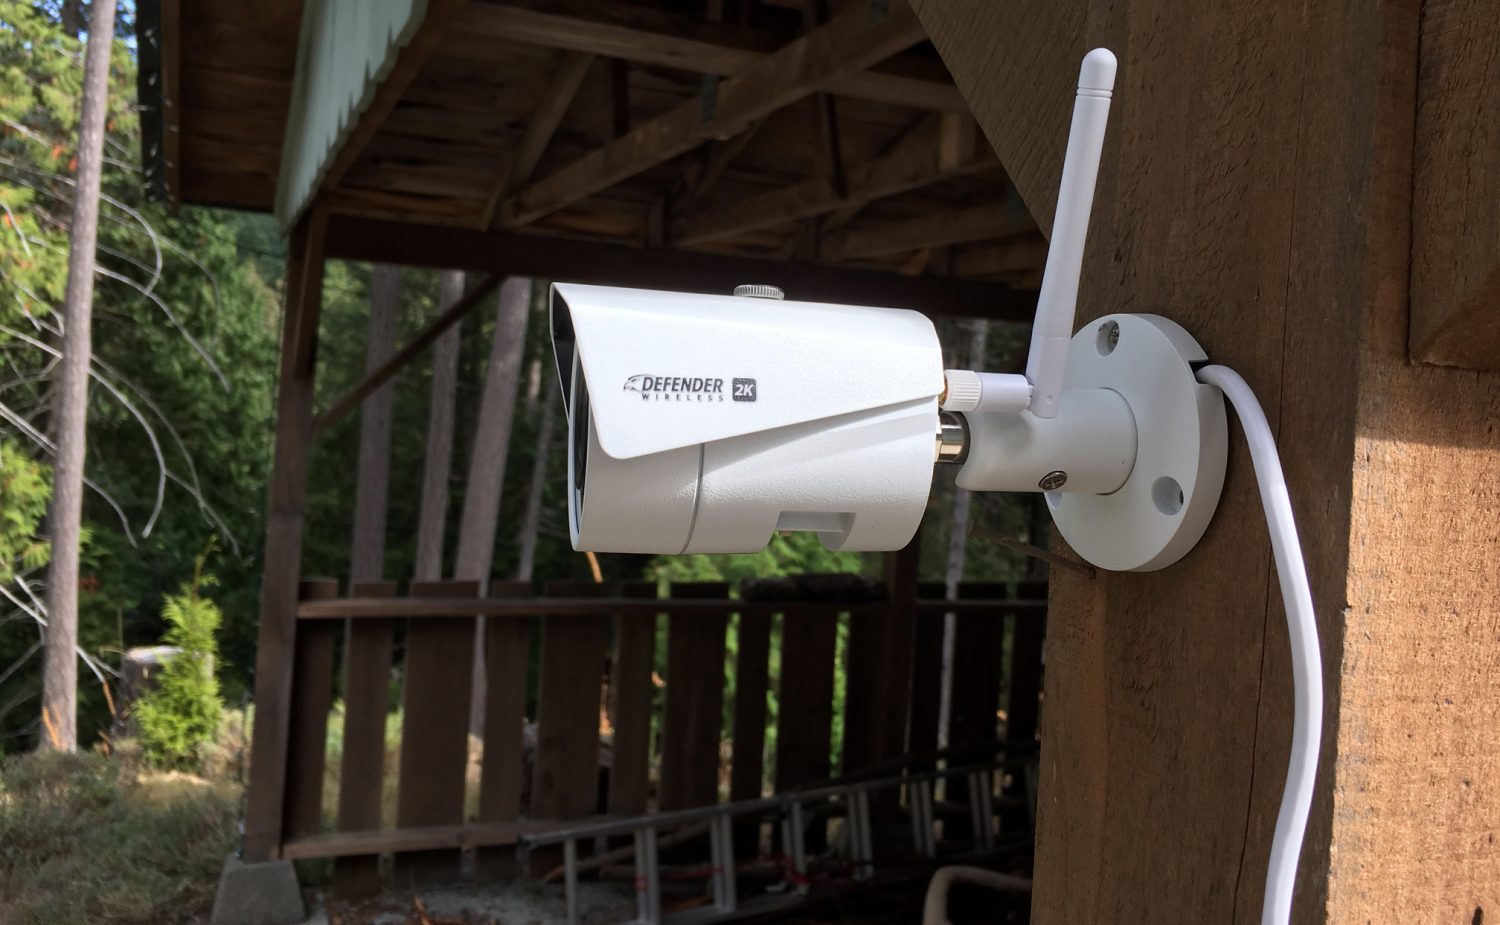
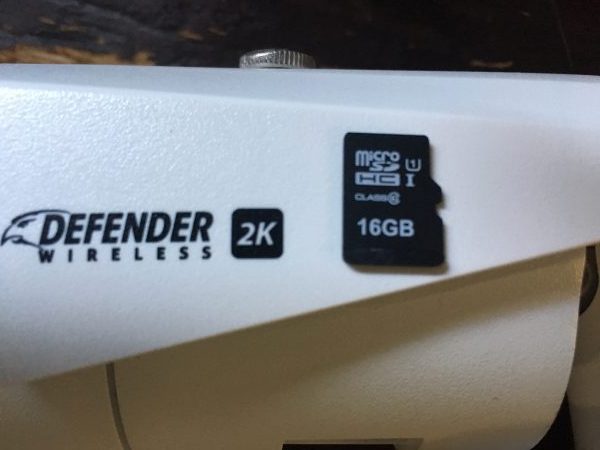 The Defender 2K IP Camera has in-camera video storage, on the included 16GB microSD card (expandable to 128GB), so it too will store the image on-site. So like the wired DVR solution, there are no cloud storage fees; your expenses end once you buy the camera. However, the videos are captured within the camera itself. You will want to place the camera in a location where it won’t be easily stolen. I’d suggest mounting it high or in an area that can’t be easily accessed. You’ll also need an outlet nearby or an extension cord that can reach to the camera for power. Keep those considerations in mind.
If you can’t place it out of reach, then you might want to consider a wired camera option instead that connects to a separate DVR that will store the video footage. Alternatively, you may choose to use a camera system that stores the footage on the cloud. You will likely have to pay monthly fees for cloud storage—something you avoid with the Defender 2K. Also, if you can’t get power at the spot where you need a camera, then you’ll likely have to use one of the many battery operated camera solutions found at Best Buy.
Installing the Defender 2K IP Camera
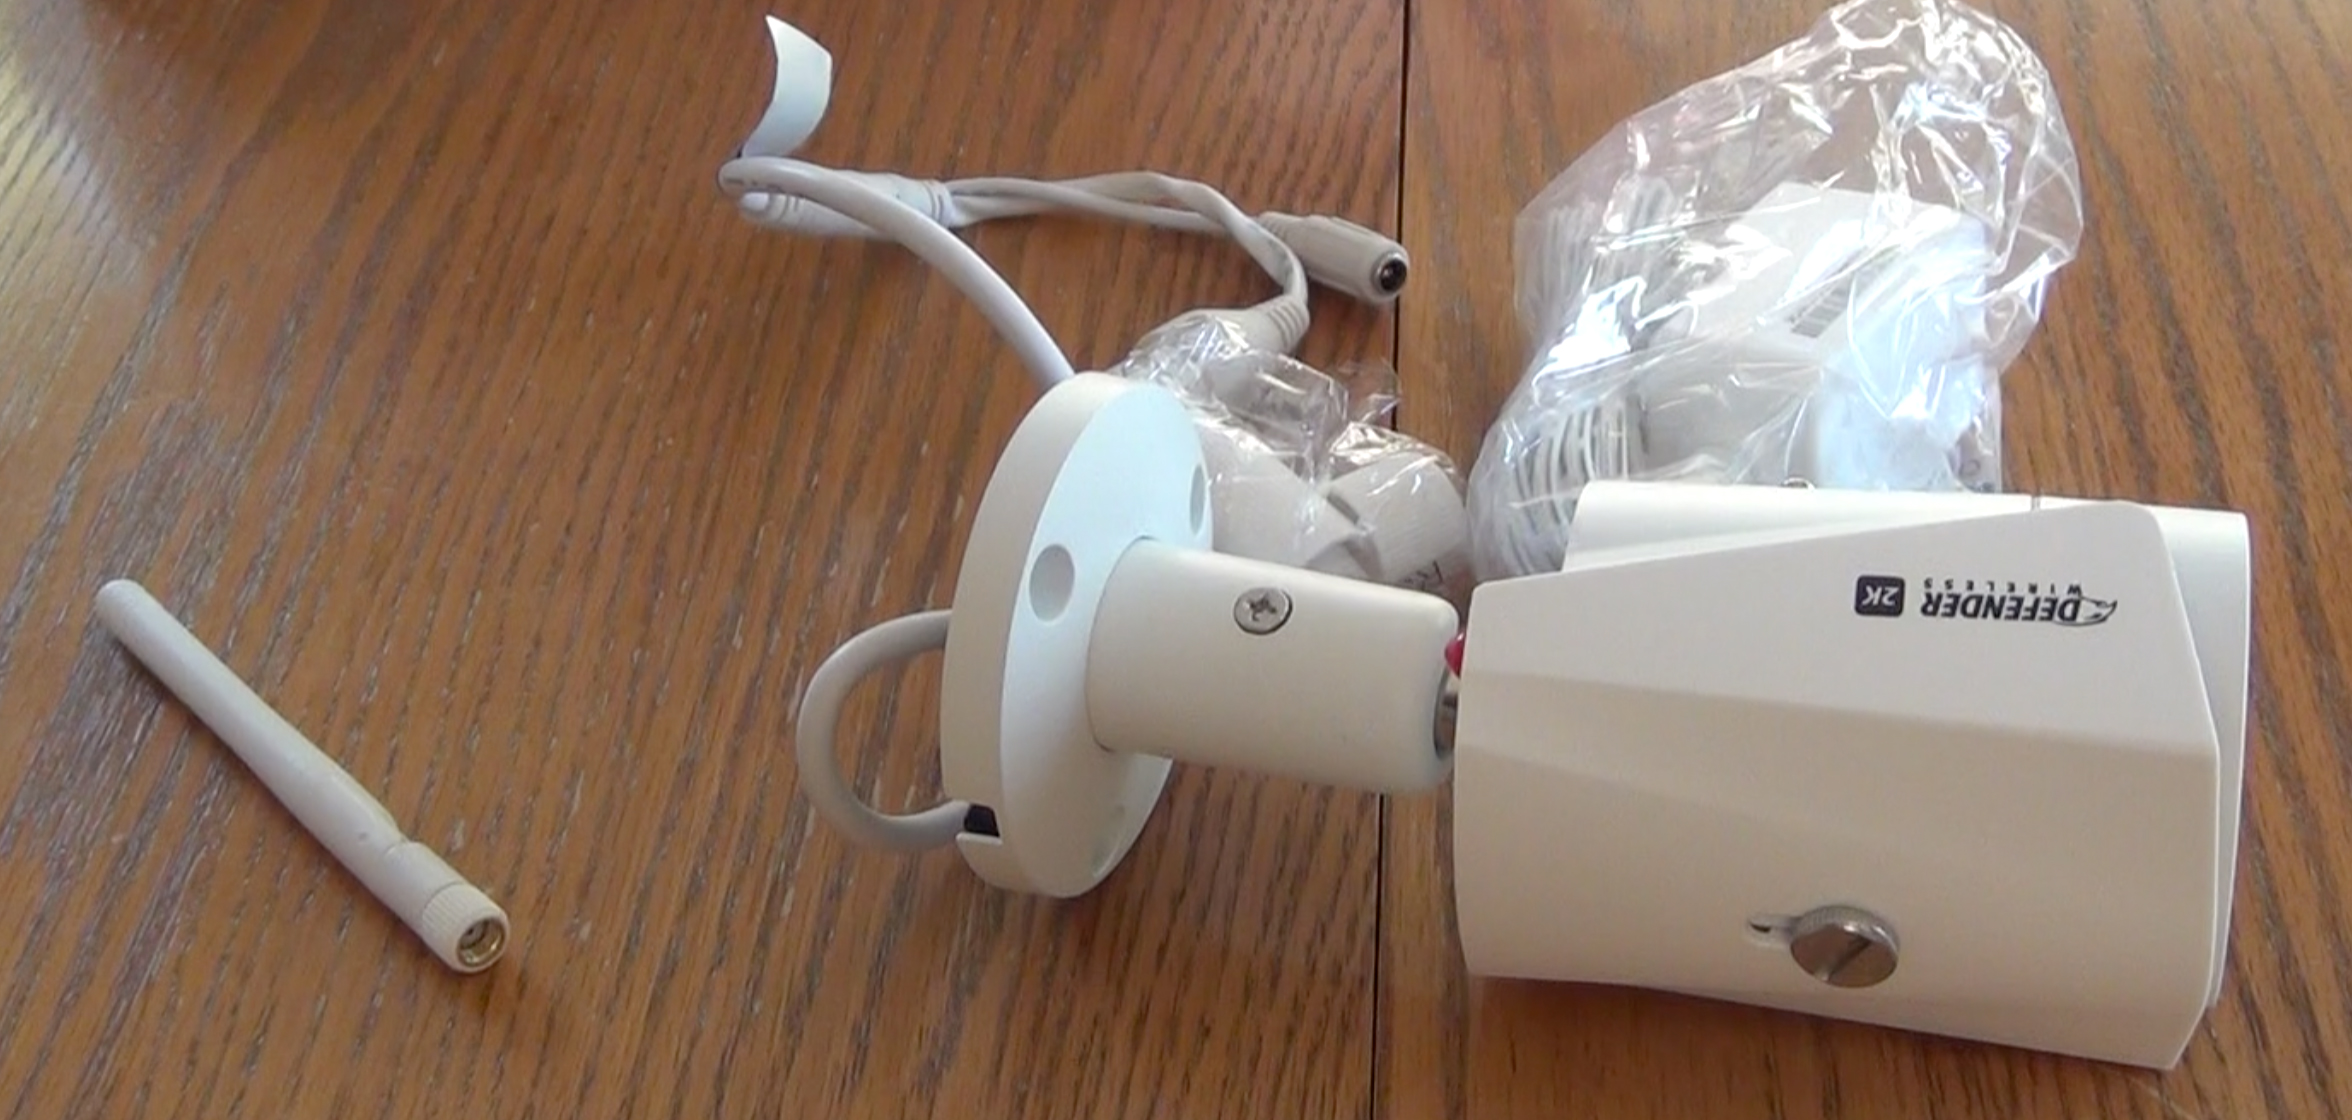 Open the simple brown box packaging and remove the contents. You will find the camera, the power cord, an antenna, mounting screws, and a manual. Remove the red plastic cover at the bottom of the camera and screw in the antenna; it just needs to be snug, not super tight. At this point, the camera is pretty much ready to be installed.
Setting up the SmartSignal app
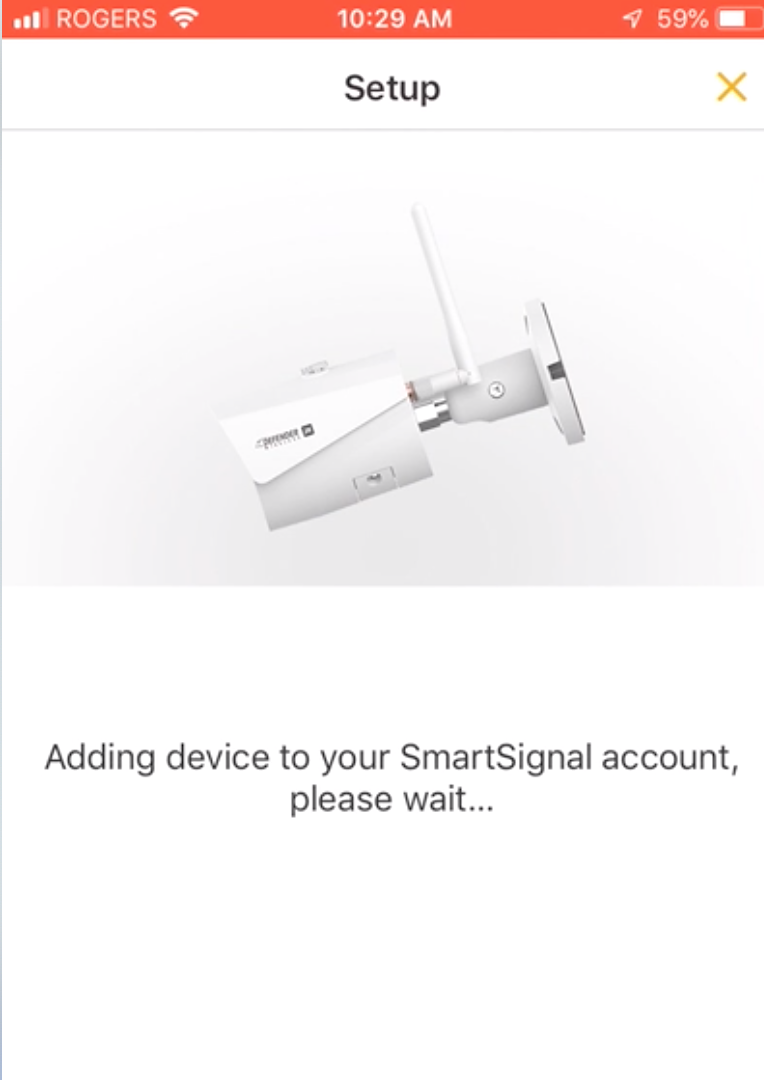
The footage that will be captured by this camera, and stored on the microSD card on the camera, will get to you via the internet. That means you will need to connect the camera to your home Wi-Fi and access the footage using the SmartSignal app. Your first step to accomplish this is to download the app from the appropriate app store for your mobile device. After that you will need to create an account to activate the app, which is intuitive and takes minutes.
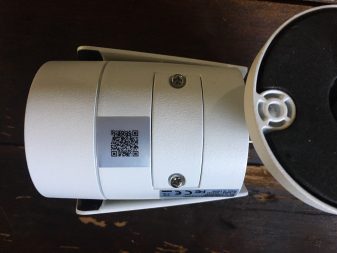 With the app installed, you can scan the QR code on the camera, which will register your new camera in the app. QR codes have been around for quite a while now, so trust that it will work, though you might have to move your mobile device a little to get the scan to work. For me, this took just over a minute. You’ll know it worked when the app shows the serial number of your camera.
Connecting the Defender 2K Wireless Security Camera to Wi-Fi
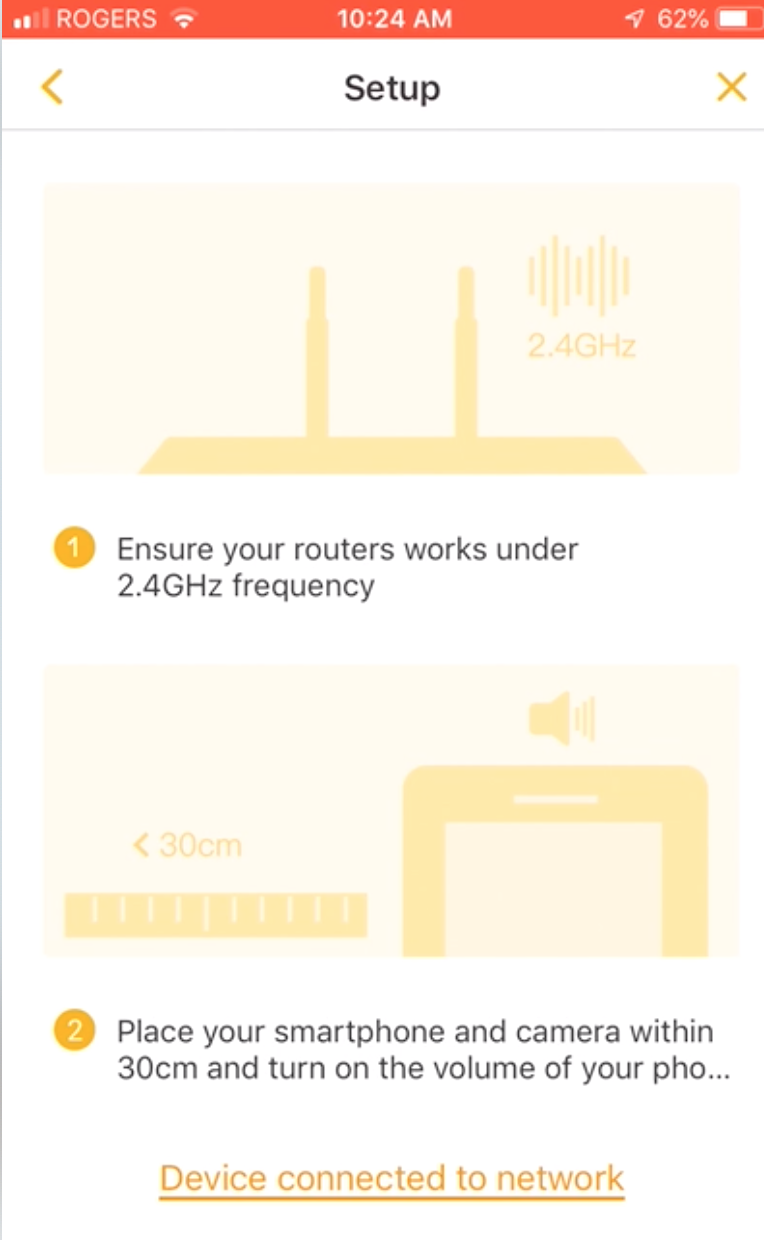 The next step is to connect your camera to Wi-Fi. You may have noticed that I have not told you to mount the camera yet. I suggest that you might find it easier to set up the Wi-Fi while close to your router, where the signal is the strongest. Follow the steps in the app and it should only take a minute or so for the camera to be connected to your Wi-Fi network. Note that like many smart home products, the camera only connects via the 2.4GHz frequency.
Now the camera feed should be visible in the app. One of the first things that I noticed was that the timeline feature in the app did not seem to work at first. I was perplexed. I would walk in front of the camera, wait a few minutes, and get annoyed that there was no notification on my phone. As it turned out, I was merely impatient. There seems to be a delay between setting it up and the app and camera working in sync. After a few minutes it was working exactly as expected.
Mounting the camera
The final step to getting the most from this camera is to install it where you want to capture video footage. Mount it using the 3 screws that come with the camera. Plug it in. The camera will access your Wi-Fi again, and start to capture video. If you have connection problems, it might mean your Wi-Fi is too weak at the location you intend for the camera. That problem can be solved with a Wi-Fi extender, or getting a more powerful router or mesh Wi-Fi system in your home.
The camera will respond to motion by creating an event in the timeline on the app, during the day and during the night. You can set the app so you get a notification when an event occurs. Also adjust the motion regions using the app to minimize false events (like branches moving in the wind). Take into consideration the suggestions I made right at the beginning of this article about selecting the right location for the camera so that it, and the stored video footage, aren’t stolen.
Camera image quality and functionality on the Defender 2K Wireless
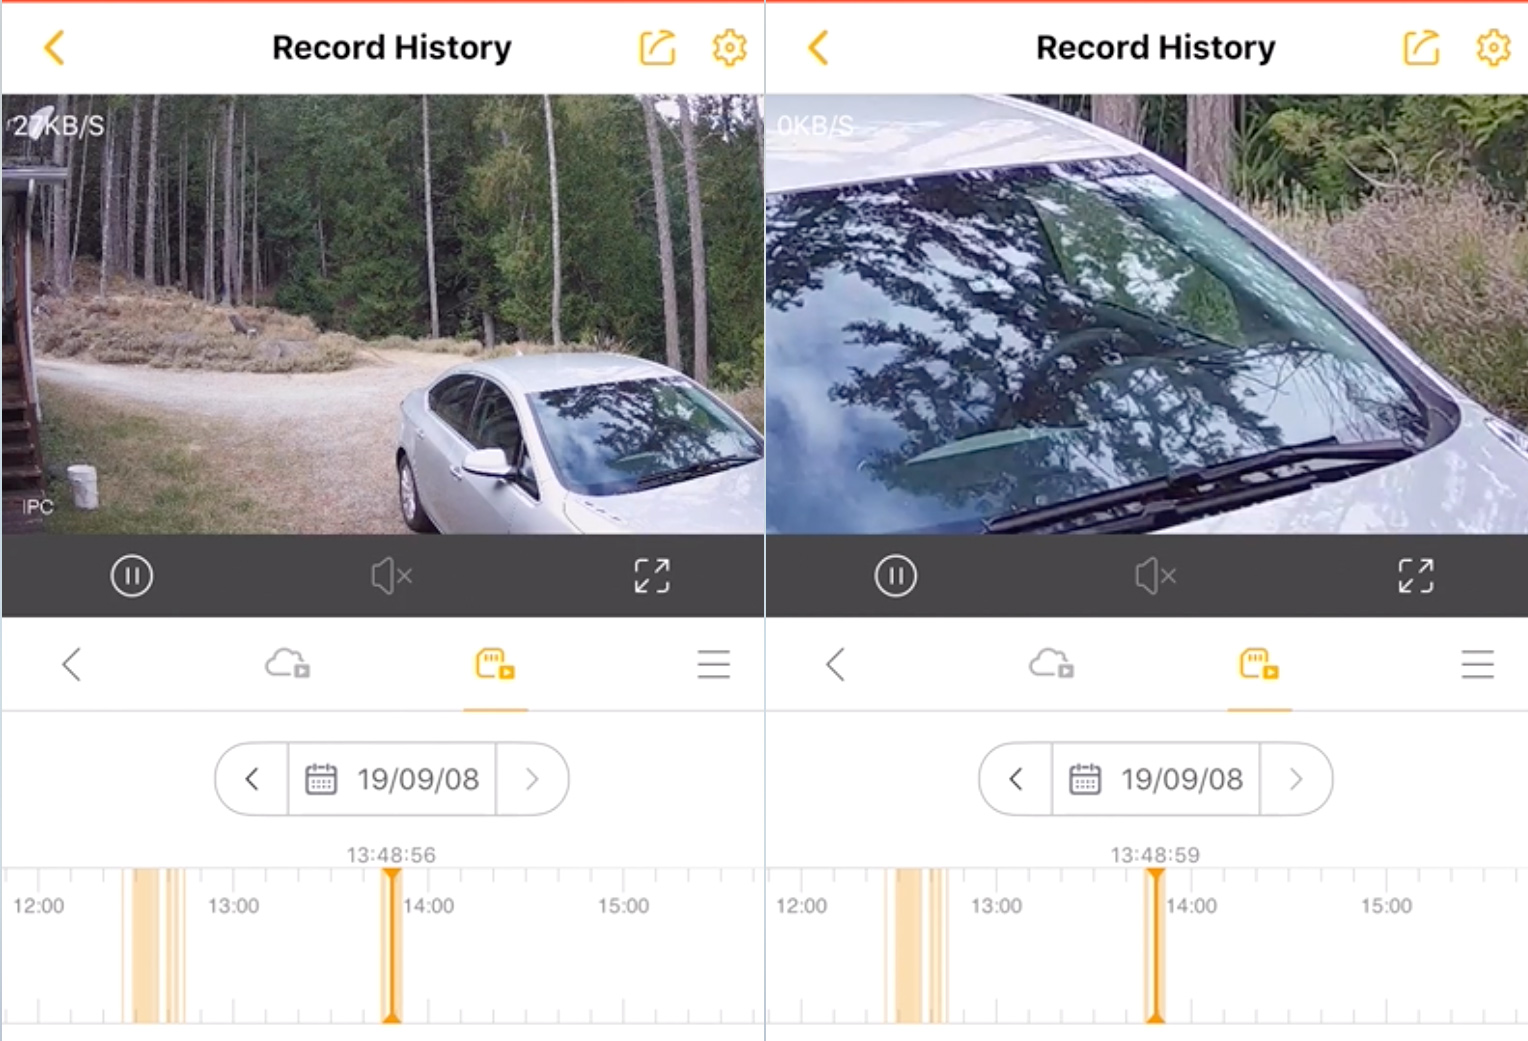
I have installed many types of security cameras, from expensive commercial systems used in high security locations, to a wide variety of home solutions (wired and wireless). The image quality from this camera is right up there with the best. As you can see in the video review, you can zoom in on any section of the video image, and details are very clear. More than just being able to differentiate if that person walking on your property is friend or foe, you’ll be able to see identifiable facial features. You’ll be able to read license plates on cars too. After an incident on your property, you’ll have the ability to save the clear footage on your mobile device to share with the proper authorities if you want.
The Defender 2K Wireless Camera is easy to recommend for home owners. On the pro side, it is reasonably priced, and you will not have any additional fees for video storage, it delivers great video quality, and it is really easy to install and set up. On the con side, it requires a nearby power outlet, so may not work for distant locations on a property, and if stolen, your video footage too will be lost.
Overall, this camera system is a great choice for many scenarios, and you might find it is perfect for your home. I tried to outline the features I thought stood out for me about this product, but let me know in a comment below if you still have questions. The Defender 2K Wireless Camera system is available online at Best Buy (similar to this newer version at Best Buy).


