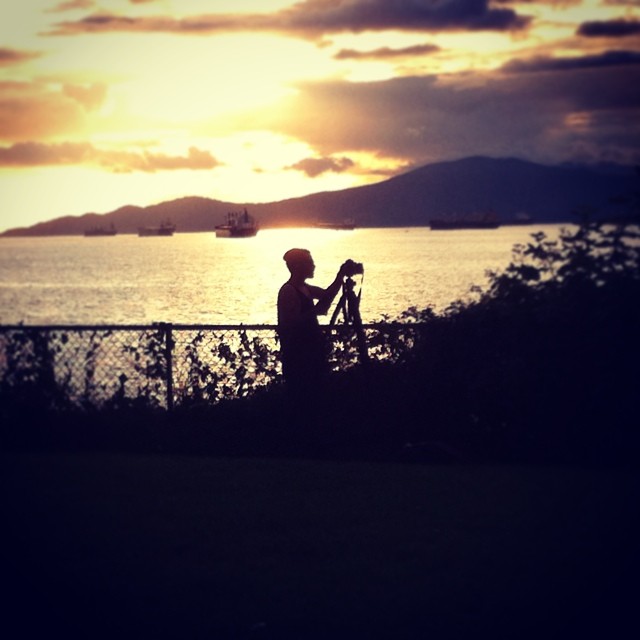
 I’ve often mentioned the so-called “Golden Hour” in previous articles: that hour around dusk and dawn that photographers love, where the light is amazing—provided it’s a cloudless day. Today I’m going to give you some tips to help you make the most of this window of unique light to create some beautiful images you’ll be proud to hang on your wall.
There are two general types of photography that lend themselves to shooting at the Golden Hour; nature and landscapes, and portraits. It’s likely that you’ll shoot nature and landscapes at dawn, when there are less people around, whereas your portrait subjects will probably be more amenable to hanging out at dusk.
Directional Lighting
If the sun is above the horizon, you get this fantastic and dramatic lighting that works beautifully as a cross-light, when it hits your subject from the side. You can also shoot straight towards the sun and use it as a rim-light to outline your subject, or create some nice lens flare. If you’re shooting a silhouette, your camera will probably get the exposure right, but if you want to see some detail in your subject, you’ll probably have use your camera’s exposure compensation function to overexpose the shot by a stop or more.
Catchlights
When the sun is below the horizon, the big blue sky becomes this amazing source of beautiful soft light, which is incredibly flattering for portraits. If you position your subject facing towards the point where the sun went down, you’ll get these wonderful big catchlights in the eyes. Catchlights are reflections from your light source, and they give your subject’s eyes a real sparkle.
Colour Temperature
One of the interesting things about shooting at the Golden Hour is the big change in colour temperature that takes place as the sun goes down. Colour temperature refers to that quality of light where it can appear ‘cool’ or ‘warm’. It’s pretty intuitive concept because cool light tends to have a bluish hue, whereas warm light tends to have an orange/yellow hue. When the sun is low in the sky it tends to produce very warm light, which gives our portraits a kind of nostalgic, sentimental feel. When I’m editing my wedding and portrait images, I tend to increase the colour temperature to recreate that warm hue.
White Balance
After the sun goes down however, the colour temperature starts to drop, as more and more of the light is coming from the blue sky. One of the things you can do in-camera to counteract this is to set your White Balance setting to ‘cloudy’ or ’shade’. If you shoot in RAW mode (which I recommend doing) you have a lot more leeway to change the colour temperature later on with editing software like Adobe Lightroom.
With lots of wonderful long evenings ahead of us, you’ll have loads of opportunities to get out there and experiment with the Golden Hour. A little bit of advance planning in terms of subject and location will go a long way in terms of your final image, but the most important thing is just to get out there and shoot!


Check out the weather network or online sunset calculators to quickly identify golden hour opportunities. Then set your watch or smartphone for an alarm for you to look up at the sky…
Great tips xl!
Comments are closed.