
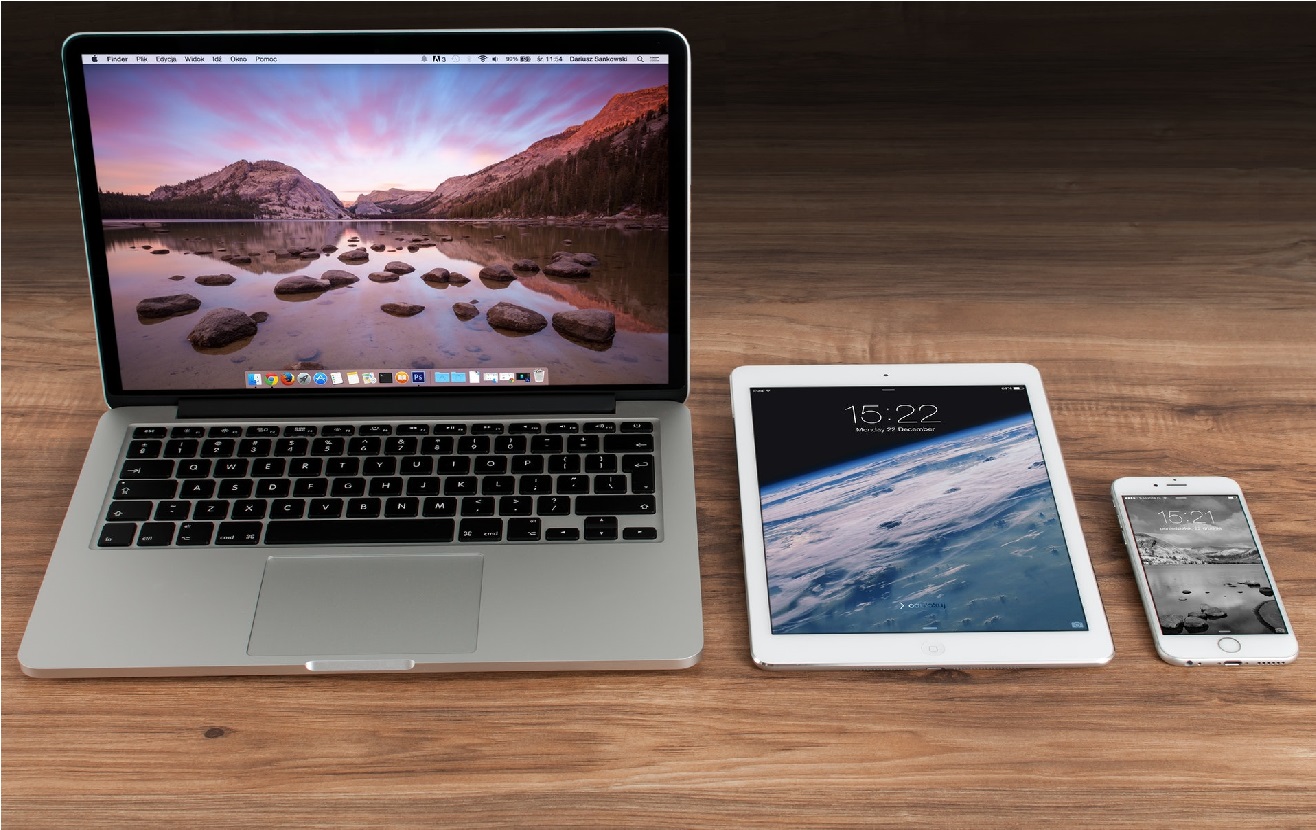
Like most of us, keeping your home germ-free is likely at the top of your mind this year. You’ve probably already thought about your most frequently touched items that could use a scrub: door knobs, table tops, and light switches to name a few. But what about the tech in your home, like your computer or tablet?
As technology becomes more entwined in our lives, we handle our devices more often, making them hot spots for dirt, germs, and other nasty stuff. And as most devices are sensitive and easily damaged by water, it’s not always easy to know how to sanitize them while keeping them in their best condition. But don’t stress! Most tech can be cleaned and sanitized fairly easily with the right supplies, and doing so regularly not only helps keep your home germ-free, but can even prolong the life of your favourite tech.
Get tech-friendly cleaning supplies

Before you start, here are some useful tech-friendly cleaning supplies you’ll want on hand to clean and sanitize most devices:
- Your device’s manual. Every device is a little different, so it’s important to check if there are cleaning instructions specific to your device. If you’ve lost your manual, you can likely find this info on the manufacturer’s website.
- A clean, soft, lint-free cloth that won’t scratch surfaces. Microfibre works great, but many devices come with an appropriate cleaning cloth, so check the box if you’ve hung onto it.
- A tech-friendly disinfectant, usually made with a 70% to 90% concentration of isopropyl alcohol, which kills germs without damaging tech. You might be able to find easy-to-use wipes or sprays like these wipes from InvisibleShield, or you can simply buy your own alcohol solution and apply it to your cloth.
- A can of compressed air to safely remove dust, dirt, or crumbs.
- You may also need a screwdriver if you’re cleaning a computer or keyboard.
How to clean tech safely

We all know that tech can be delicate, so here are a few basic rules to avoid accidentally damaging it and to ensure your own safety:
- Always make sure to completely turn off, unplug, and remove any accessories or peripherals from your tech before cleaning.
- Never use regular household cleaners unless they are specifically designed for tech. That means no glass cleaners or Lysol.
- Never apply liquid directly to tech. If using a liquid like water or alcohol, apply it to your tech-friendly cloth in a small amount first, and then use that to wipe your tech.
- Always let your tech air dry 100% before reassembling, plugging in, turning on, charging, or using your device in any way.
- Always go to a tech professional like Geek Squad if you get in over your head. Tech is complicated, and most of us aren’t experts. That’s okay! If you get overwhelmed, there’s nothing wrong with bringing it to Geek Squad or a computer repair shop for cleaning. They will have all the tools and know-how to do it safely, and it’s a much better option than accidentally damaging your valuable tech.
Let’s get started!
How to clean or sanitize a smartphone or tablet

If you’re like me, you touch your smartphone or tablet a lot (maybe too much…), and speaking moistly into the microphone doesn’t help either. These factors likely make your mobile devices one of the biggest germ vectors in your home, so if you’re trying to stay healthy, learning to clean and sanitize them it is a must.
To get started, remember to review the device’s manual, remove any cases, cables, or accessories, and completely turn the device off before cleaning.
Cleaning a smartphone or tablet
Begin by wiping away dirt from the surfaces of your phone or tablet with your tech-friendly cloth. If it’s especially grimy, you can add a tiny amount of water to the cloth to loosen stuck-on gunk, but be very careful to not get any water into any ports and openings, (and remember to NEVER apply liquid directly to your device).
Wiping your phone or tablet will help to remove a lot of germs, but it won’t kill the bacteria and other nasties still living on its surface. To do that, you need to sanitize it with your alcohol-based disinfectant applied to a fresh cloth (or wipes if you have them). Wipe down your device with the alcohol solution, being extra careful around any openings, like the microphone, speaker, or any ports. Let your phone air dry completely before using, charging, or putting the case back on.
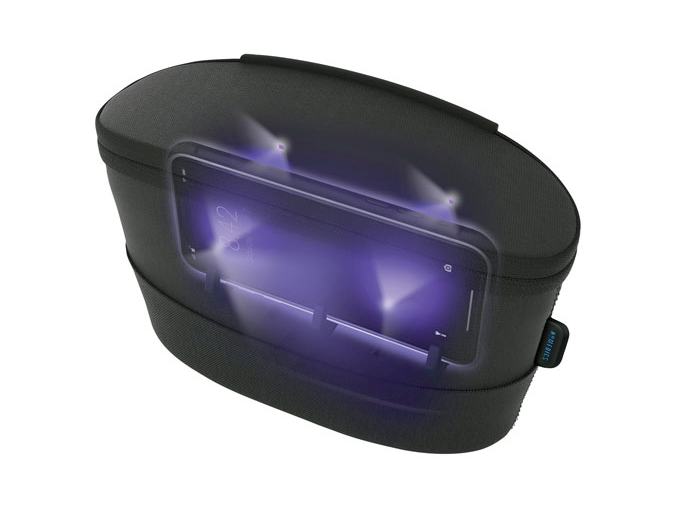
If you’re an avid smartphone user who needs to disinfect more regularly, you might be thinking that this is a lot of work to do on a daily basis. You would be right! If keeping your phone germ-free is a top priority for you, I would recommend investing in a UV sterilizer, like the HoMedics UV-Clean Portable Sanitizer Bag, which takes only a single minute to sterilize items. This device uses UV light to kill germs living on the surfaces of your phone, and is safe to use every day. You can even use it to sterilize other small items you need to touch regularly, like your house keys, smartwatch, or even money. While a UV sterilizer may kill germs to keep you healthy, they aren’t going to remove any grime or smears, so don’t think you can skip cleaning entirely.
Cleaning your smartphone case and accessories
If your phone or tablet needs a cleaning, then your case probably needs one too. Usually, cleaning phone accessories is even easier than cleaning the device itself.

If your case is made of silicone or plastic, you can easily clean it sufficiently with simple warm water and soap. If your case is made of fabric, you can likely clean it with a cloth, warm water, and a little bit of laundry detergent. If your case is made of premium materials like leather or natural wood, it likely came with specific cleaning instructions, so you should find and stick to those if possible. Regardless of material, just make sure to rinse off any cleaner thoroughly, and let it completely dry before putting it back on your phone.
To clean your other accessories like charging cables, simply wipe down with the same alcohol solution, being mindful not to get liquid into any openings or connectors.
How to clean and sanitize a computer
With how often you touch them, it’s no secret that parts of your computer can get a bit nasty, and likely need a good cleaning. Not only that, but the fans inside computers themselves make it a lot easier for dust and other particles to get trapped inside, potentially slowing it down, or otherwise affecting performance. An overheating computer is a common sign that it’s time to clean out some dust.
Cleaning a desktop computer

After shutting down and unplugging your desktop computer and detaching any accessories or peripherals, you’ll need to get inside it to clean out any dust. Start by removing the back of your computer’s case with a screwdriver.
If your computer hasn’t been cleaned in a while, you’re likely to see some dust that’s built up inside over time. Take out your can of compressed air, and aim it in between the inner components to loosen and blow out any dust bunnies in short bursts. NEVER use a vacuum to suck dust directly out of your computer. It may seem tempting, but the static generated by vacuum cleaners can damage your computer, so save any vacuuming for the cleanup afterwards.
If you also want to sanitize your computer, give it a wipe with tech-friendly wipes or your isopropyl alcohol solution. Pay special attention to any frequently touched areas, such as around the ports, disc drive, or power button.
Cleaning a laptop
Properly cleaning a laptop can be a little trickier than the desktop. After all, it’s a keyboard, mouse, monitor, and computer combined, and it’s not the easiest device to dismantle.
To clean the insides, remove the back of your laptop with a screwdriver. Just like with the desktop, use a can of compressed air (never a vacuum) to gently blow out dust or particles from on and around the components.
For your laptop’s keyboard, wipe any dust away from the surface with your microfibre cloth and then use compressed air in short bursts to carefully blow between the keys. To sanitize, use your alcohol solution to wipe down the keyboard, trackpad, and outer body of your laptop. Be especially gentle with the screen, as pressure can easily damage it. Remember: never apply liquid directly to your tech, and let it completely air dry before using or charging it again.
Certain laptop models might not have a back that can be removed with a simple screwdriver, and if your keyboard is especially dirty, it can be hard to remove it to clean underneath. If you’re a tech repair novice and find yourself in these situations, it’s understandable you might not be comfortable continuing with the cleaning yourself. In this case, I recommend bringing it to Geek Squad or a computer repair shop for a professional cleaning. Don’t damage your laptop to save a few bucks!
Cleaning a computer keyboard

With all the love it gets from your hands, the keyboard is likely the dirtiest part of your computer. If it hasn’t been cleaned in a while, your keyboard may have a decent collection of dust, crumbs, and germs lurking between the keys. To get started, turn off the keyboard, and either disconnect the cord or remove its batteries.
You’ll need to remove your board’s keycaps to get the most thorough cleaning. This may seem like a tedious job, but as a kid, this became one of my more enjoyable chores. Putting the keys back on in the right places almost felt like doing a puzzle! Just remember to take a picture of your keyboard beforehand so you know which caps go where, and keep them in a secure container to avoid misplacing them (and incurring your mom’s wrath).
Most keycaps can be removed with a flathead screwdriver, or a specialized cap-removing tool. Once the keys are removed, use pressurized air to clear out dust, crumbs, and dirt built up underneath. Use your alcohol solution to wipe away any remaining grime, and sanitize each key and the body of the keyboard. Leave all the parts to completely air dry before reassembling the keys and using your keyboard.
Not all keyboards have removable keycaps, so if you’re not sure, try to find out from the manual or manufacturer’s website first before trying to remove them. If they’re not removable, the compressed air will still get out a lot of gunk, so just do your best.
Cleaning computer accessories like mice, cables, and routers

Cleaning the rest of your computer’s peripherals, such as your mouse and cables, is much more straightforward. Simply disconnect or turn them off, then wipe them down with your best friend the isopropyl alcohol solution, and let them dry before use. Easy!
This might be a bit trickier for complicated devices like a gaming mouse, like this one from Razer. For these, you might want to use a toothpick or cotton swab to get into those tight nooks and crannies for your mouse’s best clean.
Other computer peripherals like your Wi-Fi router can also overheat from dust buildup. To keep your router running smoothly, you can give its vents some quick blasts of your compressed air to clear out any dust bunnies living there.

How to clean and sanitize smart home devices
Smart home devices can help add convenience and efficiency to your home, but they can quickly accumulate dirt and germs from your hands. And since some of them are meant to live outside, it’s no surprise that keeping them sanitized can get a bit tricky.

Cleaning cleaning a video doorbell
To clean a video doorbell, like this Arlo Wi-Fi Doorbell, begin by wiping away dust and grime with your soft, dry, cloth. You can also use your can of compressed air to blast away dirt from tight spots. If your doorbell is especially grimy, you can dampen your cloth with a bit of water to help loosen the dirt.
To kill any germs, wipe the body of the doorbell with a bit of your tech-friendly disinfectant. Just make sure not to get any on the camera lens, and never allow liquid to get into any openings. If you want to clean the lens, all you need is a little bit of eyeglass or lens cleaner.
Cleaning a smart security camera
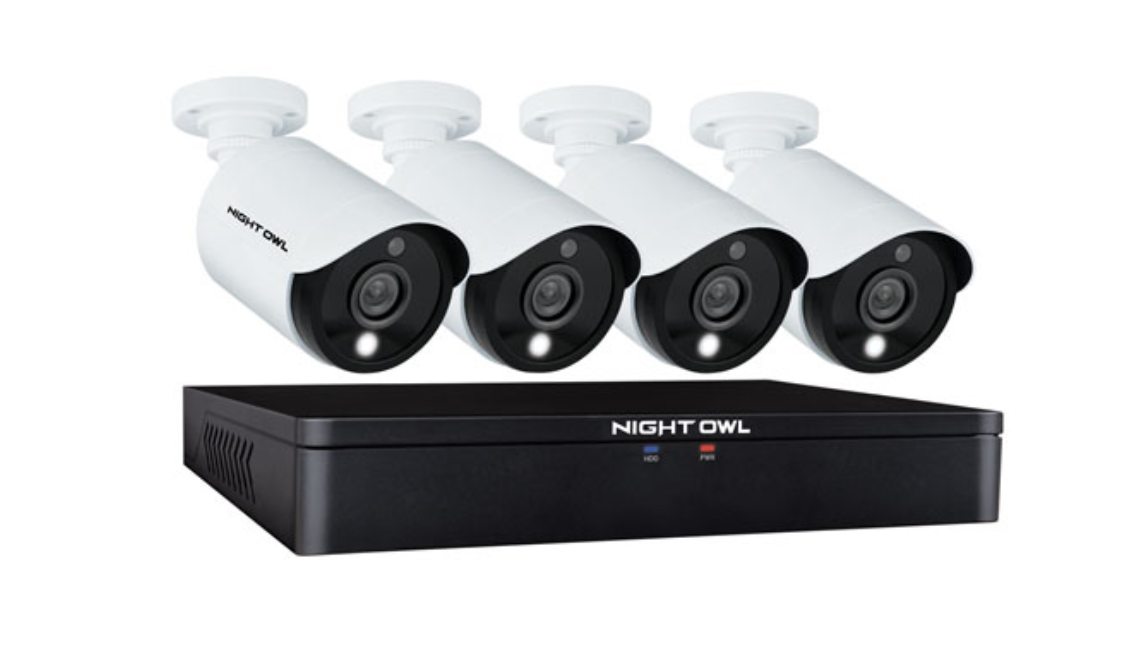
If you have a smart camera as part of your home security system, it’s going to get dirty, especially if it’s outside. And if the lens gets dirty, it could affect its video quality. Luckily, the cleaning process is pretty similar to your video doorbell. Simply wipe the body with your soft cloth to get rid of dust, and maybe hit it with a few blasts of compressed air for a more thorough clean. To clean the more sensitive parts like the lens, simply add a few drops of lens cleaner to your clean eyeglass cloth to get your camera as good as new.
Keeping tech clean starts with you
There you have it! All the info you need to clean, sanitize, and maintain most of the tech in your home. Think about what tech devices you use the most, especially which ones have the most frequent contact with your hands, like your computer or tablet. If you’re trying to stay healthy, these are the devices you’ll want to start with and clean a bit more regularly than the others.
But don’t forget: the best way to keep your tech germ-free is preventing the spread of germs in the first place. Always wash your hands before and after leaving your home, and use hand sanitizer in between hand washes.
Check out BestBuy.ca if you need any tech-friendly cleaning supplies, and if you need to shop in-store, Best Buy has committed to keeping you safe with adjustments to help you shop with confidence. Stay safe and happy cleaning!


