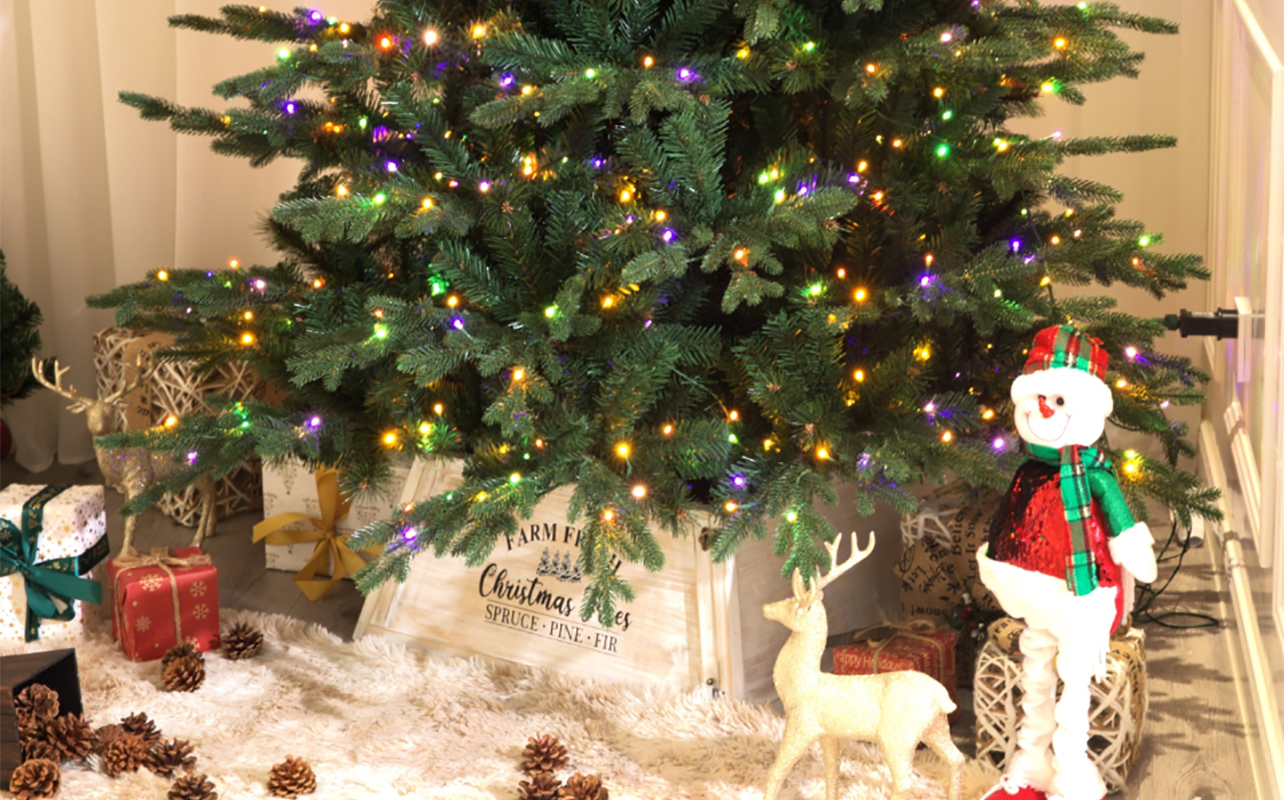
It’s the most wonderful time of the year—the holiday season! This means preparing for the joyous time and, for new homeowners, families, or couples, figuring out how to decorate a Christmas tree together. Decorating the tree with loved ones is one of the most fun activities of the season, and it’s a beautiful way to create lasting memories. When the end result looks beautiful, you’ll feel proud of all your hard work.
I’ve put together some tips and Christmas tree decorating ideas to help inspire you, no matter your style or space!
What you’ll need
- Measuring tape
- Christmas tree and base
- Ribbons, garland, and/or tinsel (optional)
- Christmas string lights
- Christmas ornaments
- Tree topper
- Power outlet (recommended: power bar, extension cord)
- Tree skirt
- Presents!
Step 1: Choose your tree
The first—and most important—step is selecting the perfect tree. Christmas trees come in different sizes, so you’ll need to measure your space to ensure it will fit. Remember those holiday movie scenes where someone ends up with a tree that’s way too big? To avoid that, measure the height from the floor to the ceiling to determine the ideal tree size. Don’t forget to account for the tree’s base and leave enough room for the pièce de résistance, your star or angel topper.
In terms of width, make sure there’s enough space around the tree to place presents. It should be easy to move around the tree to get those hidden presents on Christmas morning!
Step 2: Define your theme
Think about your home decor and the ambiance you want to create with your Christmas tree. Traditional green trees are timeless, but if you’re looking for something different, try a white, flocked, or even a rainbow-coloured tree. A few years ago, we switched to a white Christmas tree and have never looked back. It offers a sense of elegance and makes ornaments pop beautifully.
Choose a theme and colour scheme that complements your room. If you have bright white walls, for example, a darker tree adds lovely contrast, while a white or lighter green tree can brighten up a darker room.
Pro tip: Once your tree is set up, fluff each branch to give it a fuller, lusher look. Carefully separate the smaller branches from the larger ones, working your way from the inside out. This takes a bit of time, so gather the family to help. Taking a few extra minutes on this step will make all the difference!
Step 3: Start with the lights
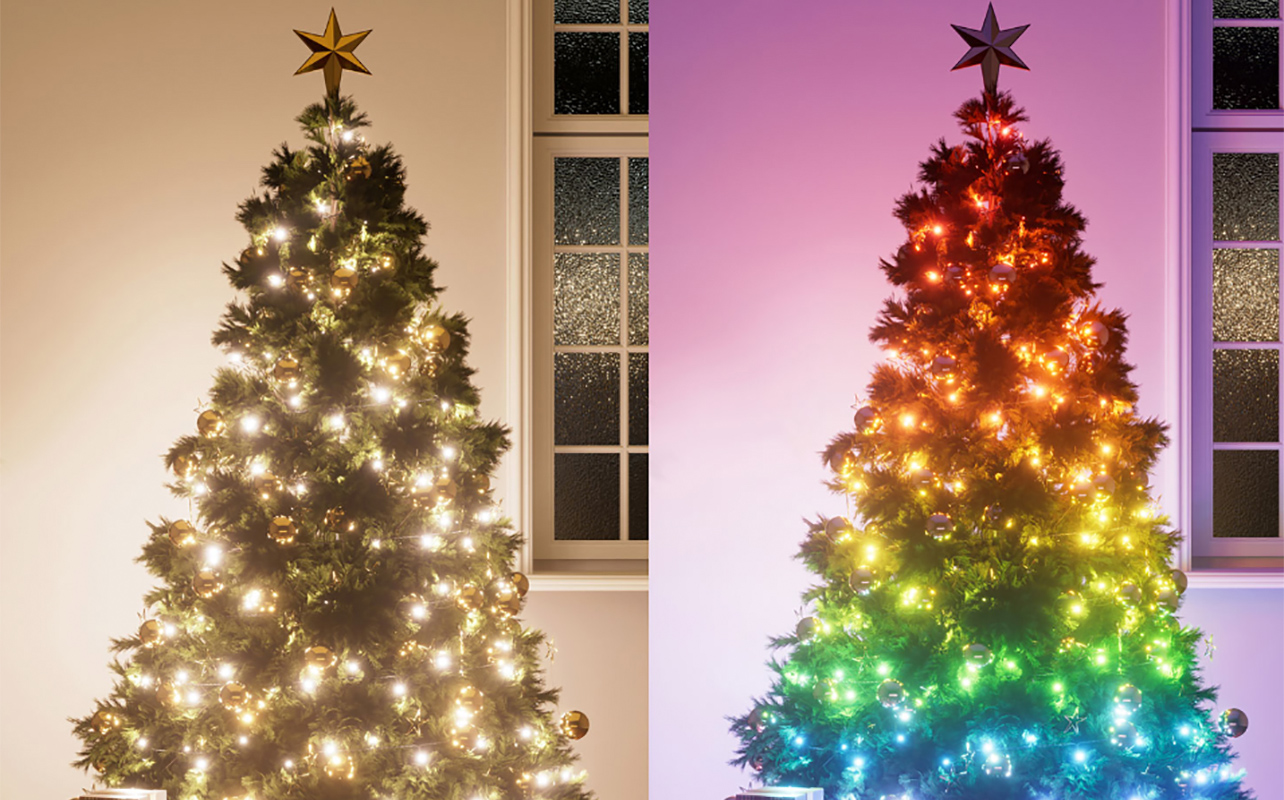
When it comes to Christmas tree lights, you have several options: LED (more energy efficient), incandescent (warm glow and affordable), multicolour or white, battery-operated, or plug-in. Grab enough lights to fully wrap around the tree. It’s always a good idea to get an extra set in case there’s an issue with bulbs. Even with a pre-lit tree, you might find that an extra string or two of lights is worth adding.
For plug-in lights, I like to have a power bar/surge protector on hand. Plug it into the wall, then connect your light strings to it, so you can easily turn everything off with a single switch. It’s also worthwhile to get a timer or connect the lights to a smart plug so you can set a schedule—like having the tree light up at 5 p.m. and turn off at 11 p.m. You can even control it remotely from your phone or use voice commands if it’s a voice-activated plug.
How to string lights on a Christmas tree
The first thing you want to do is plug the light string into a power outlet to confirm they work. If they don’t, it might be a single bulb that needs tightening or replacing. It’s not a bad idea to buy a few replacement bulbs to have on hand so you don’t have to make a rush trip to the store.
Once you confirm they work, start stringing from the bottom of the tree to the top so you don’t have to run the plug from the top to the bottom. Alternatively, you can wrap the lights around each branch for a fuller look.
Step 4: Add tinsel, garlands, or ribbons

Garland can elevate your tree’s look, but just be careful not to overdo it. When used thoughtfully with well-spaced ornaments, it’s a fantastic and affordable way to fill in gaps, especially if you don’t want to buy too many ornaments but still want a full, festive tree.
Gold tinsel pairs beautifully with a green tree, while silver complements a white one. But you could also do a wonderful mix of gold and silver. If you prefer a bold, festive vibe, red garland works well on both. It really pops on a white tree, especially with all red ornaments as well.
To keep your tree balanced, go with a thinner ribbon if you have a smaller tree and opt for a thicker ribbon on taller, wider ones.
Placement tips for tinsel, garlands, and ribbons
Add the ribbon before the ornaments so they don’t get in the way. This also creates a solid base layer for decorations.
The most common way to layer garlands or ribbon is horizontally, moving from branch to branch. Begin just below the top of the tree and work your way down.
Ideally, have two people do this job. One person stands at the front of the tree and the other at the back. Then, simply pass the ribbon back and forth. Make sure to tuck it sufficiently under and between branches so it doesn’t drape down. But don’t tuck it in so far such that you can’t see it. If it’s a light colour, you can position it around the lights so it illuminates.
Another option is to layer garland vertically. This waterfall look puts a modern twist on the decoration. Let it fall naturally down the sides of the tree and tuck the strands slightly inside the branches to create a stunning effect. If you opt for this design, however, either only use garland or only have minimal ornaments so it doesn’t look cluttered.
Step 5: Hang ornaments
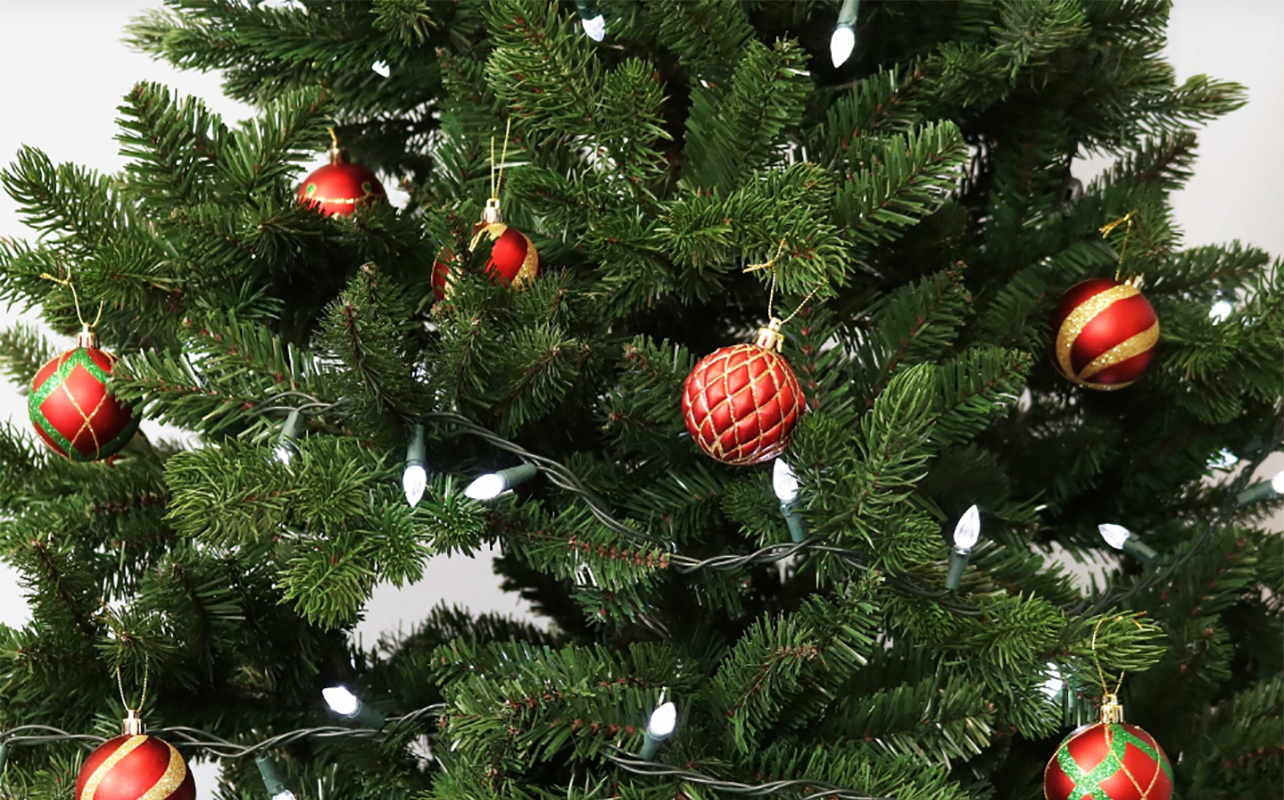
Now comes time for decorations. Get a set of ornaments that match your style—whether you prefer a uniform look with ornaments of the same colour and design or a mix of different styles. Make your best estimation as to how many you’ll need to fill the tree uniformly. For a larger tree, start with 12-15 ornaments on the bottom branches and work your way up, with fewer ornaments as the tree gets smaller.
A mix of spherical-shaped ornaments and ones like icicles makes for a lovely look. The nicest ornaments are glass, but these might not be practical if you have kids or pets in the house. Shatterproof ornaments will be your best bet in this scenario.
Placement tips for ornaments
When decorating your tree, try to place all the ornaments of one size, type, and design at a time so you space them evenly. Start with the largest ornaments at the bottom and work your way up so everything is proportionate to the tree size. For depth, you might want to place larger ornaments closer to the trunk and smaller ones near the branch tips. Don’t forget to also balance the colours to keep the tree looking cohesive.
You probably also have sentimental ornaments you want to add to the mix. Put these on last to make sure they stand out and that the other ornaments are uniformly placed. In our family, we have a tradition of getting a new ornament every year. My mother gets a personalized photo ornament for my son every year with the year on it. He loves putting these on the tree himself. Note that it’s more than OK if the tree doesn’t look perfect with these out-of-place ornaments. What’s most important is the meaning and significance behind them.
Step 6: Add a tree topper
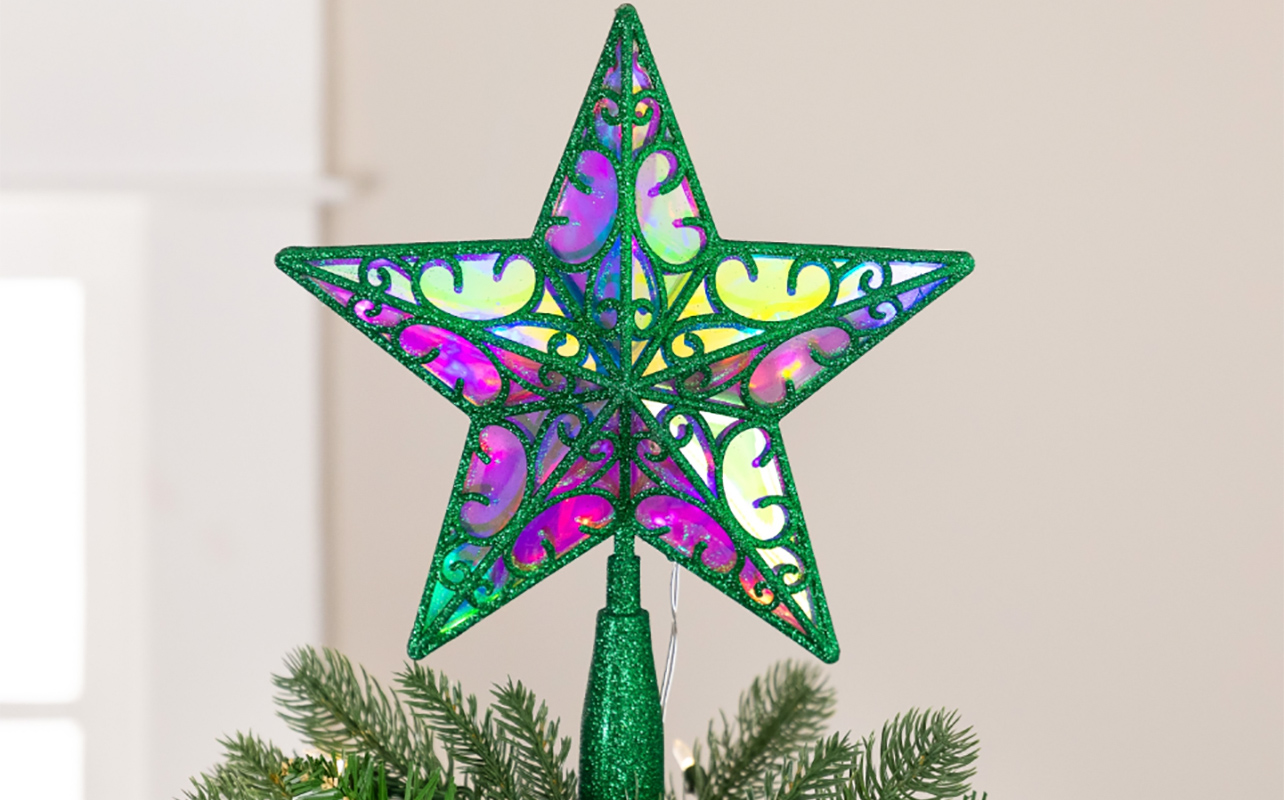
The classic tree topper is usually a star or an angel, but you can always change things up. For example, you could use a bow or flowers instead if you want something hipper and more modern. The tree topper is always the last item that should go on a tree. Make sure it’s secure and proportionate to the tree size. If it lights up, check that it works first. You may need an extension cord to plug it in or connect it to an outlet at the top of a string of lights. Don’t forget to snap a photo of the lucky person who gets to place it!
Step 7: Finishing touches
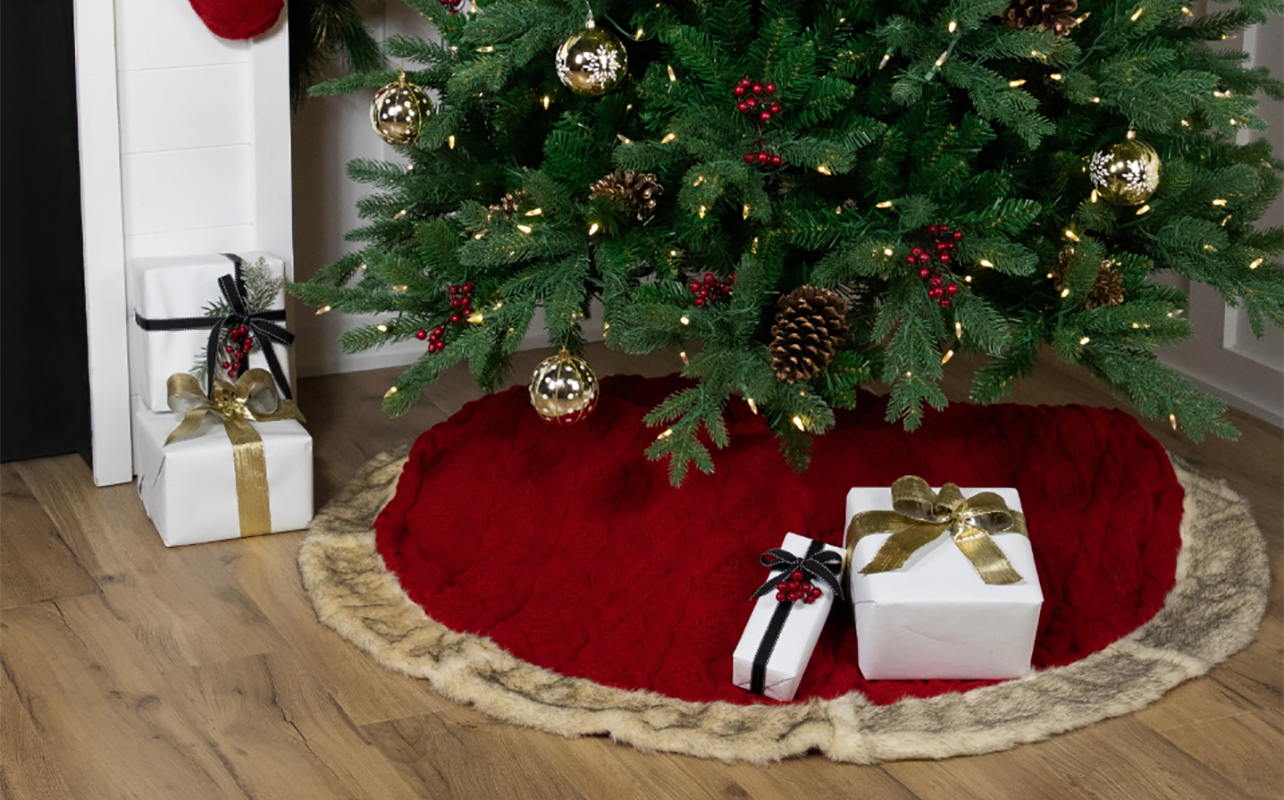
Finally, finish the tree off with a tree skirt, which drapes around the base. This not only hides the functional-looking base but also protects your floor and provides a nice spot to position all the presents. You can choose from basic solid colour Christmas skirts or ones with patterned or floral designs. There are also thicker faux fur skirts that add nice padding, which is a great option if the tree is on hardwood floor rather than carpet. Make sure the skirt fits with the overall theme and colour scheme of the tree.
Step 8: Add the presents!
Which leads to the last step, which is, of course, adding the presents! While you might not have everything wrapped yet, you can start placing gifts under the tree as you go. Some prefer to keep gifts hidden and wait until Christmas Eve to surprise the kids when they wake up on Christmas morning.
Be sure to check out these curated gift lists to help you find the perfect presents for everyone on your list, they’re into cooking, photography, running, and more.
One last thing: don’t forget to get a tree storage bag for easily putting it away once the season is over. Plastic containers are perfect for re-boxing ornaments. Keep the empty packaging in the containers so each ornament can go back in its rightful place, free from damage and breakage for next year.
Have fun decorating your tree
There are so many Christmas tree decorating ideas. Whatever you choose, remember that decorating the tree should be a fun experience. While you can follow these tips to make sure your tree looks its best, all that truly matters is that everyone enjoys the experience. Put on a Christmas themed music playlist to get everyone in a festive mood. Make hot chocolate, have freshly baked Christmas cookies, and enjoy the process as a fun family day in. Top it off with Christmas movie or board game night.
Don’t be afraid to experiment and change things up when it comes to how to decorate a Christmas tree. Get the kids’ input too. Let them be a part of the process and encourage them to choose styles, colours, and decorations that will look fabulous.
Help bring the vision to life with plenty of Christmas trees, lights, ornaments, and other decorations you’ll find at Best Buy.


