


A well-crafted photo display is the best way to turn a house into a home, and with the Aluratek digital photo frame, cozying up your space is easier than ever. As an enthusiastic home decorator, I played around with these frames in three sizes—15 inches, 13.5 inches, and 10.1 inches. Even though my apartment is small, I got a kick out of personalizing photo slideshows and thinking about how each frame could spruce up my space. Read on for my full review of the Aluratek digital photo frames, including the app setup!

Unboxing of Aluratek digital photo frame

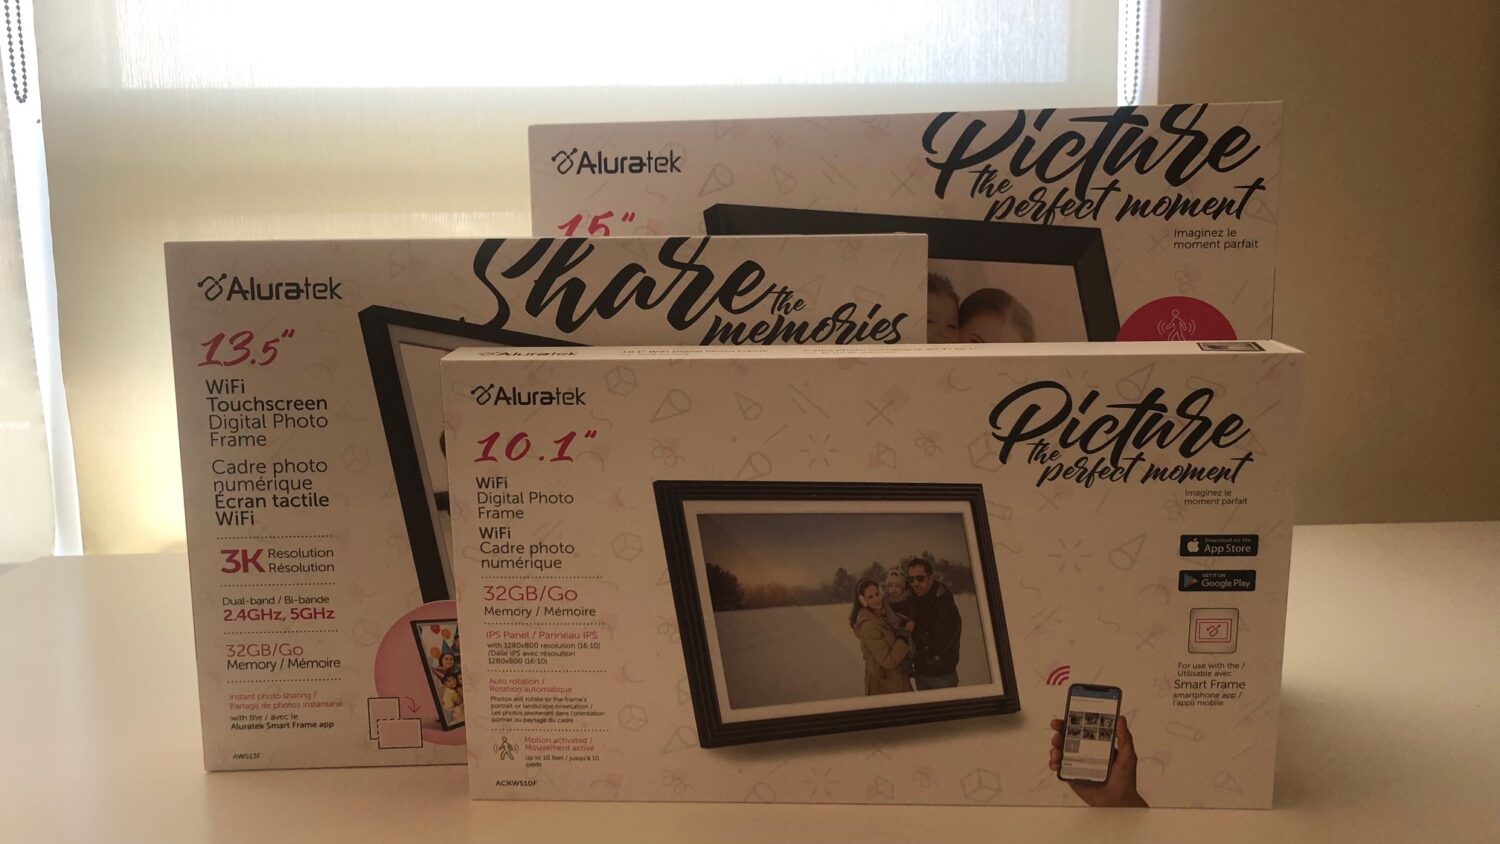
Aside from some small variations, such as different looking kickstands, inside each box, you’ll find a power adapter, a USB cable, a quick-and-easy setup manual as well as a more in-depth one, and a stand to prop up the frame. Of course, there’s also the frame itself, wrapped in a removable screen protector. They’ve got a matte, black border with crisp edges, followed by a white enclosing around the screen. With this conventional layering, these digital frames can be mistaken for traditional ones at first glance. I find this look appealing because I’ve been trying to limit how many screens are in my space, and these digital frames look so much like my traditional frames that I wouldn’t mind having them around!
Set-up of Aluratek digital photo frame

The set-up takes a couple of steps but was overall an intuitive and pain-free process. To begin, plug the frame into a power source. The screen will then prompt for Wi-Fi connection. For all three frames, the prompt was immediate, and I had no issues connecting with my router. At this point, if you haven’t done so already, you’d need to download the “Aluratek Smart Frame” app on your phone. This is the one part that can get a bit tricky. The app store has multiple options starting with “Aluratek,” so make sure you download the right one. Once the app is downloaded, you’ll register for an account with your email, creating a username and password.
Then, return to your frame and press the arrow in the top right corner. This will lead to a new page titled “Device INFO” where you’ll find the unique ID for your specific frame. To connect the frame with your phone, open the “Aluratek Smart Frame” app and click on “Devices”. This will bring you to a page where you can see all the already registered devices. To add a new one, click the plus (+) sign in the top right corner. The app will then prompt you to name the device, create a unique email for the device, and input the unique ID shown on the frame’s screen.
Naming your Aluratek frames
Since my screens are all different sizes, I just named them according to their size. If I had multiple frames of the same size, I would most likely name them according to the room they are in. I used the same naming conventions to create a unique email address for each of my frame. This email can be used to send photos for display and storage to the frames. Once you’ve inputted all the information, click “Connect”. After verifying the connection, your frames are good to go! I found this process very straightforward. The only time I had to reach for the manual was to read up on the function of the unique email. To finish, I input my location which triggered weather updates on the frame’s homepage. The homepage resembles that of a smartphone—with sleek icons indicating different features.

Uploading photos to Aluratek digital photo frame

The easiest way to upload photos to the Aluratek frame is to grant the app access to your camera roll. Then, send photos directly from the app to the frame. To do this, click on the yellow “File” icon on the app. It will then ask for full permission to your camera roll or limited access. Since I have a lot of photos, I prefer to only select a couple of photos at a time, so I chose limited access. Either way, once your photos are in the app, you have full control over which ones to send to which frame. You can also preview the slideshow on the app prior to sending. For efficiency, you’re also able to send the same photos to multiple frames at once. There’s a little ringtone every time the photo transfer has been successful.
Taking photos with the Aluratek app
Through the app, you can also access your phone’s camera. This allows for taking photos directly within the app and sending them to the frames. Something to note about this option is that the regular features of my phone’s camera, such as changing the lens to a portrait shot or doing a pan shot, were not available through the app. I was only able to adjust the flash and zoom in/out. For that reason, I’d be more likely to just use my phone’s camera and send the photos to the app. Both options also work for displaying videos.
Emailing photos to the Aluratek digital frame
A third option is to email the photos to the unique email address that has been set up. You’ll have to bind the email account to the frame using the frame’s unique ID, so it takes an extra step. But I appreciate how this security feature prevents random photos/videos from being received. While I only used this option to get photos from my laptop onto the frame, I can also see it being useful if my friends wanted to send photos for display.
Personalizing photo displays

Clicking on “Settings” from the homepage will allow for transition, timing, and additional adjustments to the photo slideshows. Here, you’ll also find an option to display your pictures in “full screen” mode. I really appreciate this option because my phone photos were displaying with large empty spaces around them. While I could have resized the photos myself, this full screen option saved a lot of time. In terms of timing, you can personalize the transition time between pictures. The personalization happens in pre-set increments though. For the slideshow intervals, the shortest transition time is 5 seconds while the longest is 5 minutes.
You can also choose to display the photo description, activate background music, and select the transitional effect. There are several transitional effects to choose from, including rotation, flipping, and zooming out. There is also an option to randomize the transitional effect. One thing with the interface that I think can be improved upon is creating a scroll bar or another visual indication that one should scroll up and down the setting options. When I was first playing around with the transitions, I missed that there were more than three transitional effects because the interface didn’t give much indication that the user should be scrolling up and down.
Photo quality of Aluratek digital photo frame

The 10.1-inch frame comes with a 1280 x 800 resolution while the 13.5-inch has a higher resolution of 3000 x 2000 pixels. The largest of them, the 15-inch frame, has a resolution of 1024 x 768 pixels. Overall, I found the photo quality to be clear and crisp. I uploaded some photos from my recent trip to Montreal, and the frames were able to display my photos with shades of grey from the melted snow. As for family photos, the frames vividly captured candid facial expressions.
I will note that the screens on these frames do not exhibit glaring light, the way a smartphone or tablet would. This was a plus for me because I could use these frames next to my bed without feeling like they were disturbing my sleep. Despite the toned-down brightness, I liked that these frames still did a good job of isolating and displaying colours. In terms of the display, you can shift the frames from horizontal to vertical and vice versa, and the slideshow will automatically adapt.
Additional functions
As for additional functions, these frames come with an alarm that can be repeated on days of your choosing. You can also select from a diverse list of ringtones from the classic beeps and buzzer sounds to more soothing wake-up tunes. There’s also an option to name your alarm, making it great for keeping track of different wake-up times.
In addition, these Aluratek frames also come with a clock feature. They’ve given quite a diverse range of clock designs to choose from, including ones with roman numerals. I chuckled at the creativity here, but I don’t think I would make much use of this feature. It could be useful for someone wanting to turn their frame into a productivity tool, measuring how much time they are spending on a task.
Final thoughts

I quite like these frames, despite my initial concern that they would make my room feel even more packed with screens. Their major plus, for me, is how the design—from the frame borders to the screen itself—resembles a traditional frame. When I placed them around my apartment, they brought along the same cozy and intimate feeling of conventional frames.
I also appreciate how easy they were to operate. The touchscreen had just the right amount of sensitivity, the app was easy to use, and the alarm function was a nice touch. While the 15-inch frame was a bit too large for my apartment, I can definitely see myself using the 10.1-inch frame on my desk or kitchen counter.
If you want to explore the Aluratek digital photo frames for yourself, check them out at Best Buy.


