 There are a few recipes I used to think were better left to restaurants than trying to make at home myself, and pasta is one of them. Store bought pasta is inexpensive, easy to use, and plentiful in any grocery store. The problem? It’s not fresh, and if you’ve got a restricted diet, the standard spaghetti, penne, and lasagna noodles are not an option for you at all.
If you’ve ever gone into a restaurant and experienced fresh pasta, you’ll know what I’m talking about when I say that the store bought stuff can’t even compare. Despite cooking, store bought pasta can still seem dry and lacking flavour, while there are no limitations to how you can flavour fresh pasta or what you can create it with.
So while I knew that fresh pasta was better than box, I never thought it was something that I could easily make at home until I tried the Philips Avance Pasta Maker. This machine isn’t new to the market, but as I’ve learned over the past week, this is one gem of an appliance you’re going to want to take a good look at.
 Appearance and features of the Philips Pasta Maker
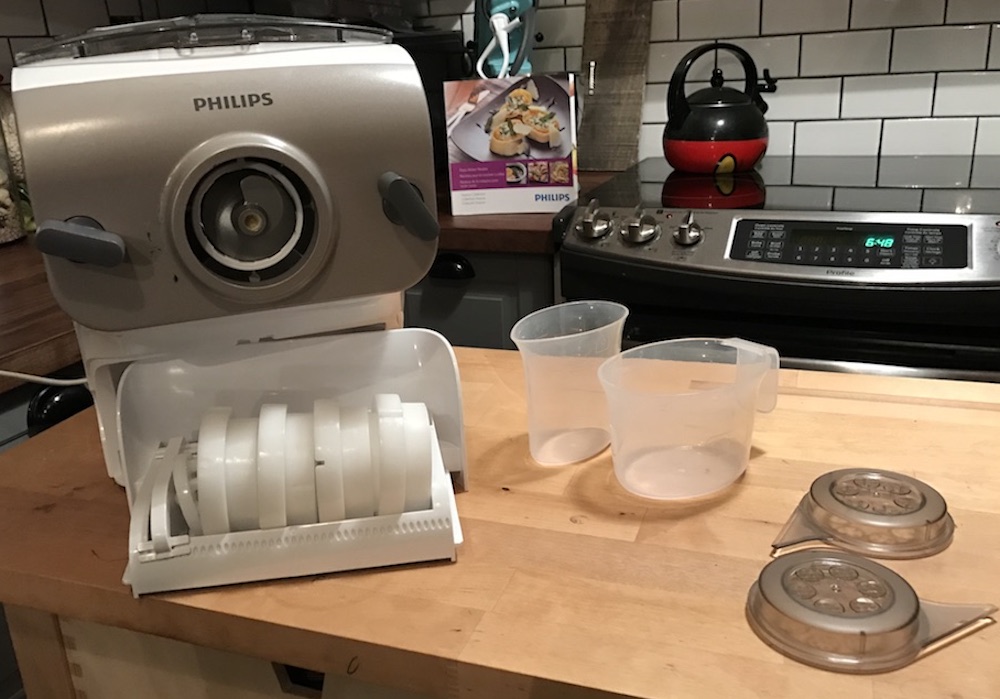
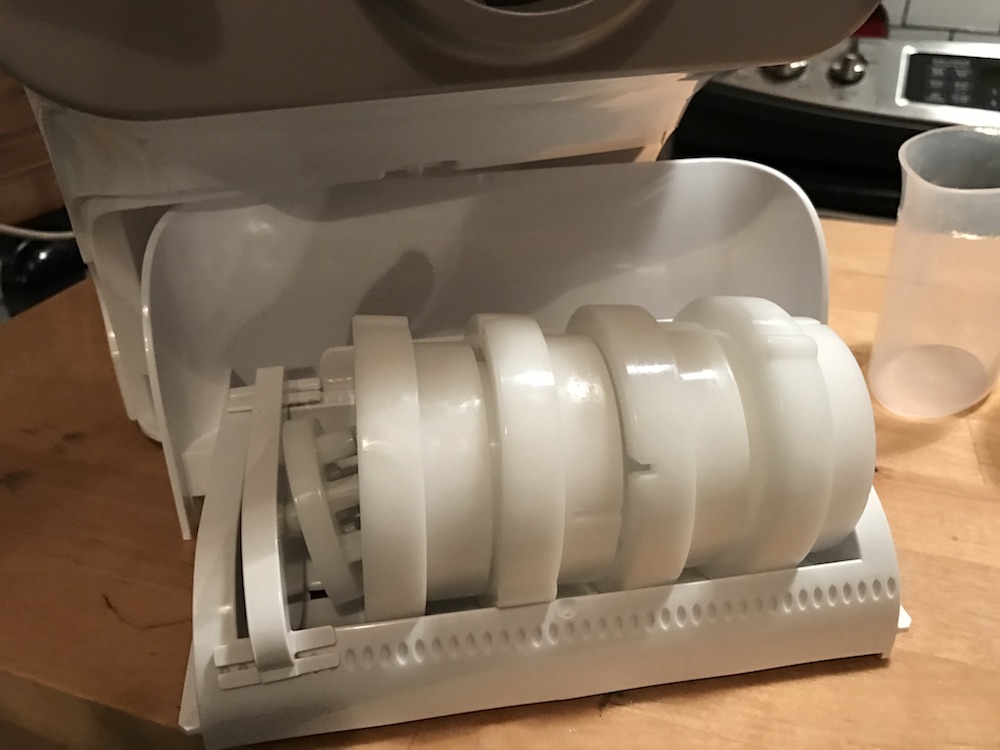
The Philips Pasta Maker is a solid machine comprised of many parts. It’s not so heavy that it would prevent you from easily lifting it in and out of the cupboard, and everything you need to use it stores neatly inside a front compartment of the machine.
Included in the box with the Philips Pasta Maker are several discs used to create pasta. There’s one for spaghetti, penne, fettechini, and lasagna. There’s also several tools designed to help you clean the discs and two measuring cups. You have to use the included measuring cups to make the water/egg combo and to measure out the flour. It’s a very specific formula to get the best pasta.
The Philips Pasta Maker has two settings: one for a small batch of pasta and one for a large batch. One of the settings uses one egg, half cup of water, and one cup of flour while the other uses two eggs, two cups of flour, and added water. All in all, the most it will take you to make pasta is 15 minutes, and if you use the double batch mode, it will start pumping out pasta in as little as 3 minutes.
Testing the Philips Pasta Maker
I’ve been experimenting with making different dishes from scratch lately, so I was excited to try the Philips Pasta Maker. I’ve had handmade pasta in a few different restaurants and it’s always one hundred times better than anything I’ve made at home.
 Keep in mind that you can use any kind of flour, so if you have dietary restrictions or you’re gluten free, it’s easy to treat yourself to pasta anytime. Once you feel comfortable making pasta you can also take a look at the recipe booklet and experiment by adding beet or spinach juices to color and flavour your pasta.
My first test of the Philips Pasta Maker was making lasagna noodles. I watched a few videos online and it looked simple enough, so I put the Philips Pasta Maker together and grabbed the lasagna disc.
It’s actually very easy assembling the Philips Pasta Maker. There are several pieces to put together but it’s not difficult to do so. They fit together like a puzzle and come apart for clean up after. The discs fit on the front of the machine and all you have to do is tighten the base plate after inserting the disc and it’s ready to make pasta.
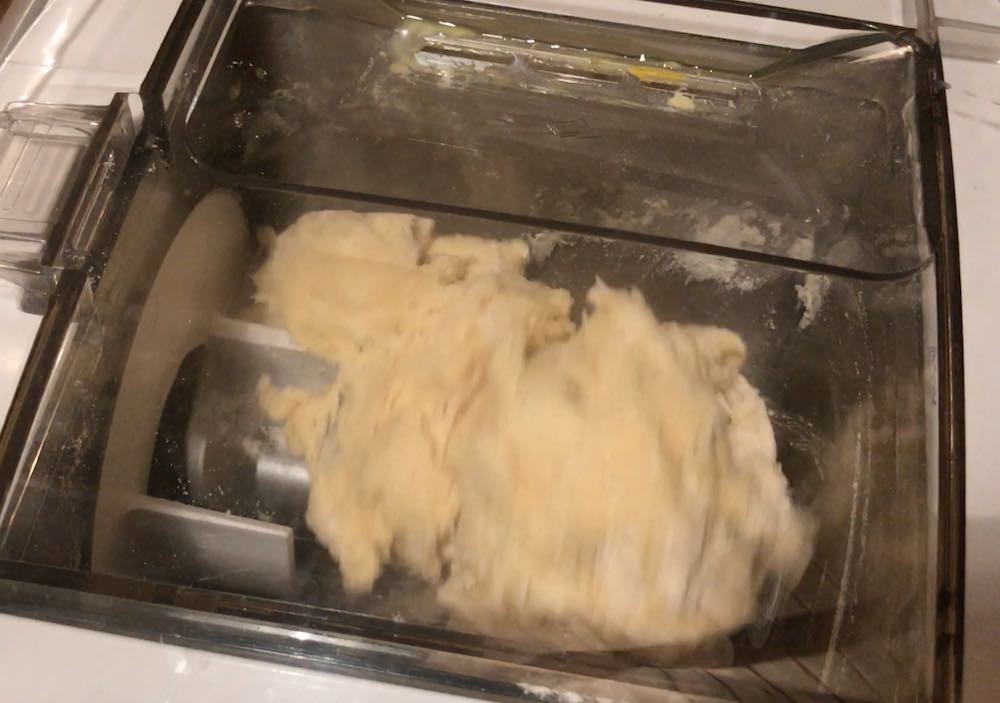
Once I had my lasagna disc in place I added my flour and turned on the machine. The timer sets itself at 15 minutes and the flour begins turning inside. This is when you add your egg/water combo. My recommendation when adding your eggs is that you lightly beat the eggs first so they easily slide through the vent in the top of the machine. You can see what I mean when you watch my review video, but you’ll find that if you don’t try to drop whole eggs inside the machine that your pasta will mix better.
 Once you’ve added the egg and water all you have to do is wait. It takes about 3 minutes for the extrusion process to begin, and this is where you’ll be glad you measured the ingredients exactly. If you add too much flour the pasta dough will be too dry and if you added too much water/egg you’ll see that the pasta dough will be too sticky.
I watched the pasta begin to push its way out to form a lasagna noodle and I noticed it seemed to be a bit on the grainy side. I wasn’t sure why that was as I had measured specifically, so I stopped the machine, pulled a bit of dough off the sides where it was sticking, and started the entire cycle again.
 When the extrusion process began again, I watched a lasagna noodle emerge. To slice them for the perfect length you can use the included tool and they should be approximately 2 inches x 10 inches. I stretched it out a bit and laid it flat, and I estimate it would have taken about 10 minutes total to get a big enough batch for a full lasagna.
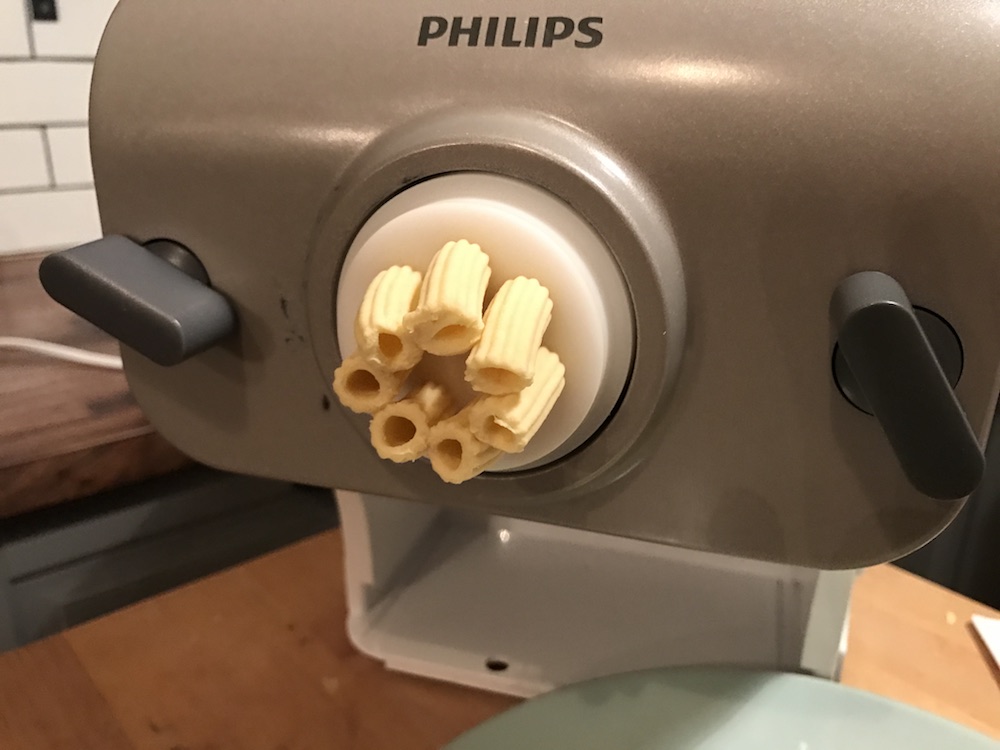
I wanted to try the penne attachment too, so instead of continuing with lasagna I grabbed my dough, put it back in the machine, and started the extrusion process over again. That’s the trick I learned while using the Philips Pasta Maker. Putting the dough back in for re-working is actually a good thing, and because I did that the second batch of pasta came out even better than the first.
I let my penne tubes fall like spaghetti, and I could have sliced them up after or used them in a dish as is. I did slice a few with the included tool as they were being extruded and I think that’s a much easier process than cutting them after.
Clean up of the Philips Pasta Maker
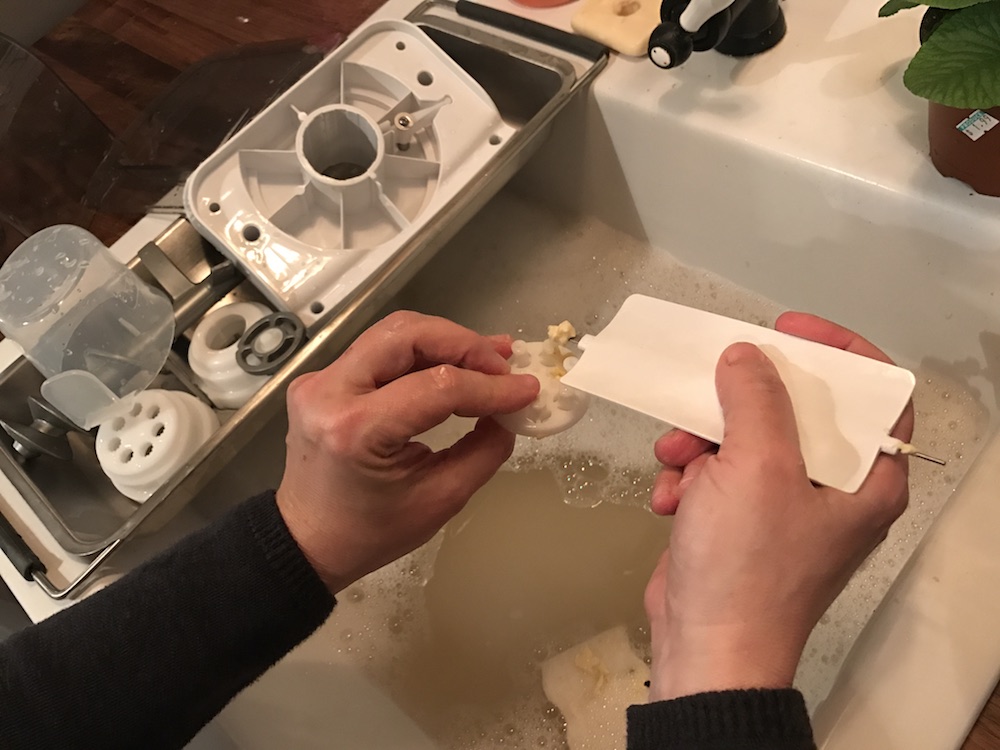
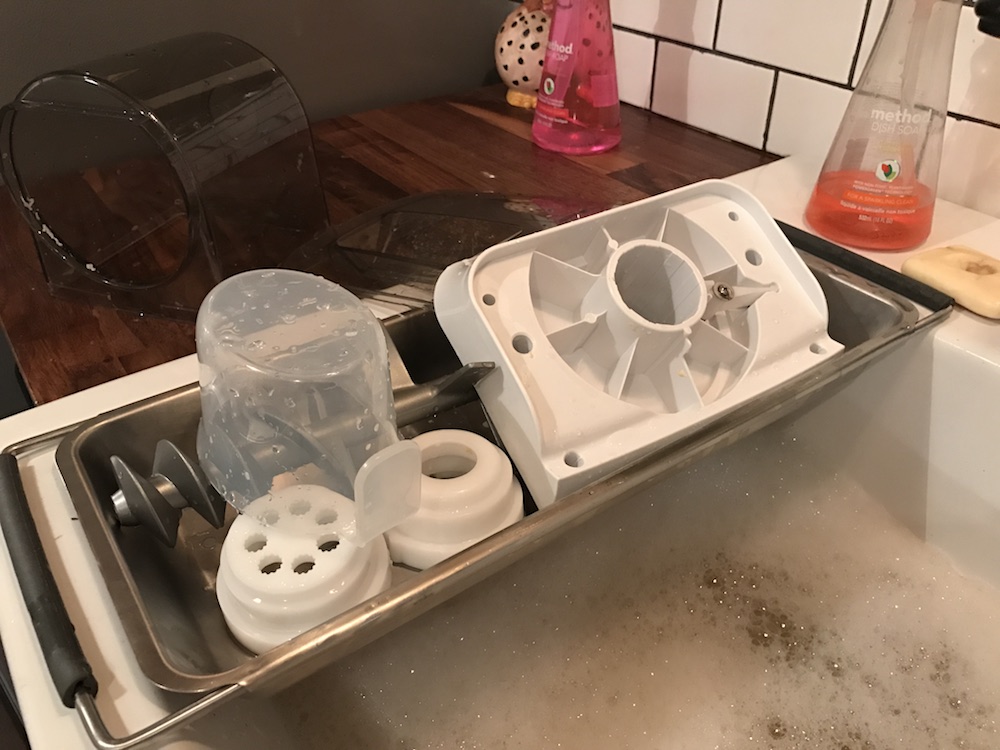
Cleaning the Philips Pasta Maker is a breeze. All of the parts are removable so you can put them in your sink and wash them, but I’ll admit, I was a little concerned about how to remove the dough in the pasta discs.
Dough in general is sticky, and it gets sticker in water. Thankfully Philips has included a few removal tools you can use to get that pasta up and out of there. There are a extra discs you can attach to your pasta discs that push the excess pasta out, and you can also use the tips of the slicing tool to push the pasta out of the discs.
It took me 5 minutes to wash all of the parts of the pasta maker, and then I put it all back together and it was ready to make pasta another day.
Overall thoughts on the Philips Pasta Maker
Fresh pasta fast and easy: what’s not to like about the Philips Pasta Maker? I went into the process believing that there would be a learning curve and was surprised to find that there really wasn’t one. I did add my dough to be re-kneaded again a few times because I was switching discs mid-stream, but I think that made the pasta even better.
I let mine dry for a night before I boiled it, but you can take it straight out of the machine and cook it as soon as you’d like so it’s a handy machine to have around if you’re in the mood for pasta and you want it fresh.
The Philips Pasta Maker is definitely an appliance I’d like in my kitchen, and you can find your own on bestbuy.ca right now.


I am a regular member of this site, I always notice that your blog posts are so unique and well explained with deep information. Tnx for the splendid post. I must share your post on my social medias and “mywebsite” for giving you maximum coverage of visitor of the post.
I am a regular member of this site, I always notice that your blog posts are so unique and well explained with deep information. Tnx for the splandid post. I must share your post on my social medias and “my website” for giving you maximum coverage of visitor of the post.
If you are looking for a best pasta maker and have no strategy idea which one to buy, consider your lifestyle, cooking preferences, available on time twenty four hours, and budget. After you have answered questions on these, it’s just a matter of buying the unit that fits into your situation. Here are some tips and suggestions you can consider.
Comments are closed.