


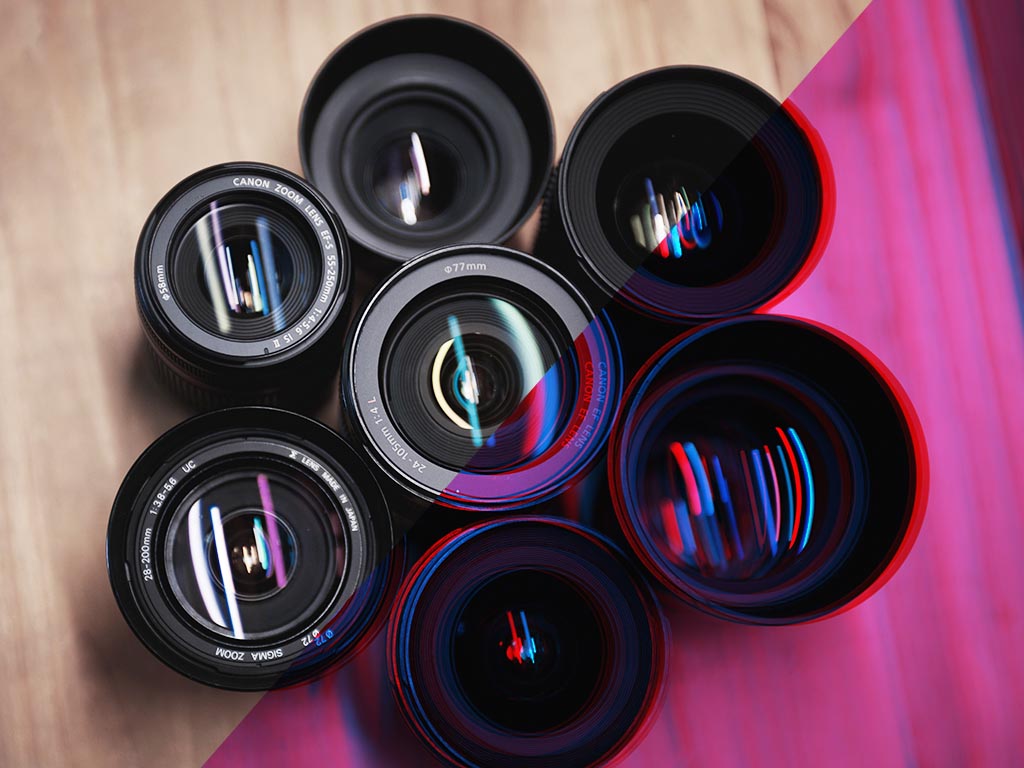
Today we’re going to take a look at the different types of lenses that you can use to take your photography to the next level.
When I originally became interested in photography, I knew virtually nothing about the equipment, much less how to use it properly. But as I progressed and became more proficient, I started to look for shortcuts to get the look of the amazing images I was seeing online.
A good lens is an investment
Without doubt, one of the best shortcuts you’ll find in terms of improving the quality of your photographs is investing in a decent lens. The kit lens that comes with your camera is fine in terms of getting you started, and honestly it can take you a long way on the road to creating your first portfolio, but there will come a time when you’ll outgrow the kit lens and the limitations it imposes on you. A high quality lens will last you for years and years, and will keep it’s value really well, far better than your camera body.
So what are the limitations of the kit lens? The most obvious is aperture size.
The advantages of wide aperture lenses
Better low light performance
Lenses with wider maximum apertures provide better low light performance, basically because wider apertures allow more light to hit the sensor. You’ll often hear photographers refer to lenses with a wide maximum aperture as “fast glass”. This is a bit of a misnomer, but it’s widely used nonetheless.
Soft-focus backgrounds
Aside from low-light performance, wide aperture lenses are also favoured by portrait photographers because they can create a very narrow depth of field. The advantage of a narrow depth of field is that it gives you those lovely, blurred out backgrounds. I often refer to this as the ‘art factor’. The reason our eye finds this effect so appealing is because of the separation it creates between subject and background, which actually allows us to decode the image more easily. We don’t need to scan around the image to find the subject, the contrast between the sharp and blurry areas tells us exactly where the subject is.
How to create the bokeh effect in your images
You may have heard the term “bokeh” lately and wondered what it means. Technically speaking it refers to the way in which single points of light become blurred when out of focus. The further out of focus, the more pronounced the effect becomes. This is precisely the effect portrait photographers take advantage of to create those dreamy, out-of-focus backgrounds.

There are a couple of methods I use to create this effect when I’m shooting portraits. The first is to use my 50mm f/1.4 lens and shoot with the f-stop at f/2.2 or less. I don’t often go all the way to f/1.4 because you lose some sharpness at that point and you also start to see chromatic aberration, a sort of coloured fringing on the edges of your subjects.
The second method I use to create the bokeh effect is to shoot wide open (i.e. lowest f-stop) with my 70-200mm f/4 lens. The trick here is to shoot at a focal length of 100mm or greater.

The downside of using a narrow depth of field is that it can be difficult to nail your focus, especially with a moving subject. If you’re shooting in low-light this can an even bigger problem, because autofocus becomes less reliable as the amount of available light decreases.

Pick the right lens for the job
As soon as you start looking you’ll realise that here is an immense number of lenses to choose from out there, and it can be a challenge to whittle the options down. My advice is to always keep your budget and your intended usage in mind. If you are shooting nature and wildlife for example, you’ll want a lens with a decent zoom range. It should be able to get to a focal length of at least 200mm. One of my personal favourite lenses is the Canon 70-200mm f/4 L, which is a fantastic lens at a relatively affordable price. At a wedding I can use it to shoot stealthy candids from a distance, but it’s also a great portrait lens when used at the lower end of the focal lengths, between about 70mm and 100mm. And although f/4 wouldn’t normally be considered a wide aperture, when you shoot at a 100mm plus focal length it still gives you those beautifully blurred backgrounds.
Aside from the wide maximum aperture that expensive lenses like Canon’s L-series or Nikon’s high-end Nikkor lenses have, the other advantage they possess is that they offer that maximum focal length all the way through the entire focal length range. Cheaper lenses, like the Canon EF-S 55-250mm f/4-5.6 lens offer a variable maximum aperture. In this case a maximum aperture of f/4 is available when shooting at 55mm, while a maximum aperture of f/5.6 is available when shooting at 250mm.
Aside from performance factors, another key reason for investing in expensive glass is image quality. Good lenses offer better sharpness and clarity, and less distortion, giving you a nice overall bump in the quality of your images.
Prime lenses are an excellent choice
If you are on a budget, however, and you still want to create beautifully sharp images you might want to consider a prime lens. A prime lens has a fixed focal length, so the tradeoff here is no zoom. Because prime lenses house less optical elements than their zooming cousins, the light passing through is subject to less degradation and distortion on it’s way to the sensor. I often recommend Canon shooters to consider the 50mm f/1.8 lens, which is a real bargain. It’s not the best in terms of build quality, but it does give you great image quality and a really wide maximum aperture for a modest price. Most manufacturers produce budget prime lenses, and this is definitely an area I would recommend budding street photographers, photojournalists and portrait photographers to investigate.
When you first get your hands on a lens with that wide maximum aperture, there’s a temptation to shoot everything at the widest possible aperture, a temptation that I definitely succumbed to. Bear in mind however, that as you move toward the really wide apertures, there’s that inevitable fall off in the sharpness of the image. Expensive lenses, however, suffer less from this problem than cheaper lenses.
Sony ZA lenses are excellent
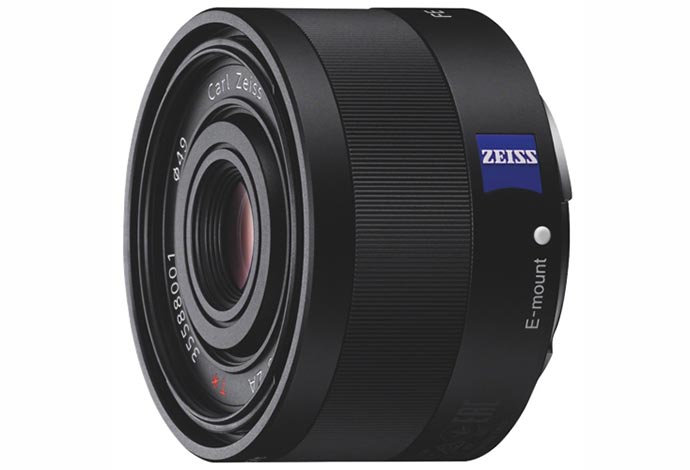
I recently had the opportunity to test two prime lenses from Sony’s high-end ZA range, the Sonnar T* FE 55mm f/1.8 and the Sonnar T* FE 35mm f/2.8, designed by renowned German lens manufacturer Carl Zeiss. These are two outstanding pieces of glass. One of their unique features is a special coating on the front element that minimizes lens flare when you shoot towards the sun, giving you an incredible amount of clarity, even under some really challenging circumstances.
Consider off-brand options
There are a lot of lenses out there to choose from nowadays, with more coming to market regularly. Not only do you have manufacturers producing their own proprietary lenses, but you also have a slew of lenses from third party manufacturers like Tamron, Sigma and Rokinon.
Be sure to check out all the lenses available at Bestbuy.ca
Hopefully I’ve given you some good starting points here, but if you have any questions please feel free to leave a comment.


